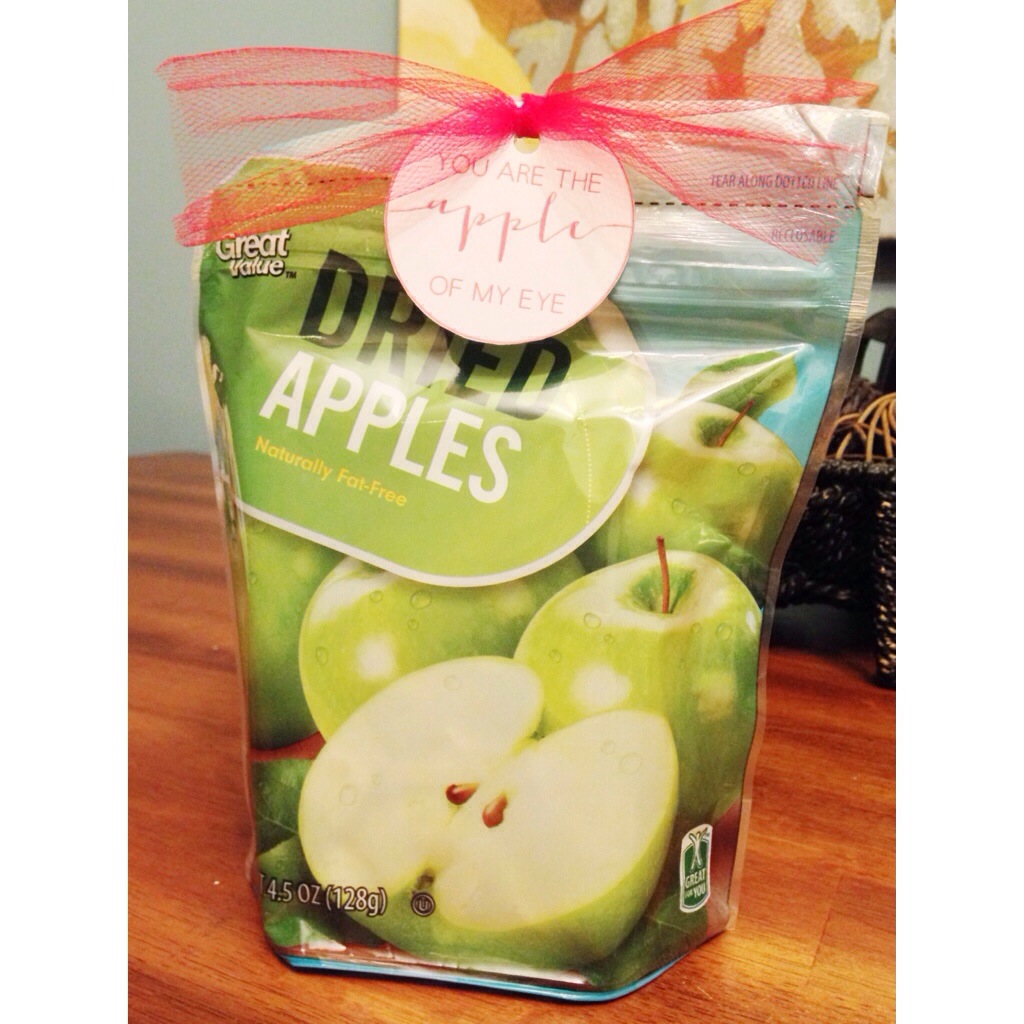
DIY Photo Booth

This DIY photo booth is by far, the quickest and easiest project I’ve ever done, which is a good thing because I only had about a week to get it together. Sunday, while watching the Super Bowl I got a text message from our childrens minister at church asking if I could do a photo booth this Sunday for the ONEkids celebration. Since it was so simple, I thought I would share how I made it. {And by “I” I’m referring to Cory because he did 95% of this project}.
Supplies:
- Sharpie
- Table Saw
- Tape Measure
- (3) 10 ft 3/4 PVC Pipe
- Pipe Fittings (pictured below)
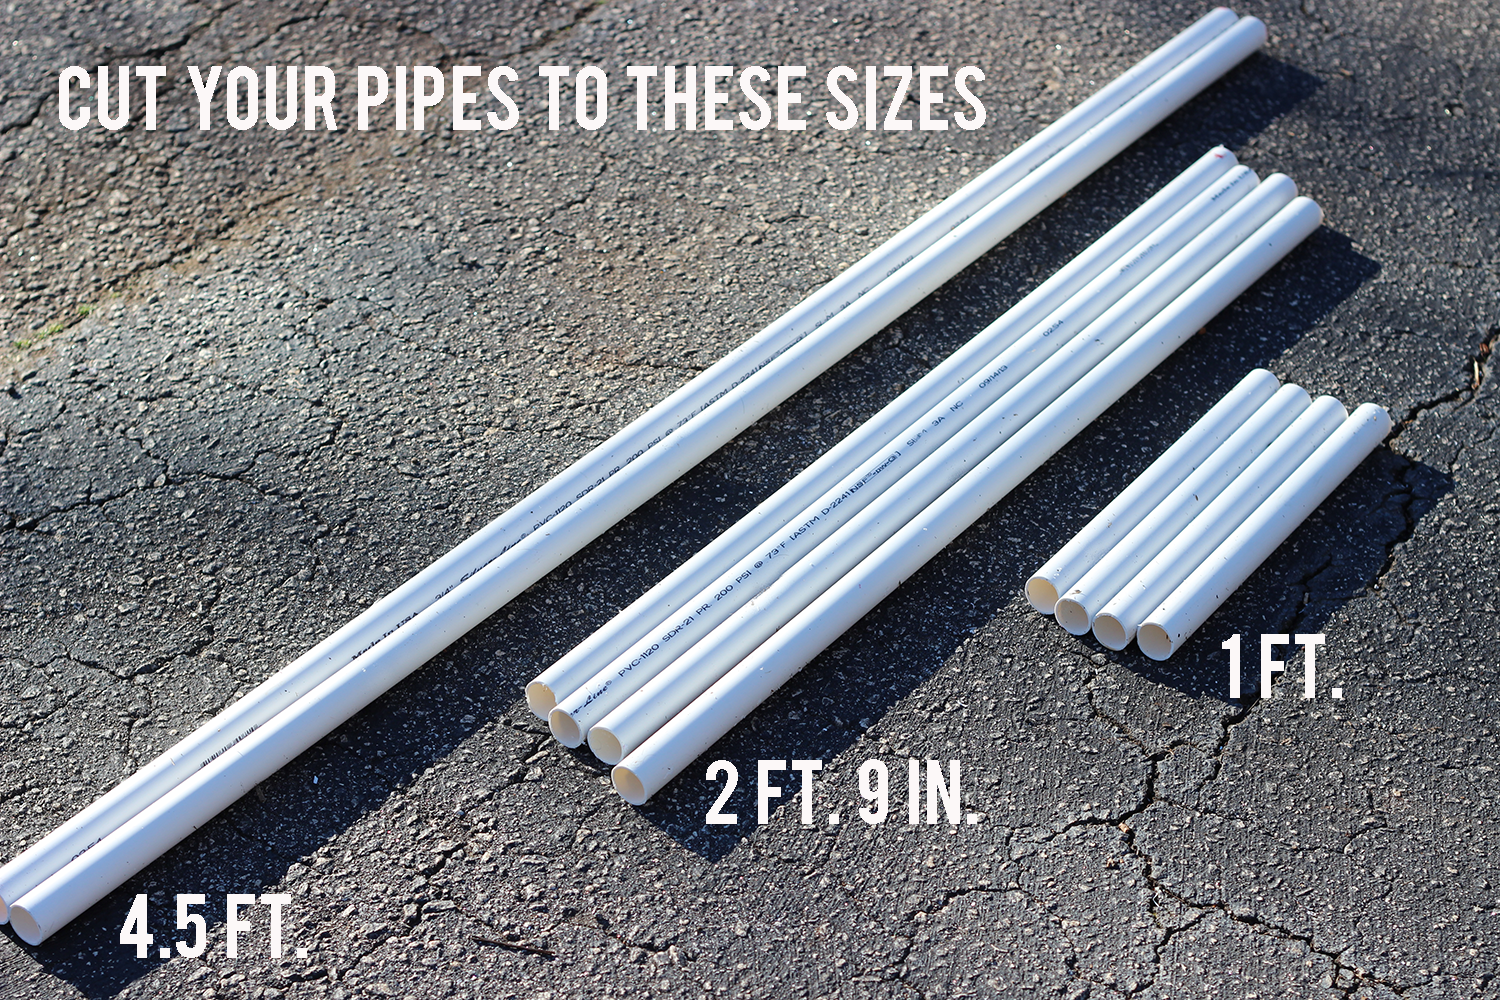
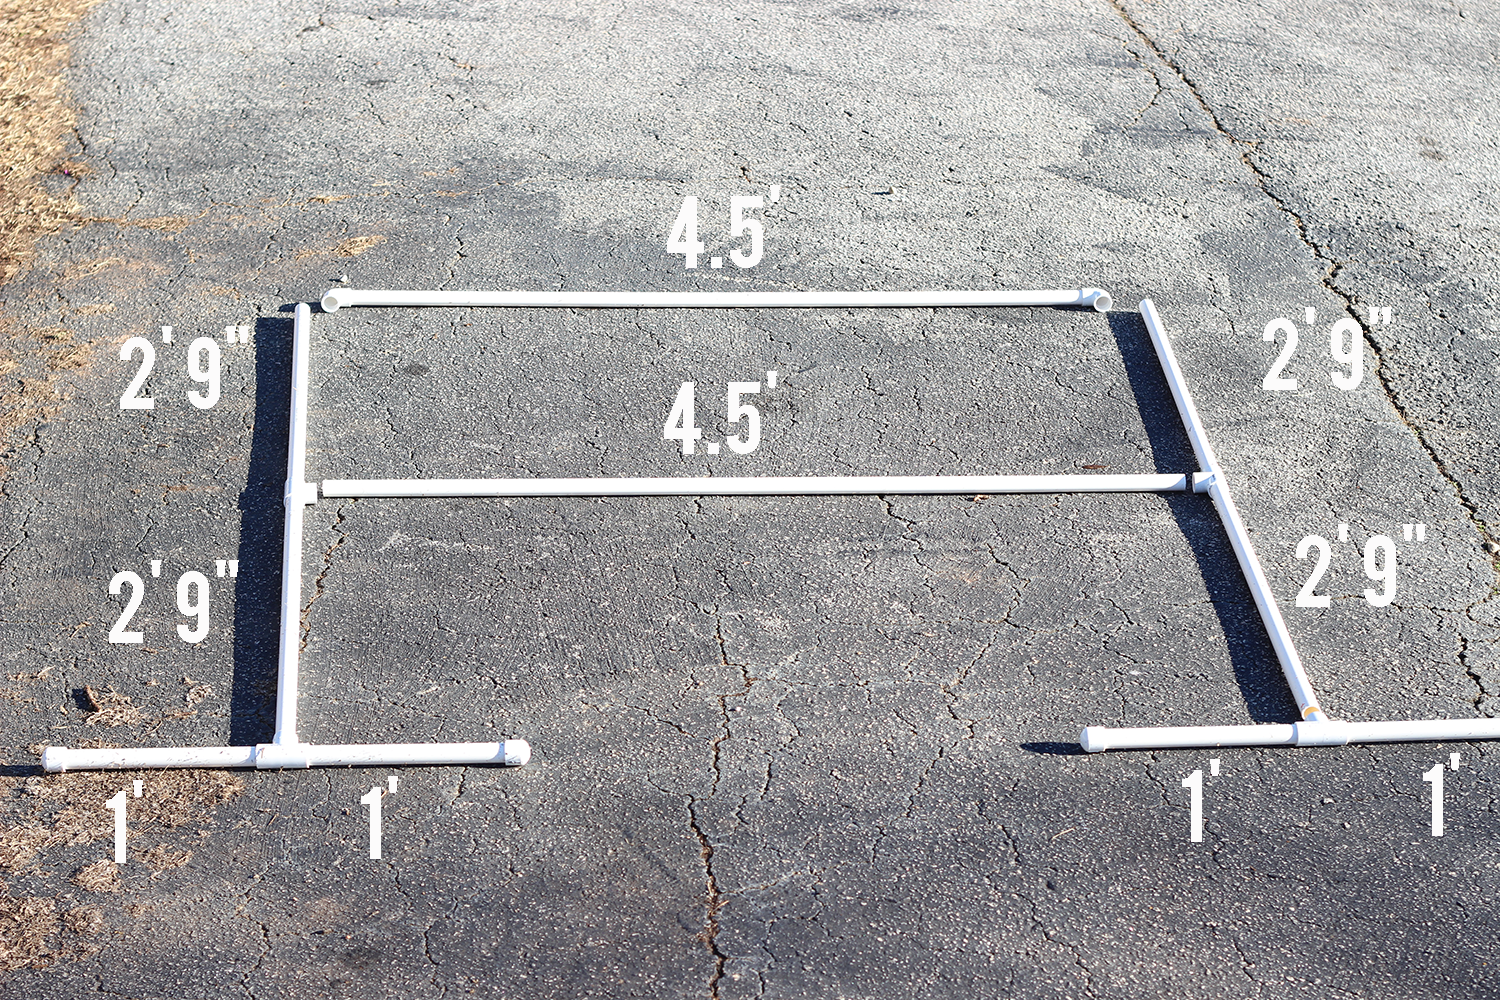
- Cut two of your 10′ pieces of PVC almost in half into 4.5′ and 5.5′ lengths.
- From your last 10′ piece, cut four 1′ pieces for the feet.
- Cut the two 5.5′ pieces in half, measuring 2′ 9″.
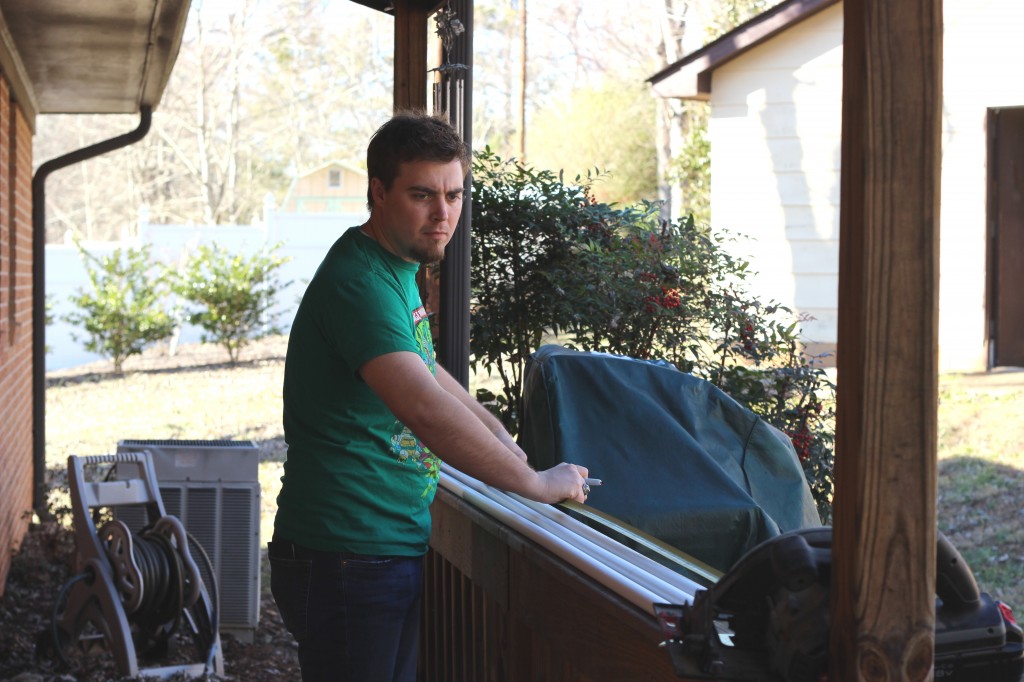
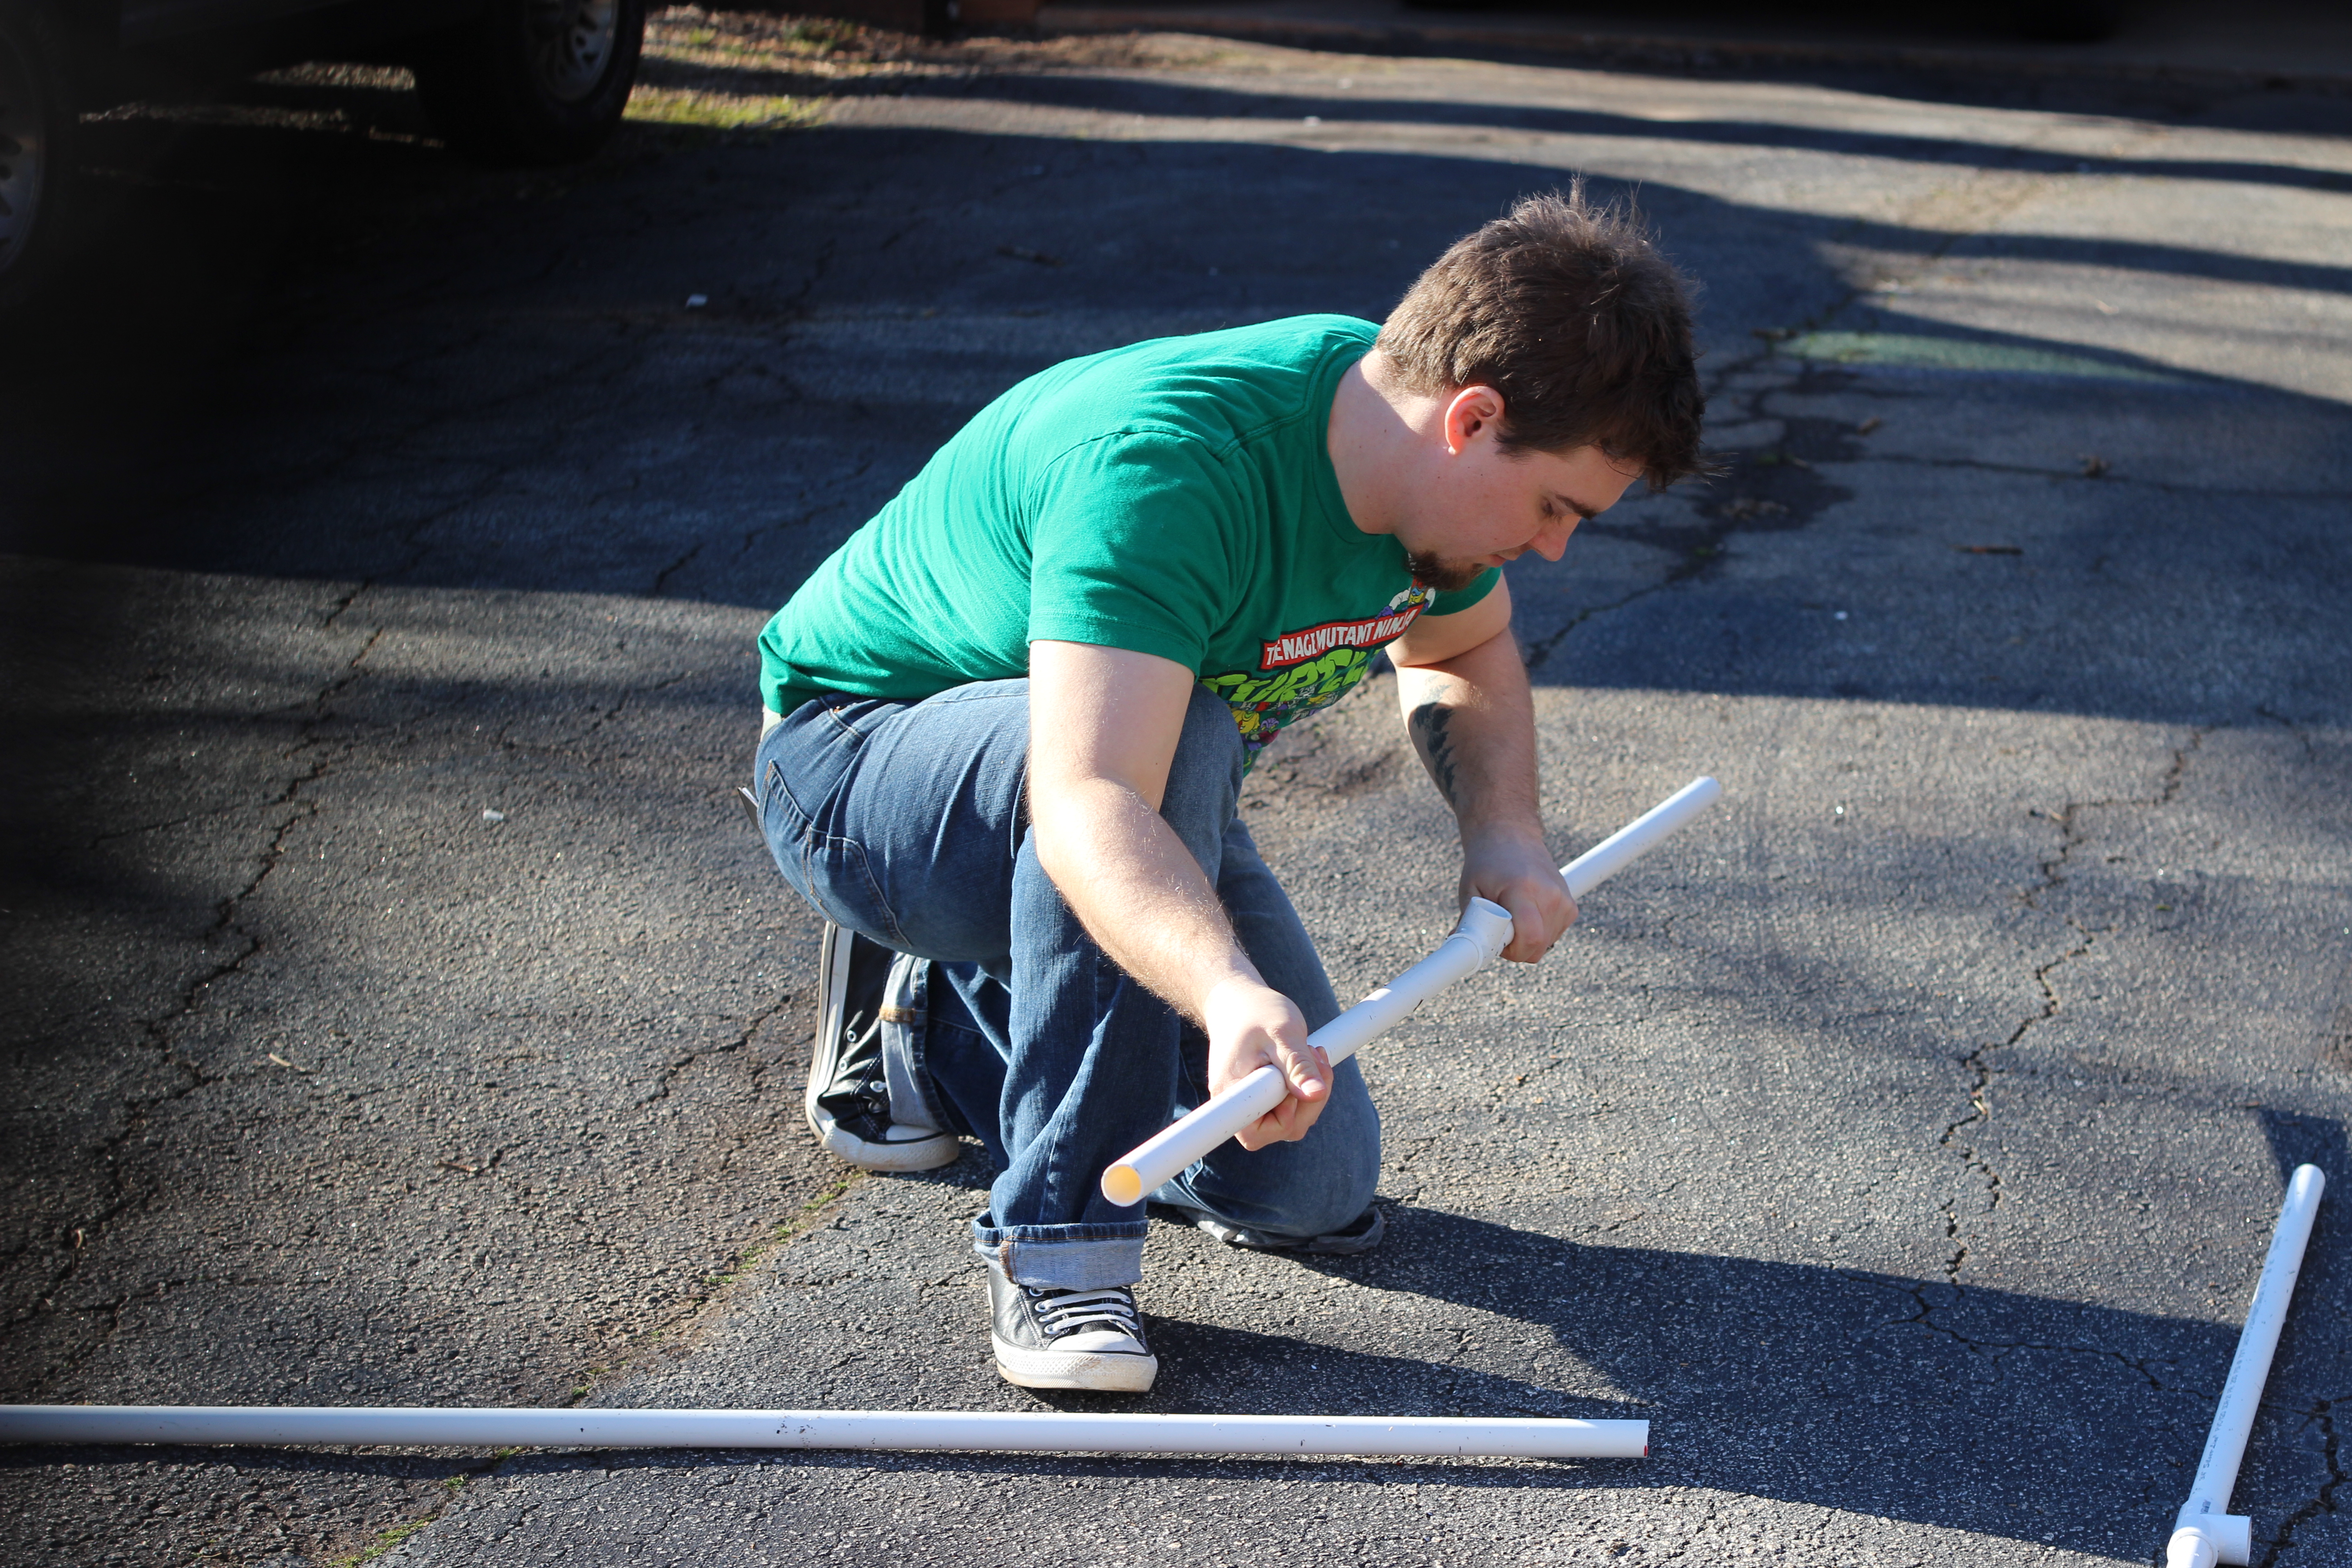
Chunky butt watching Cory cut the PVC. When did he get so fat??
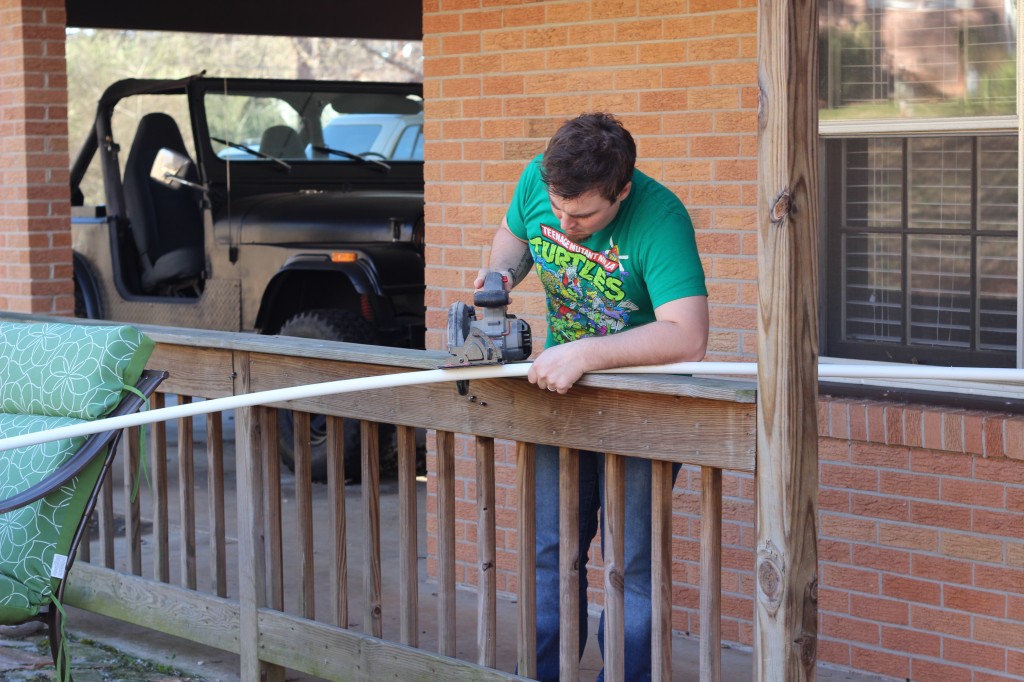
Get your hunky husband to cut the PVC if you have no idea how to even turn the saw on.
Ahem.
After you get your pieces cut, it’s time to assemble.
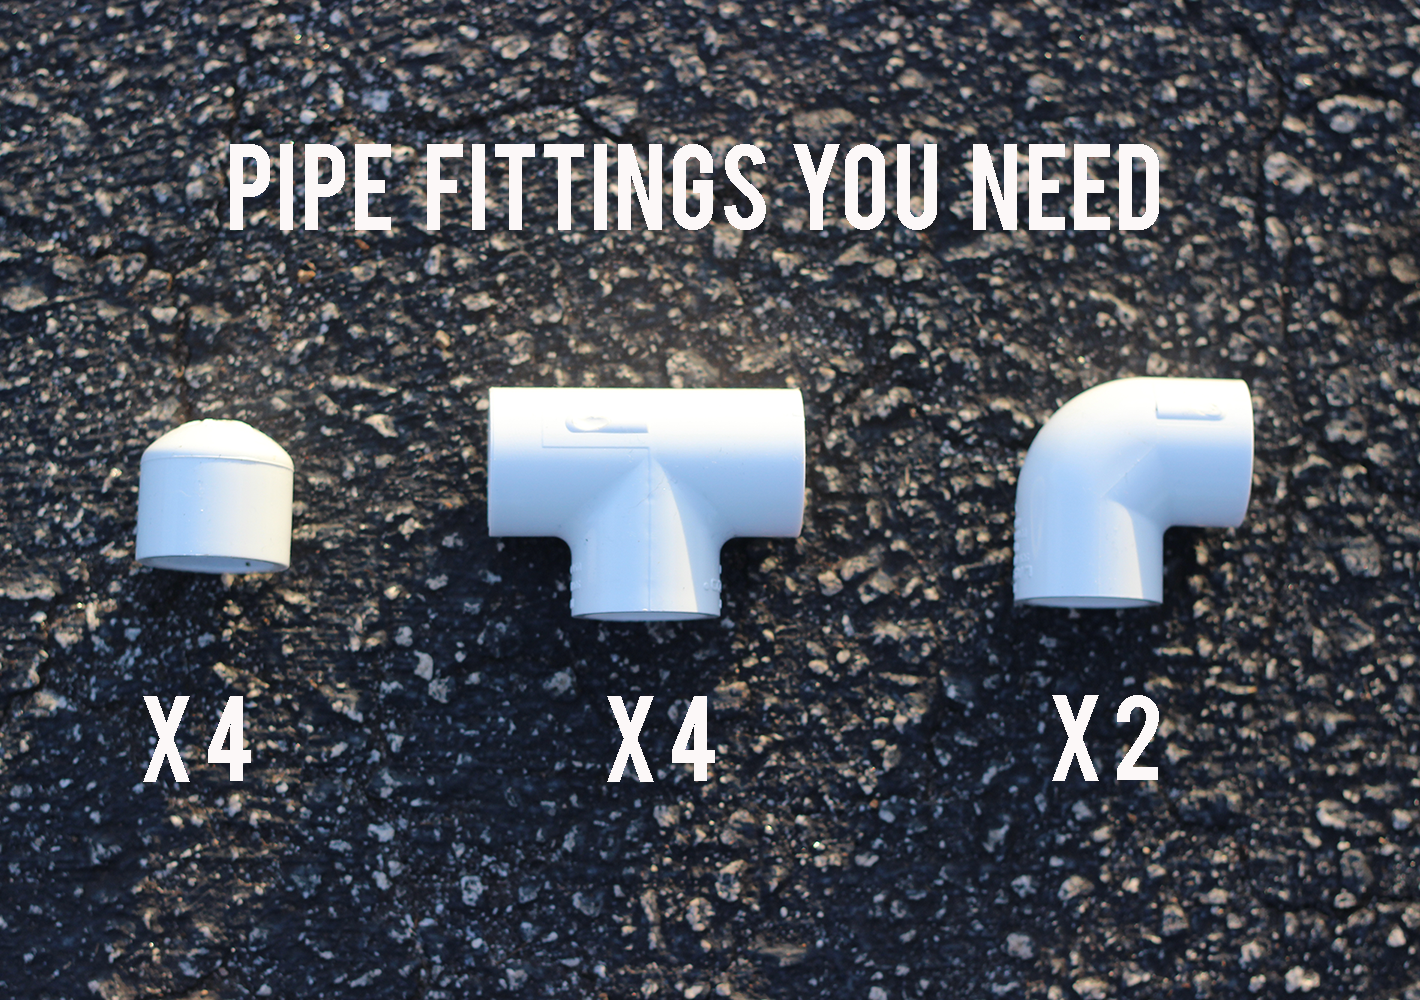
Pipe Fittings You’ll Need:
- (2) 3/4″ PVC “L” pieces
- (4) 3/4″ PVC “T” pieces
- (4) 3/4″ PVC end caps
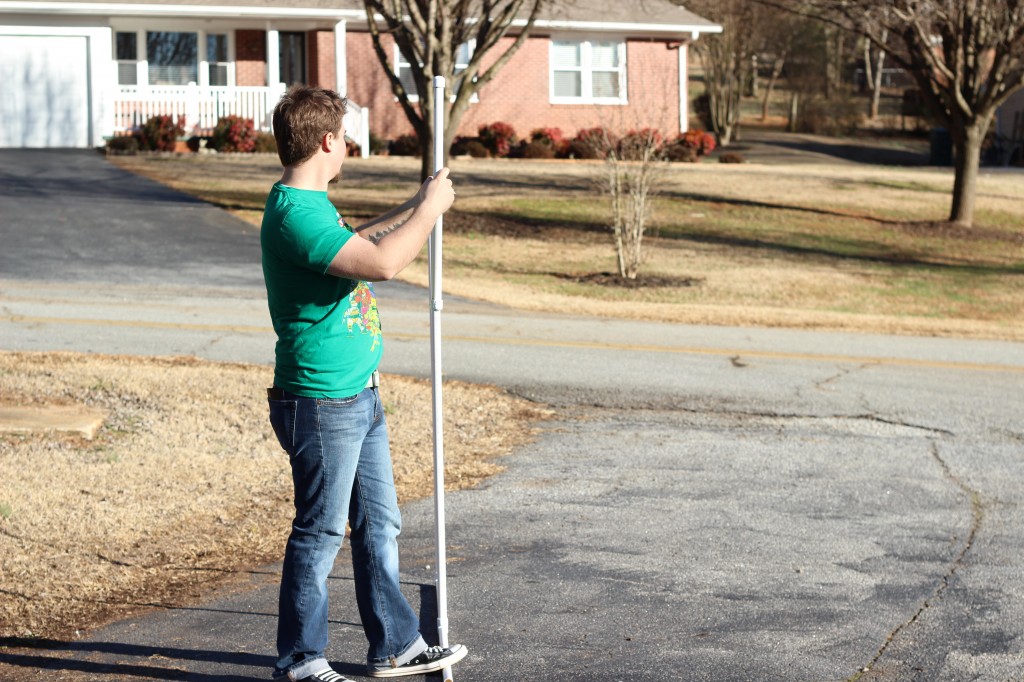
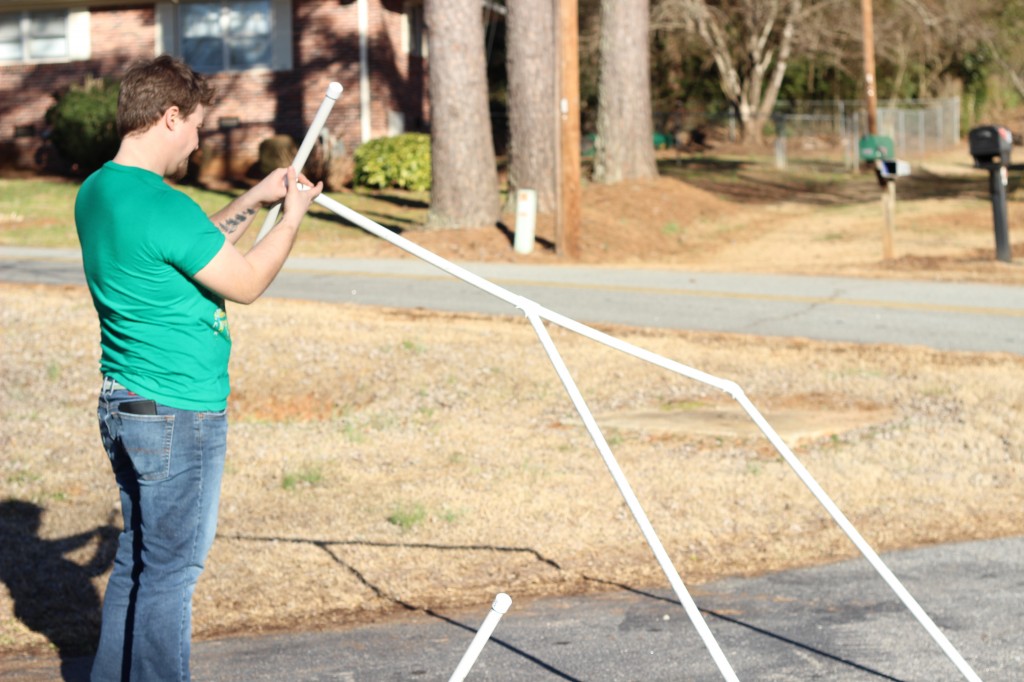
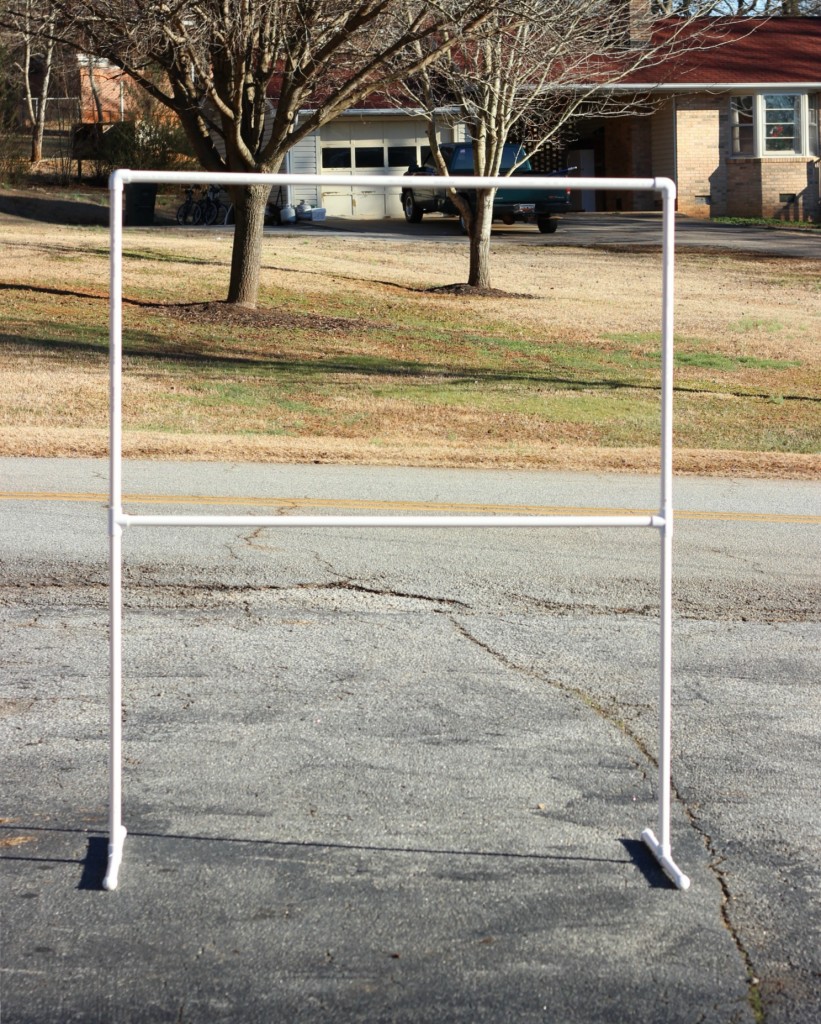
Now assemble!
This post is linked with Mandy @ House of Rose and Laura @ I’m Not a Trophy Wife.