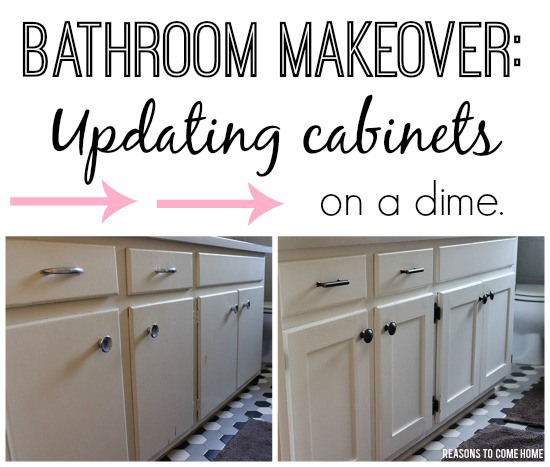
Updating Cabinets on a Dime.
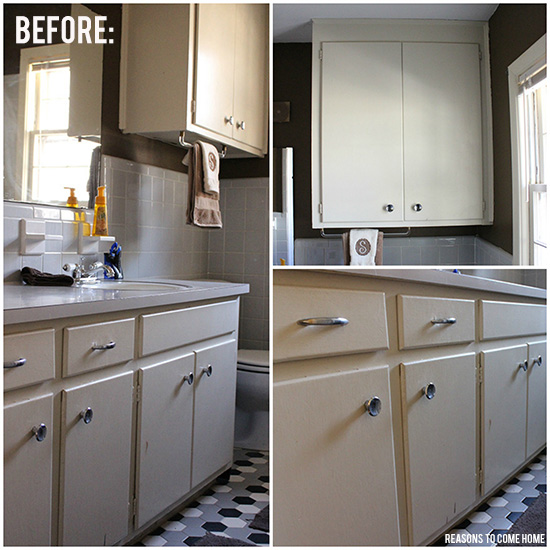
 For the past three and half years, Cory and I have loathed our cabinets. They’re plain and outdated but we didn’t want to fork over thousands of dollars for new cabinets. You see, we love our house. The location is great, the neighborhood is perfect, but it’s rather small. Right now, it’s just the right size but if our family ever grows, we will need more space. So, I say all that to say that we don’t want to invest more into this house than we could get in the resale value.
But, we had to do something. I couldn’t take my ugly cabinets any longer! By the way, I did look into just getting new doors but even those are pretty expensive too.
So after a lot of research, I found some ideas on updating cabinets without having to replace the doors. I want to do this in our kitchen as well but started in our bathroom for a trial run.
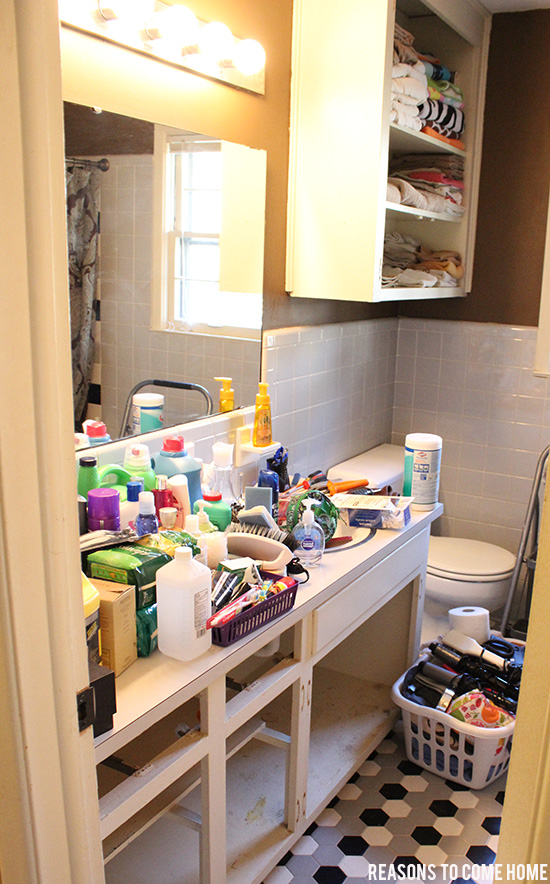
We started this update by taking all the doors off and clearing out the cabinets.
We sanded any spots that needed it and used Clorox wipes to clean the cabinets, inside and out. After all the sanding was done and cleaned up, we gave the cabinets a fresh coat of Valspar paint in Bistro White Semi Gloss. We went with a Latex paint because that’s what they recommended at Lowe’s for painting cabinets. Not sure how accurate they were on this so of course, you would want to do your own research.
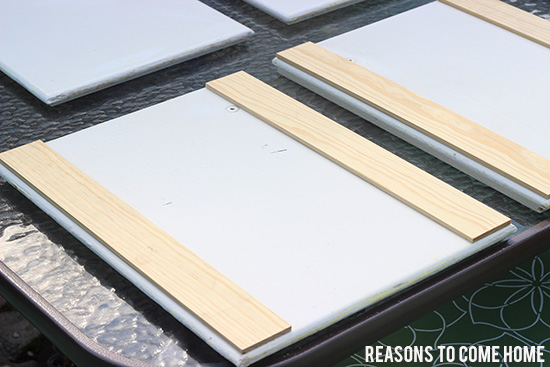
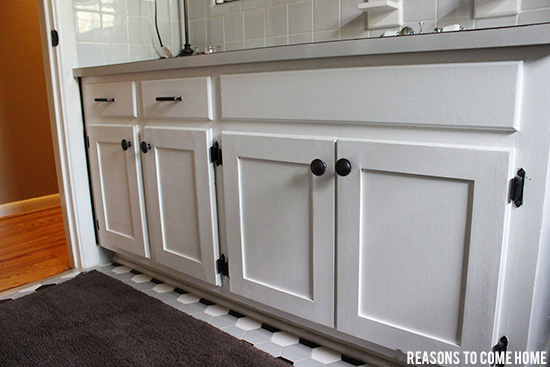
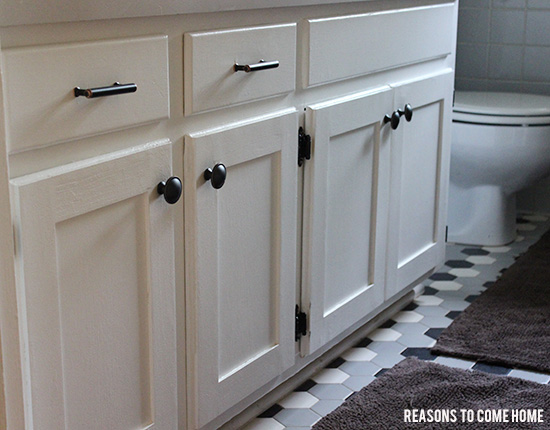
We purchased .25″ x 3″ pine lattice molding from Lowe’s that we attached to the fronts of our cabinets. It was almost $13 for an 8′ piece so we made sure to make the most of each piece.
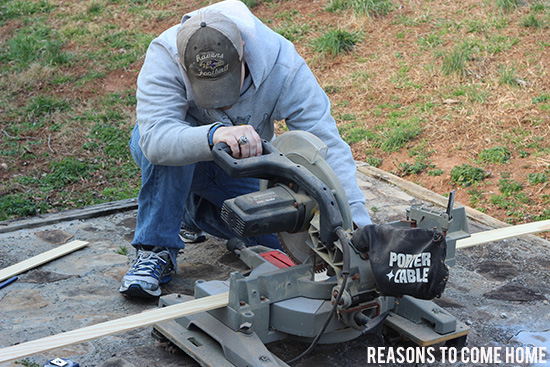
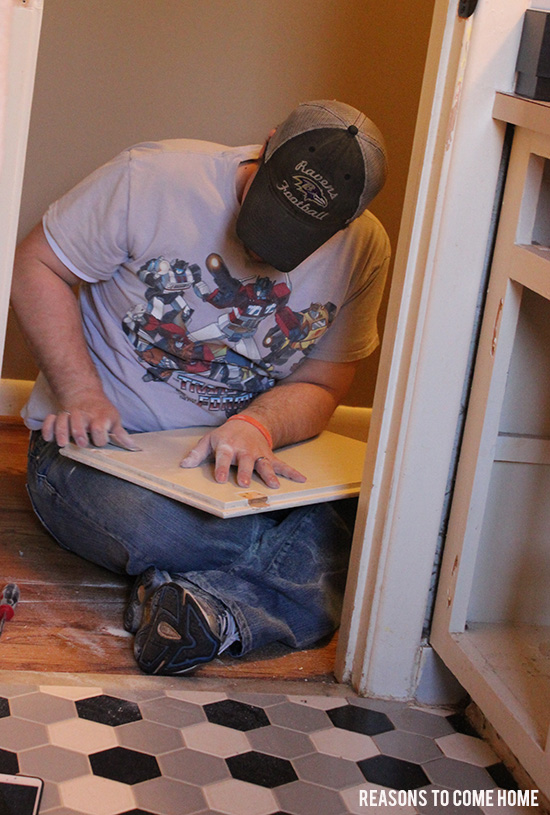
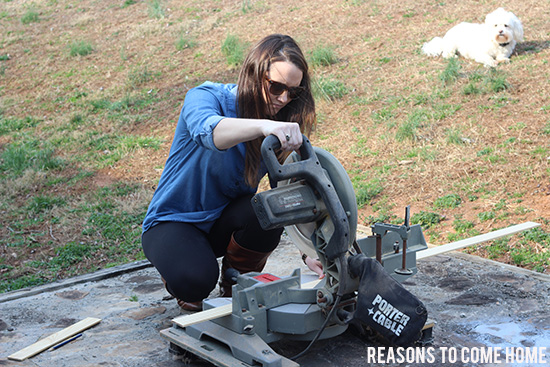
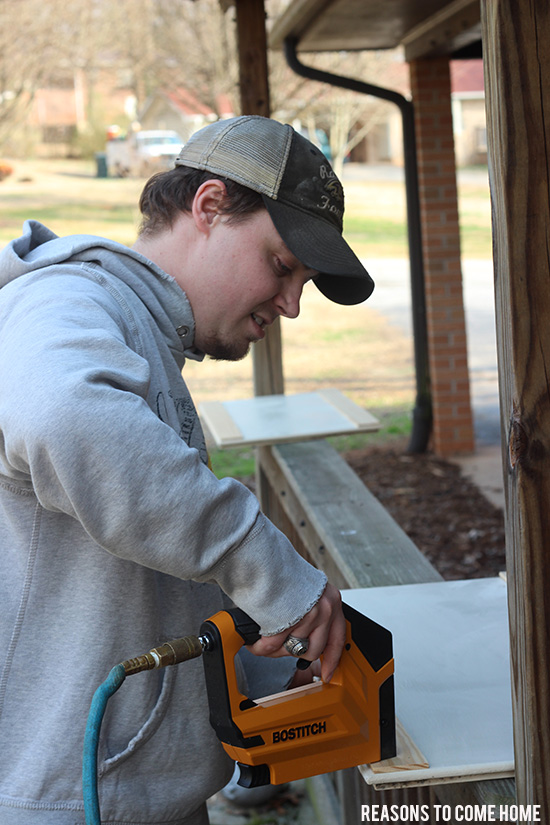
It was important for us to measure each door because old cabinets tend to not be exactly the same. Once we got the long edges cut, we attached them with a brad nailer.
Cory taught me how to use his saw but it didn’t last very long. I only cut two pieces before I decided to let him cut and I used the nailer.
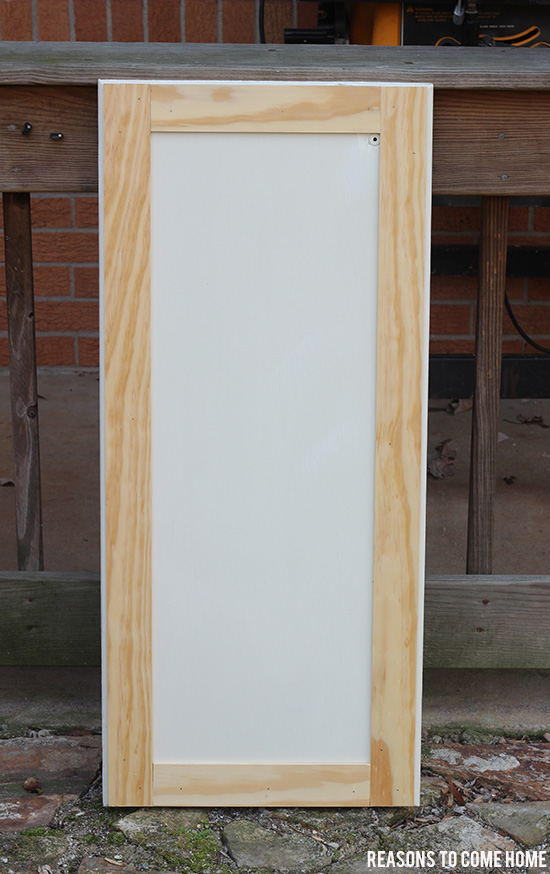
After the long sides were attached, we measured in between them to get the length of the short sides.
Of course, Stein was helping. Helping by looking cute.

We cut the rest of the short pieces and attached them to the cabinet faces.
There are a few things we didn’t do but should have. First, we should have filled the holes from the old hardware before we attached the molding but we forgot and had to go back and work around it. Second, we should have filled the seams of the wood before we painted it. You can’t really see them until you paint the cabinets so we had to sand it back down, caulk it and repaint it.
After you get all the holes filled and seams caulked, give the doors a fresh coat of paint. Make sure that you paint them in a dry environment. We had to bring the doors into the house from the carport because it started to rain and was causing the paint to bubble. Once the first coat dries, sand out any brush strokes and apply another coat.
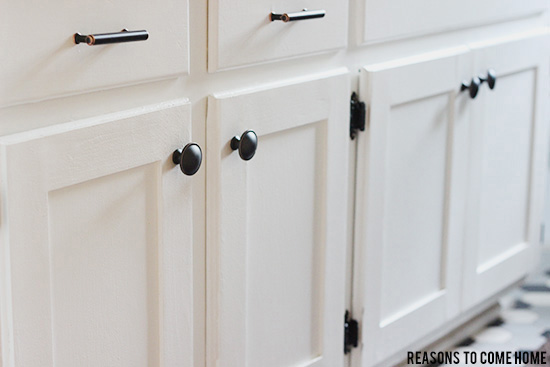
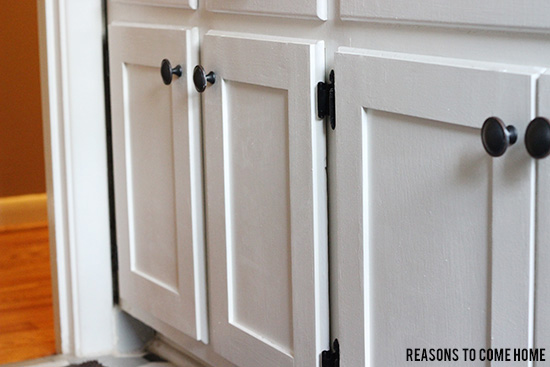
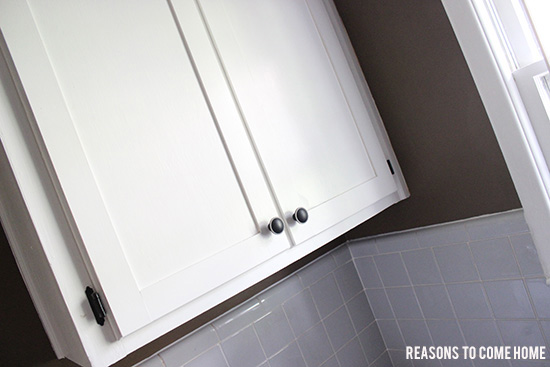
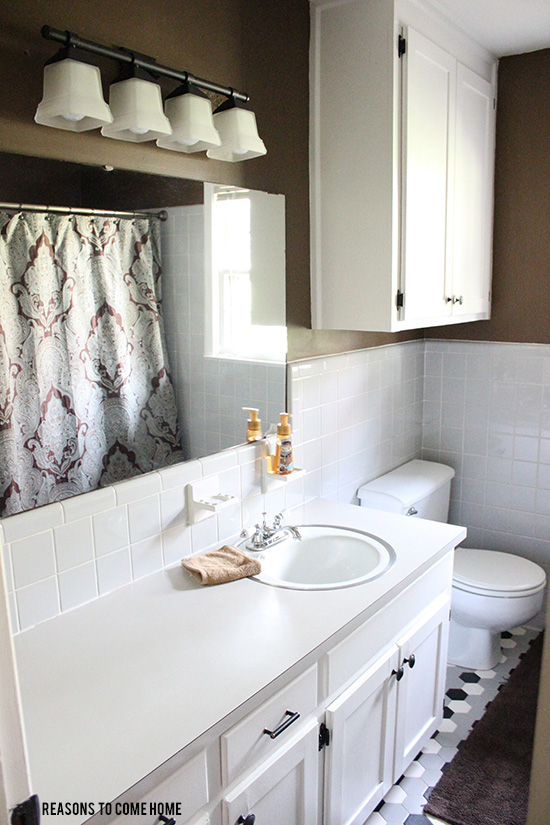
They aren’t perfect and there are still a few things we need to go back and fix but overall, we are very pleased with the results. Adding the molding to our cabinets was much cheaper than purchasing new cabinet doors. At first, we tried purchasing some kind of really thin plywood and cut it our self {because it was cheaper} but it was a huge pain in the butt so we went back and purchased the precut molding. Had we not made that mistake, we would have gotten out for under $200 including the paint and the hardware. You really can’t beat that! If I can ever convince my husband, I would really like to do this with our kitchen cabinets too.
You can see our full bathroom makeover here.
Today, I’m sharing this updating tip with Jenni, Sam and Reneé over Tuesday Tea and Mandy @ House of Rose!





24 Comments
Maegen @ The Modern Tulip
Y’all are seriously the masters at renovations! Love it girl! I also love your patio furniture :)
Paige Sloan
I don’t know about that! We’ve got to figure out how to do these projects together without the threats of murdering each other :) But thank you!
Biana Perez
I think you guys did a fantastic job – that little extra detail really made a great difference!!
Paige Sloan
Thank you! And didn’t it??? I am super happy with the results.
mia @ makemeupmia
Your cabinets turned out amazing! And Stein, so cute :)
Paige Sloan
Thank you! He’s a mess!
lauryn
looks awesome!!!!! yall did great!!!
Paige Sloan
Thanks, pretty girl!
Maggie@ Polka Dots in the Country
I think the reason these cabinets look so good is because Stein was supervising the whole project. ;)
Kidding of course, you two did a great job I love it!
Paige Sloan
You are totally right, girl! Without him, we’d be lost!
Myla
Framing out the doors really made a huge difference! They look great!
Paige Sloan
Didn’t it? And thank you, sweet friend!
Rebecca Jo
Look at you with power tools! :)
The change is fantastic!
Paige Sloan
It was short lived. Very short lived. But I’m loving the difference it made!
Leanda
What an awesome idea On the Cabinets. You guys did a really great job!
Paige Sloan
Thank you, Aunt Leanda!
Julie
Wow! What an awesome idea with framing them in! I wouldn’t have thought of that! Looks great!
Paige Sloan
I wish I could say I came up with but I found it on Pinterest. Thankful I did though because I love the difference it made!
Carrie This Home
I love what you did! The cabinets are beautiful! It’s amazing what a little work and creativity will do. Pinning this!
Paige Sloan
Thanks so much! Isn’t it amazing how much of a difference it made? Thanks for stopping by!
Kayla @ Home Coming
Such a great project! Today you’re being featured on Friday Favorites! http://homecomingmn.blogspot.com/2014/05/friday-features_9.html
Paige Sloan
Thanks for the feature, love!
Megan
I LOVE THE UPDATED CABINETS. THIS IS EXACTLY WHAT I WANT TO DO TO MY KITCHEN CABINETS. THANKS FOR THE GREAT TUTORIAL.
Paige Sloan
Yay! So glad it could help. Hope you’ll share your kitchen when you finish!