How to Paint Furniture
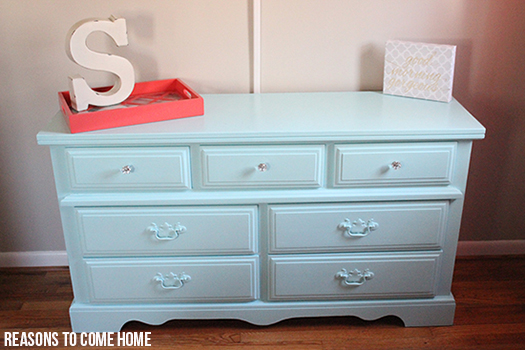
I can’t even remember how many months ago it was when I picked up this dresser- it’s been at least 4, I think. I found this dresser in a storage container behind my dad’s store and turns out, it was his when he was a kid. It was exactly what I was looking for to go in our newly-painted bedroom {which also was painted almost five months ago}. Man, I’m a slacker! 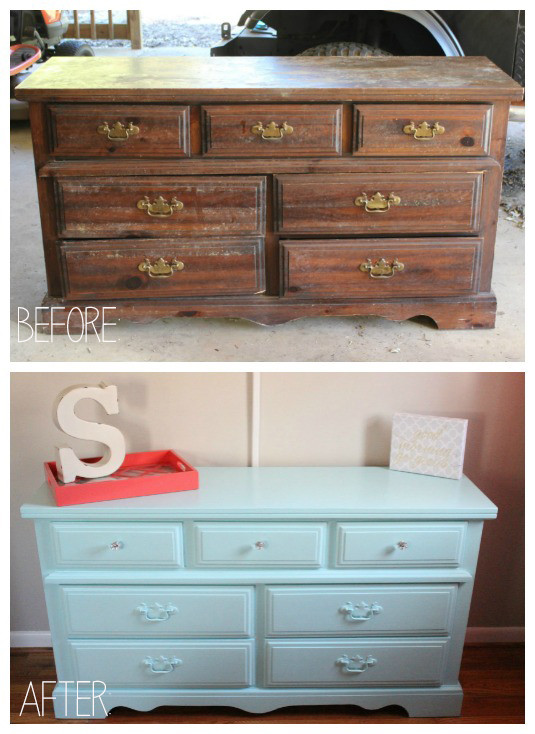
Can you even believe this is the same dresser? I was a little worried about it being too far gone but thanks to a little bit of woodfiller, a whole lot of primer, a fresh coat of paint and a handy hubs we pulled it off. If we were able to salvage this beauty, I know you can too! Just follow these easy steps on how to paint furniture…
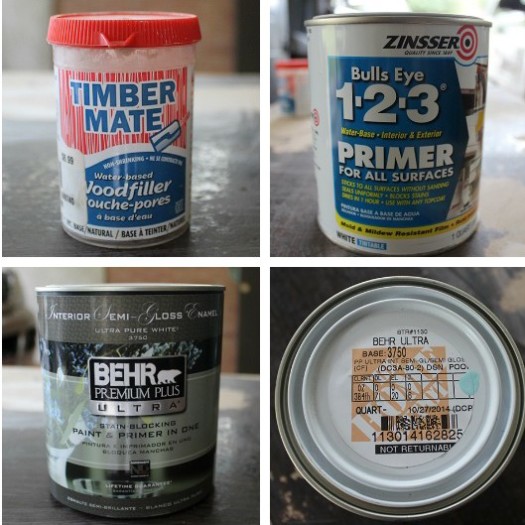
First, the supplies you’ll need.
- Woodfiller
- Primer
- Paint – the color is from the Disney line found at Home Depot called Pooh’s Favorite Things. I believe it is discontinued so I had to ask for it. They told me that as long as it was still in their system, they could mix it.
- Small foam roller
- Small edging brush
- Silicone caulk {depending on the condition of your furniture}
After doing some research, we decided to use an enamel rather than a latex paint because we’re rough on furniture and we needed something that would cure harder and not scratch or peel. Cory was adamant that we use a water-based enamel for easy cleanup, and after a little search and research we found a great product from Behr. Since water based enamel does cure harder, we decided against a clear coat.
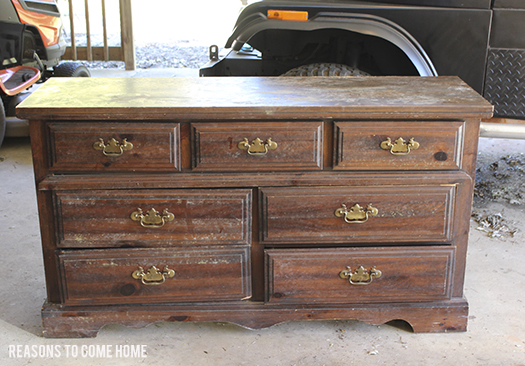
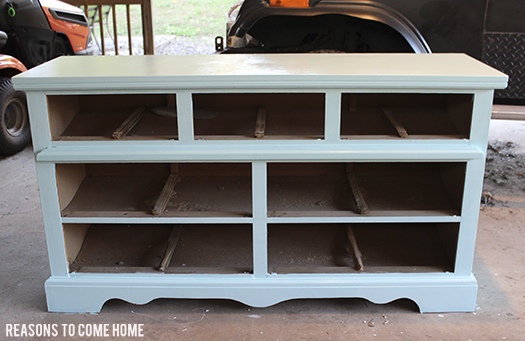
So the first thing to do was to get it cleaned up. When I say this thing was nasty, I mean it was ga-ross. It literally had a rat nest in the bottom and was full of dust bunnies and sawdust. Not to mention it smelled like a mildew farm. We vacuumed it out and wiped it down three times with a wet cloth until we were satisfied that it was clean.
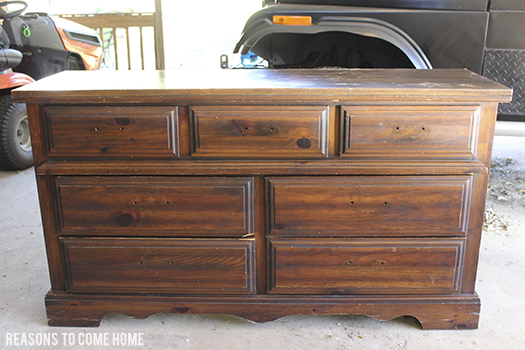
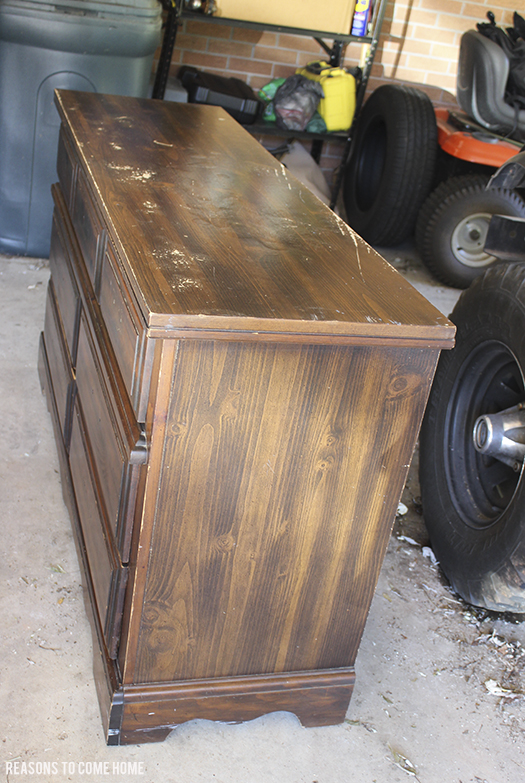
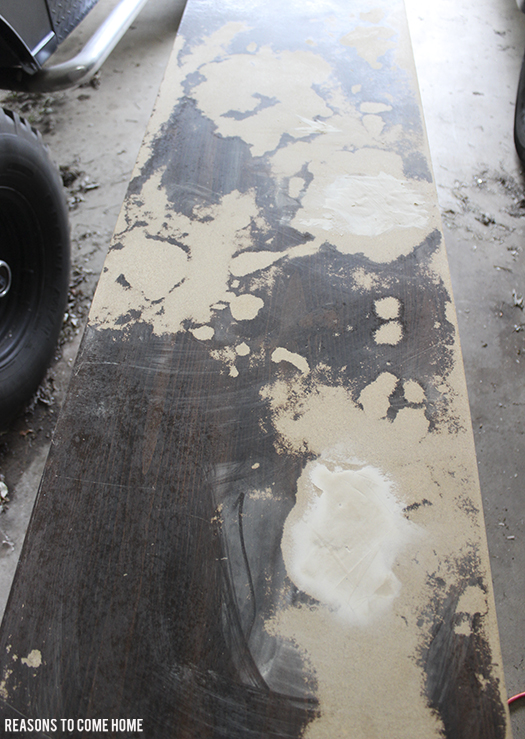
As you can see in this photo, the top had gotten wet at some point and the plywood had bubbled and warped. That was going to have to be addressed.
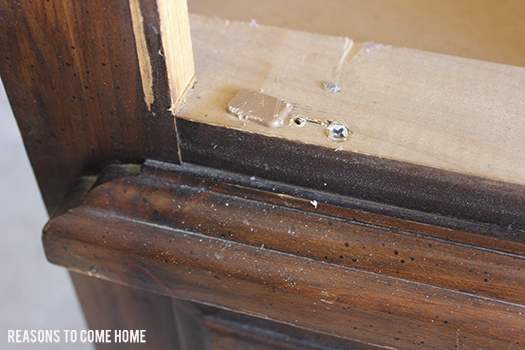
Cory noticed that the trim piece across the front had been knocked loose and was a little warped from having been hanging loose for so long, so he used a screw driven in at an angle to pull it back up to where it belonged.
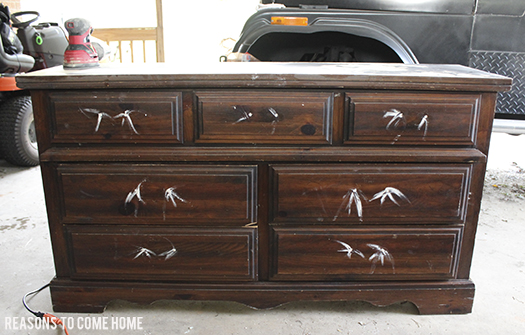
We had planned to change out the hardware at the time, so we filled the holes with the woodfiller. While it was drying we went ahead and used the sander to flatten the top. In the areas where the plywood was rough and damaged, we spread woodfiller and sanded that smooth as well.
Once we were satisfied that everything was flat and smooth, we started the priming process. We used a small edging brush to get the tight corners and a small foam roller (you can see it below) to do the large areas so there were no brush marks.
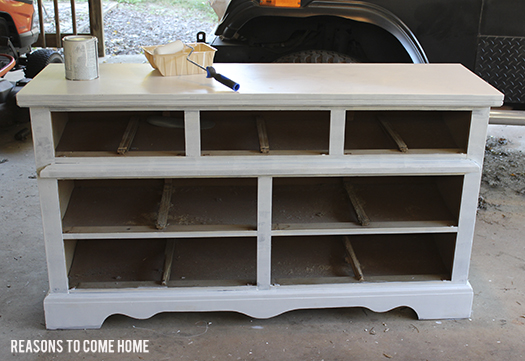
(I know the inside was still a mess…it took a couple tries to get it really clean!)
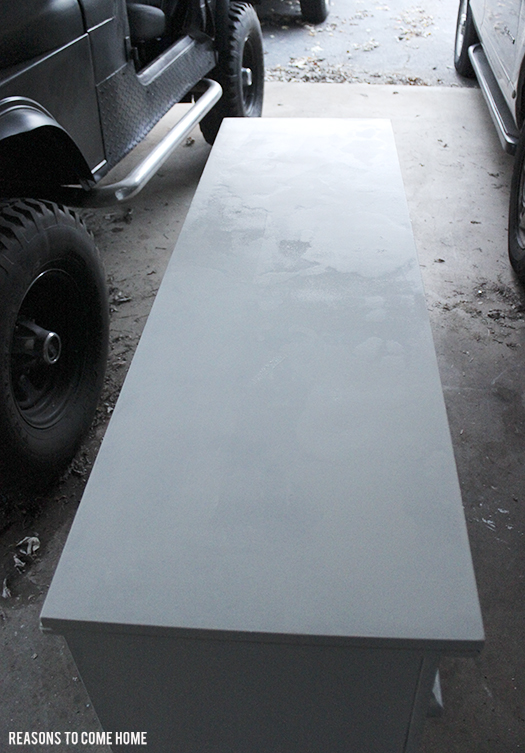
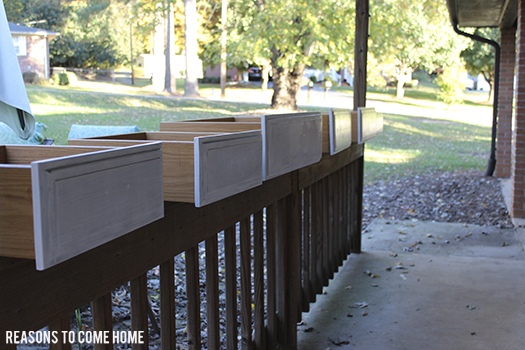
We put four full coats of primer on the outside. We didn’t take any pictures, but after we brought it inside we realized that the mildew smell was still very strong, so then we also put two thick coats of primer on the inside.
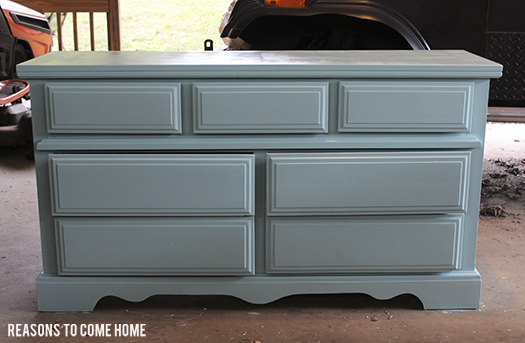
And there it is with the first coat of paint! We went back with basic silicone caulk and sealed all the joints to make sure they looked tight with no gaps and applied four coats of paint the same way we did the primer.
After we let the paint cure and harden for two weeks, to prevent scratching and chipping, we went ahead and painted the original hardware that I decided to reuse, again priming with two coats and painting two coats. Then we drilled the new holes for the top hardware and redrilled the holes for the original hardware.
After installing the hardware and waiting a few days for it to stop smelling like paint, it was ready to be moved into the bedroom.
Where it’s sat for the past three months waiting to be put on the blog.
#oops
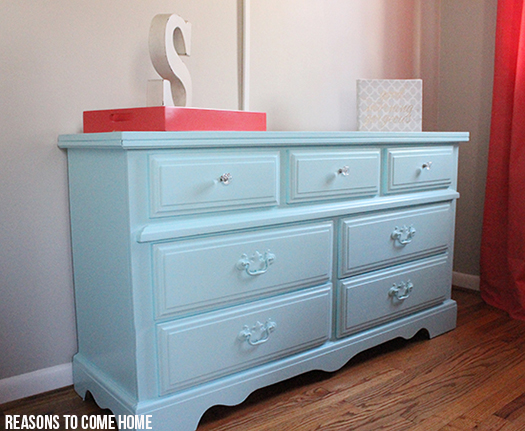
Isn’t she beautiful?!
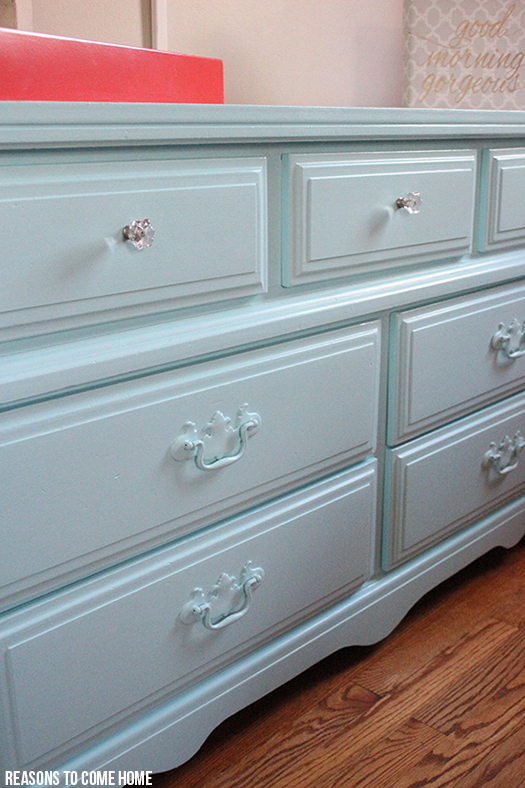
I found the knobs at Home Depot for around $5 each. I had gone back and forth on what to do with the larger drawers but really glad I decided to stick with the original hardware for those.
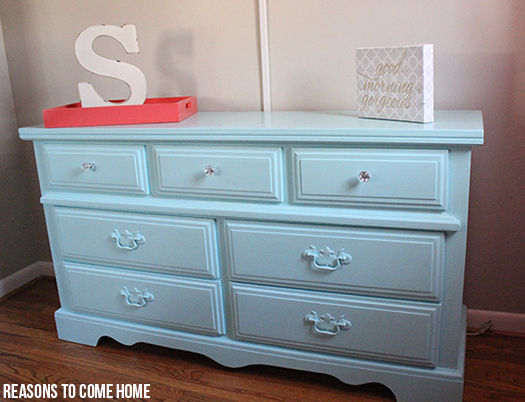
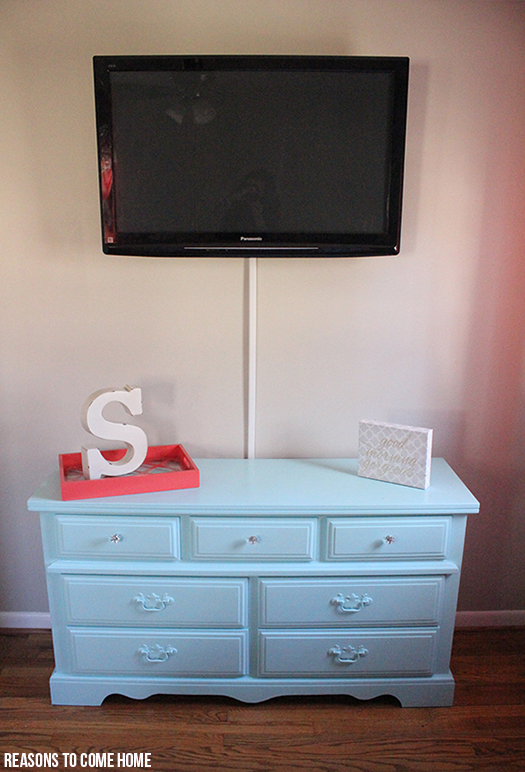
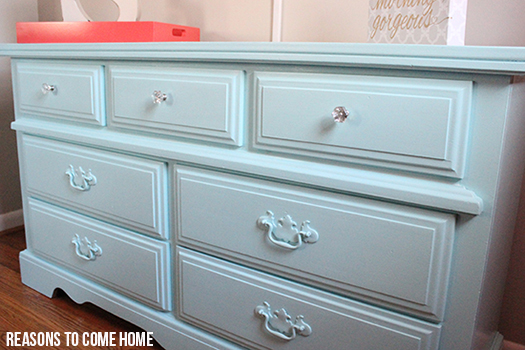
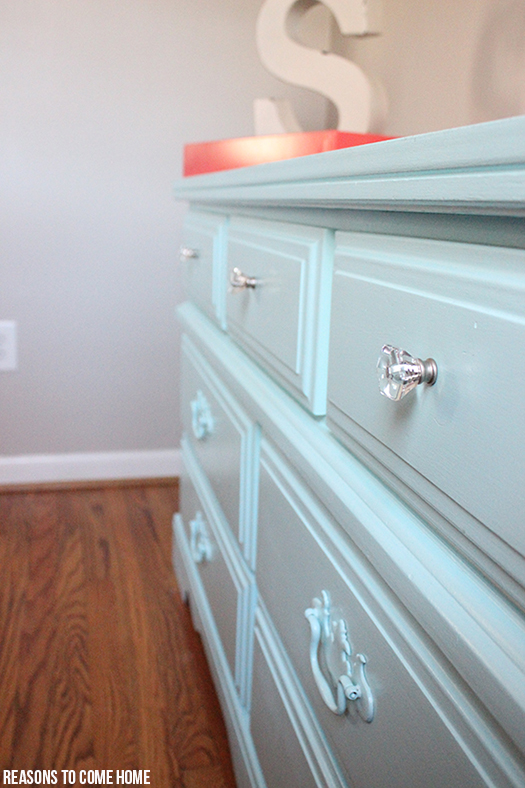
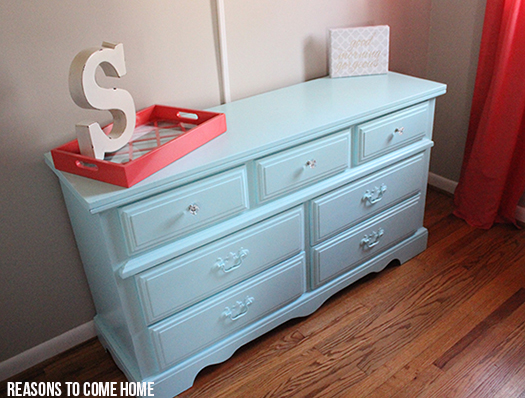

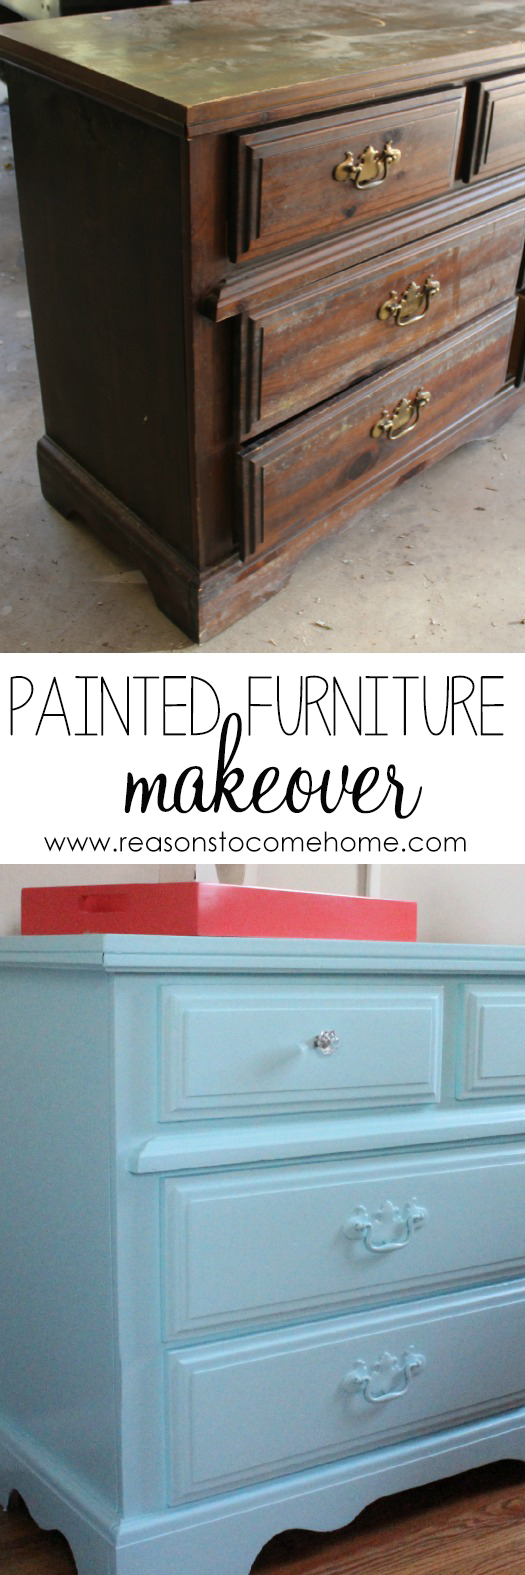
Can you be in love with a piece of furniture?? Because I am completely obsessed with this dresser makeover. I now have an itch to paint all the furniture in my house. Nothing is safe!
this post is linked up with Motivational Monday, Hit Me with Your Best Shot, Moonlight & Mason Jars, The Makers, DIY Inspired, Work It Wednesday, Pretty Preppy Party

16 Comments
Biana @Blovedboston
It looks so good and I love the knobs you chose for the top part!! The color is really pretty too! Great DIY girl! xo, Biana – BlovedBoston
Mia @ MakeMeUpMia
It looks so good! I’ve never painted or redone anything but we have a bookshelf that is on the agenda this spring :)
Rebecca Jo
I can not tell you how much I LOVE this!!!! I am looking for an old dresser to do something like this for my office space… I need to pin this so I remember all the steps I need to do…
I LOVE you kept the hardware on the bottom & got the ones for the smaller drawers – so chic!!!!
Katie Elizabeth
Ahhh! It turned out SO good! I’ve been keeping my eye on Craigslist because we want to do the same thing – I may be back with questions once we find the right piece!
Maggie@ Polka Dots in the Country
Y’all did such an amazing job, I don’t blame you for being in love with a piece of furniture!
Christine from So Domestically Challenged
Wow! That turned out gorgeous!
Katelyn @ Real Housewife of Greenville
You guys really did an amazing job! You have lots of patience and talent for sure. It turned out beautiful and how neat is it that this piece once belonged to your dad! Love the crystal drawer pulls too!
Lauren
I love repainting furniture!! You did a great job, looks fantastic! I am a big fan of annie sloan chalk paint- it’s wonderful
Jessi Otey
LOVE it! Excellent DIY!
Julie Joy
Okay now seriously, you make this look/sound so easy! But there’s no way in hell I would have the patience to do this! How amazing! I absolutely love it! You did a great job! Not matter how long it took you to get it done! And how cool that it was your Dad’s when he was younger!
Omeria
I have planned to paint my daughters childhood bedroom furniture. Your pictures and directions should make it much less scary for me to tackle. You did a great job with the dresser. thanks for sharing.
Melanie
Paige, I love this! especially the color, and those knobs are seriously perfect! Hope you’ll share it over at the motivational monday link up this week: http://makingitinthemitten.blogspot.com/2015/03/motivational-monday-march-15th.html#more
AMy
I love painting furniture, but I’m a newby at it, so this is helpful. Turned out super fun and cute!
brett
I swear i have the twin to that dresser! Except, mine might have had some (terrible) shell pattern in the front that required about 2 lbs of wood filler to fix before painting! I love your after – painting the hardware the same color was a smart touch. Thanks for sharing and linking up at the Pretty Preppy Party! xx, b @ being-bianca.com
Jaclyn Kent
What a great hunk of furniture! It looks gorgeous in blue!
Bev
sO BEAUTIFUL AND WHAT A WONDERFUL JOB. LOOKS LIKE YOU TOOK A LOT OF TIME AND CARE TO MAKE IT LOOK SO GOOD. i HAVE A QUESTION THOUGH, IN THIS DAY AND AGE OF CHALK PAINT, WHY DIDN’T YOU GO THAT ROUTE AND USE IT? iS THIS METHOD YOU USED MORE DURABLE AND LONG LASTING? i’M ASKING BECAUSE i FOUND A SMALL DRESSER, SIMILAR TO YOURS AND WANT TO PAINT AND SELL AND I’M TRYING TO GET SOME TIPS AND IDEAS. THANKS!