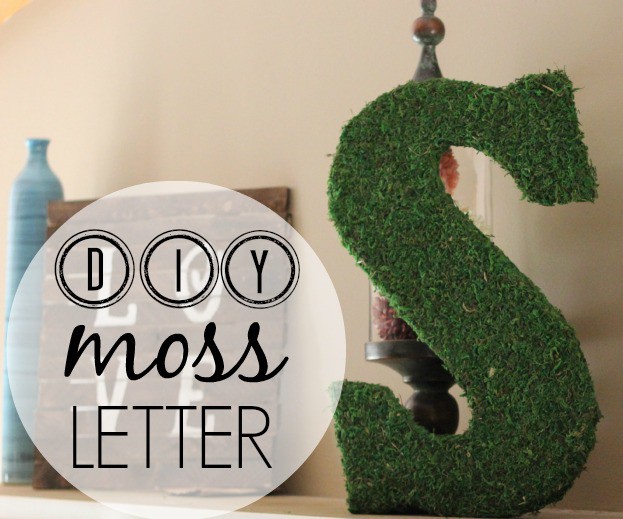
DIY Moss Letter
 I’ve been looking at moss letters for
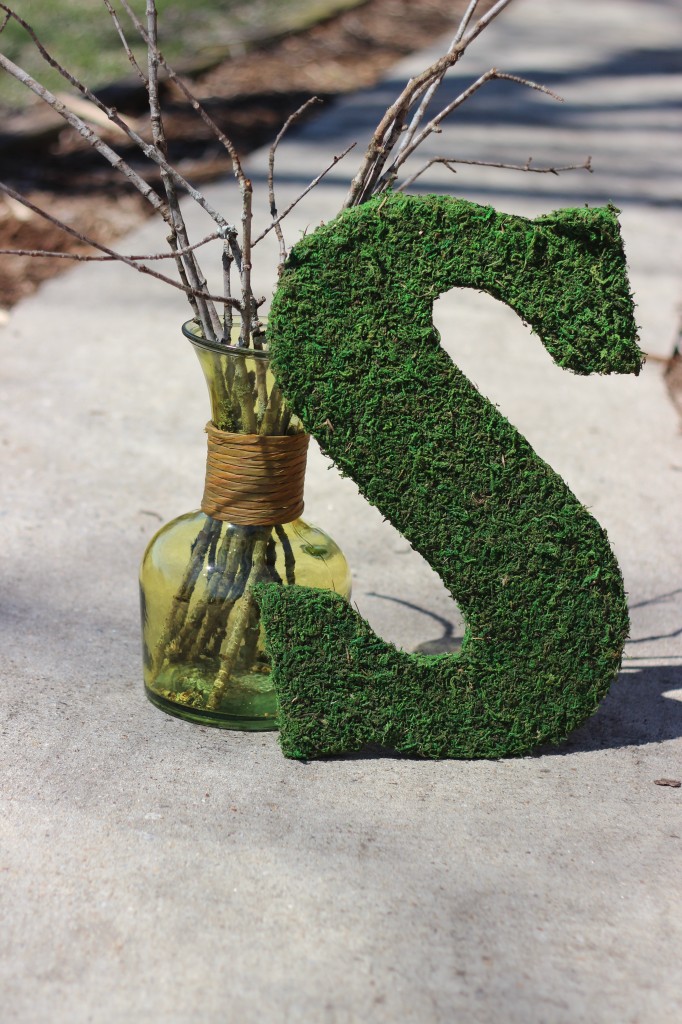
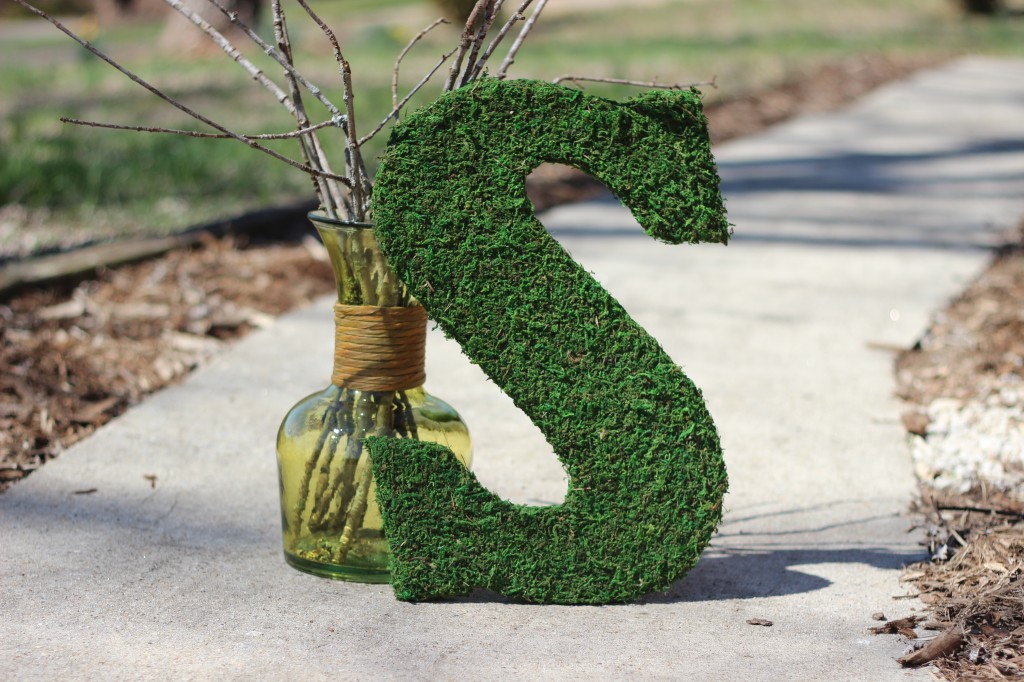
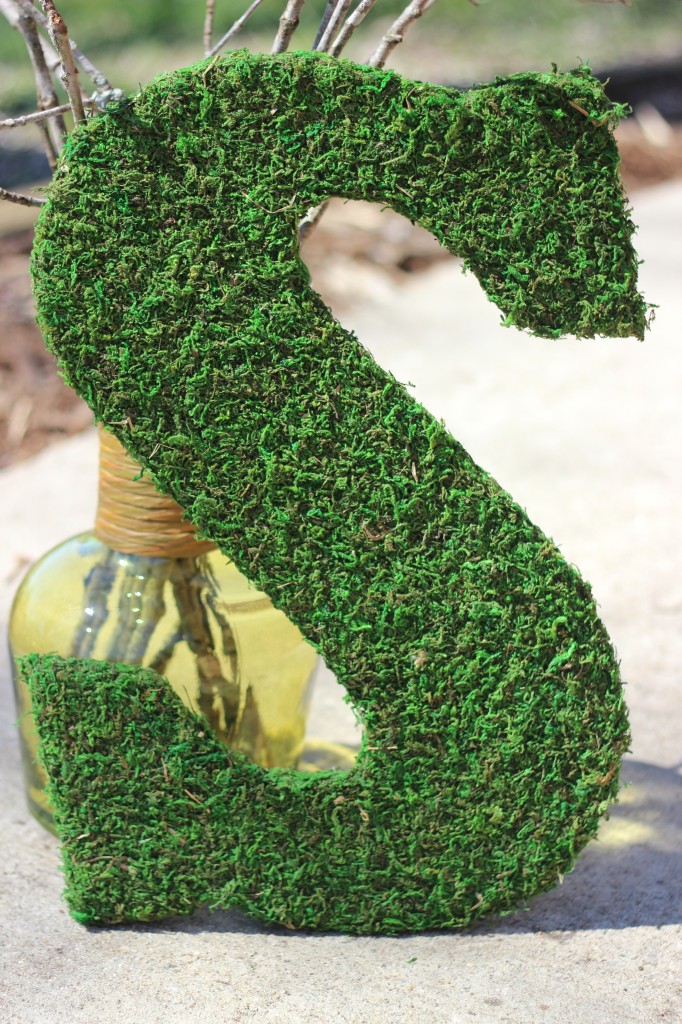
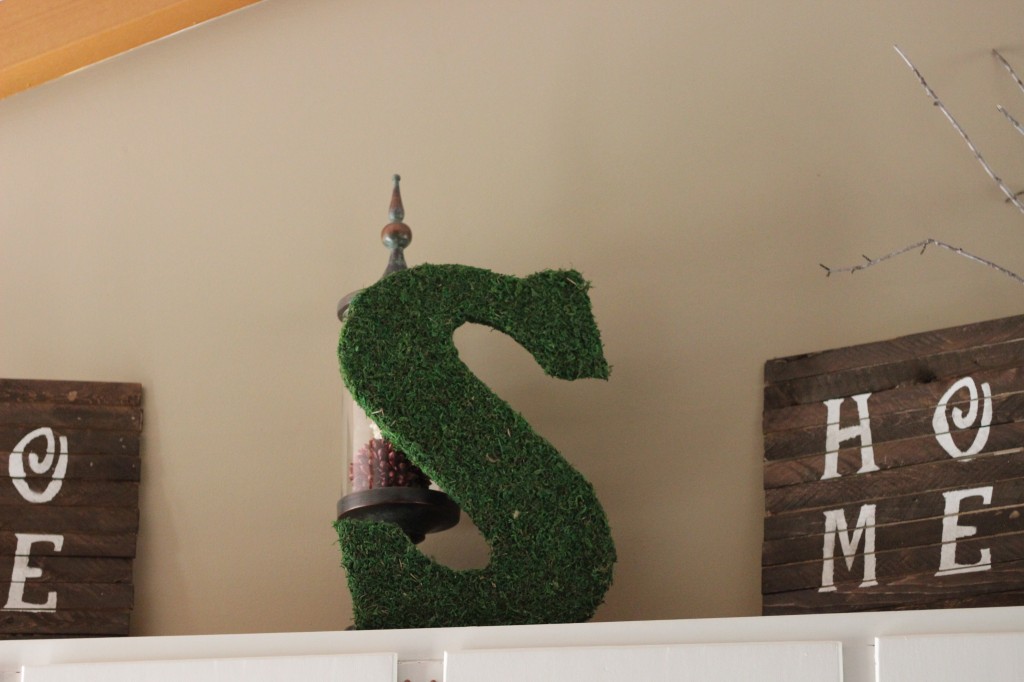
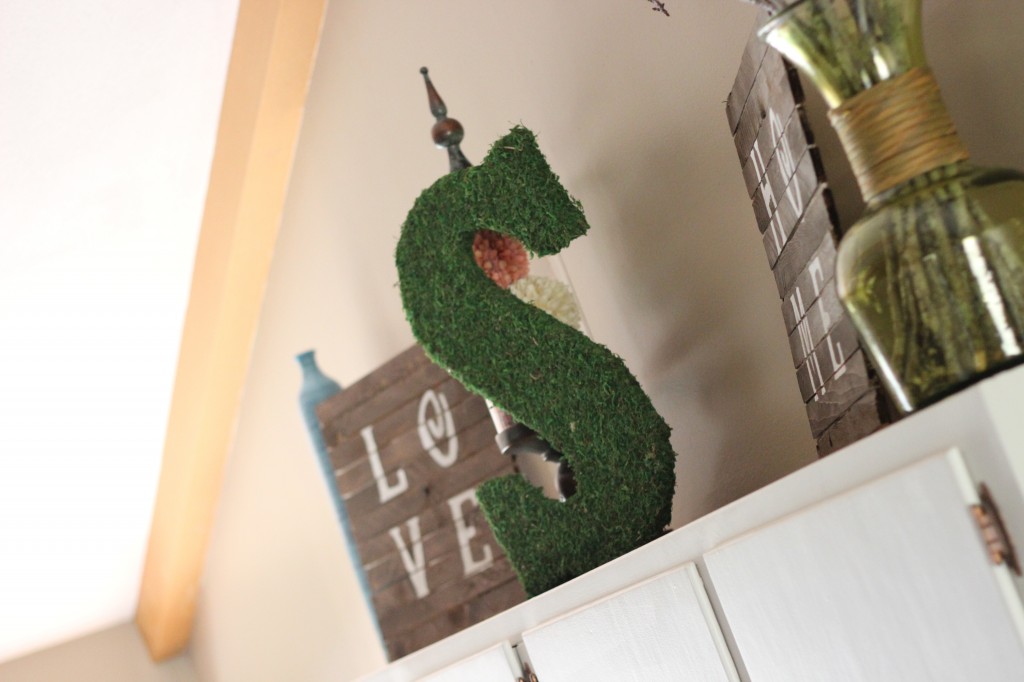
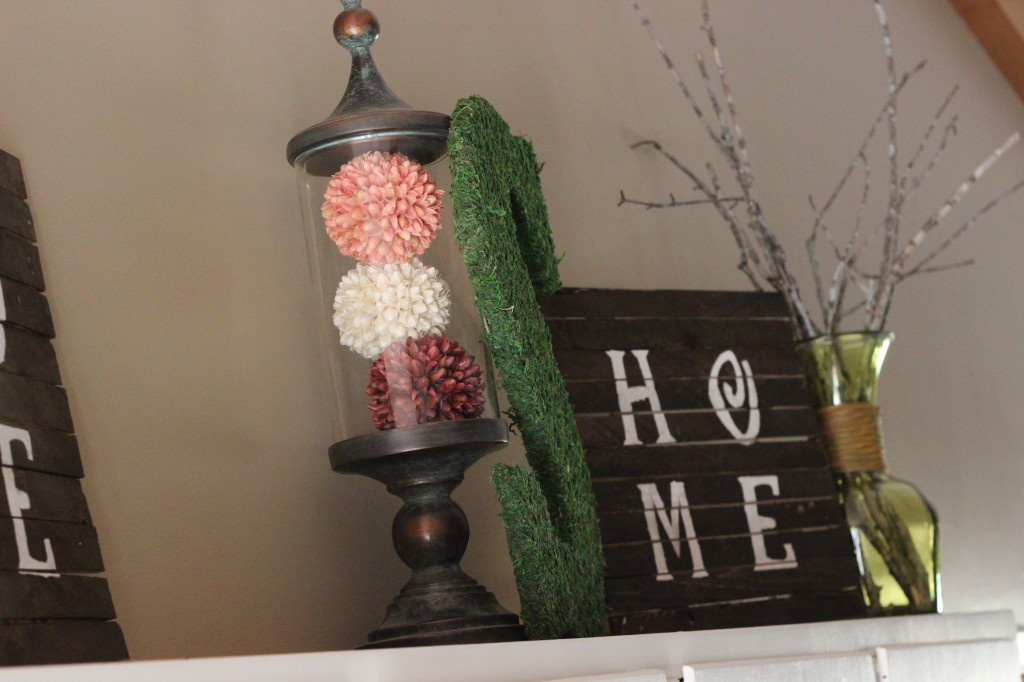
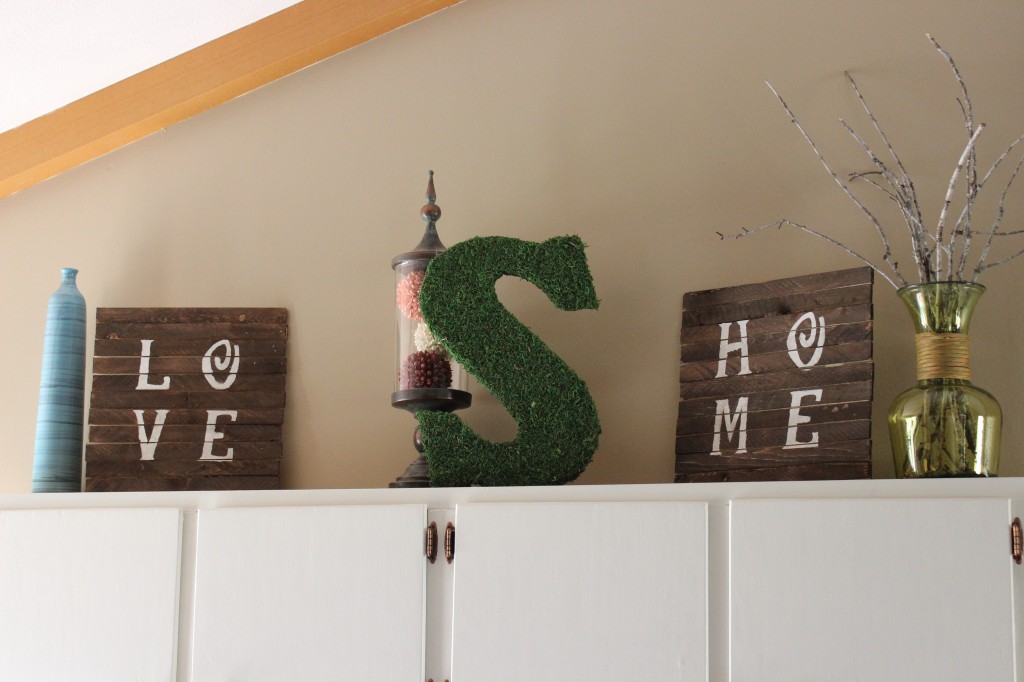
 months years now but I couldn’t bring myself to spend $50+ to get the size I wanted. So, what’s a girl to do? Just make one myself {for much cheaper, I must add}. And it was so easy! Since it was probably the easiest project I’ve ever done, I thought I’d share how I made it.
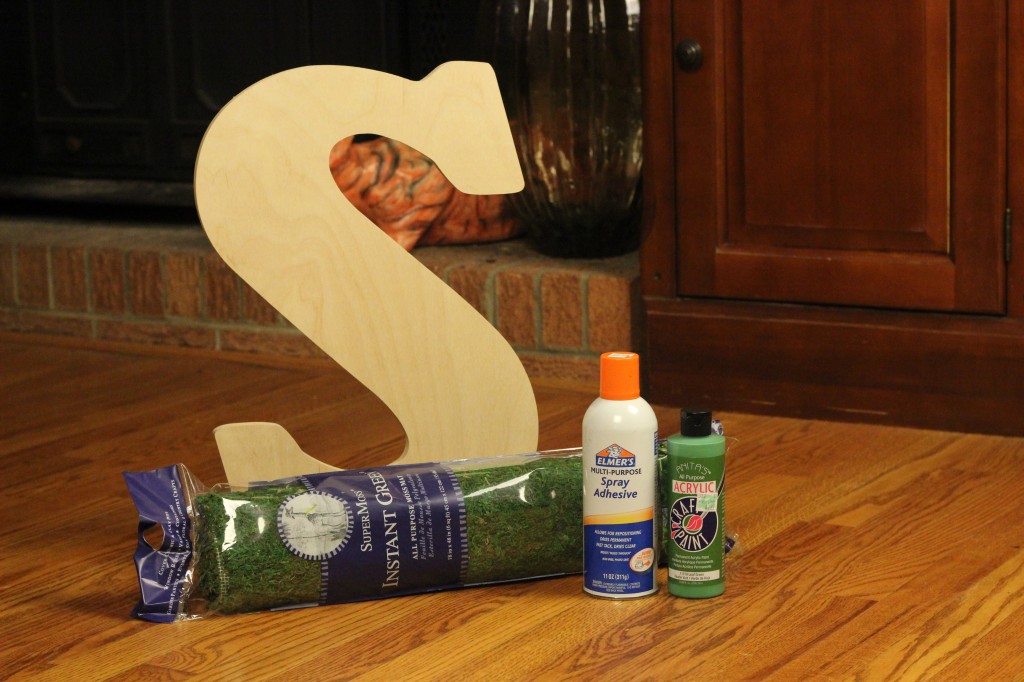
Supplies you’ll need:
- Wooden letter {I used 18″ from Hobby Lobby}
- Moss mat {Found mine at Hobby Lobby and it will cover two letters}
- Anita’s Leaf Green acrylic paint
- Spray adhesive
- Hot glue gun and glue sticks
- X-acto knife {or scissors}
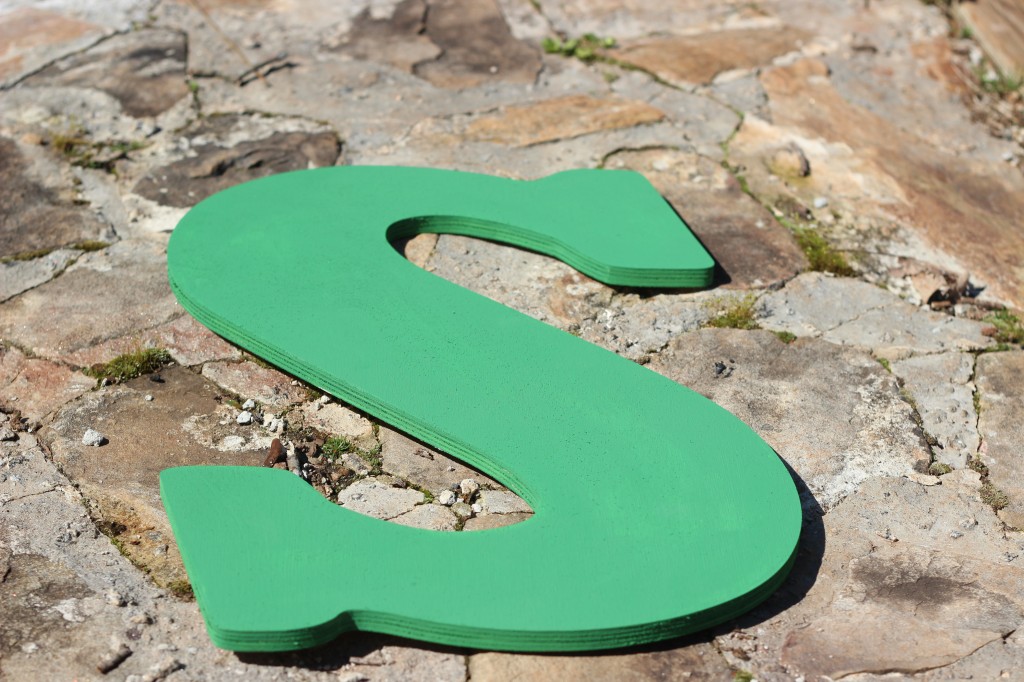
First, cover the letter with a coat of paint. It doesn’t have to be perfect because it will be covered with moss but this step is just in case you can see through any of it.
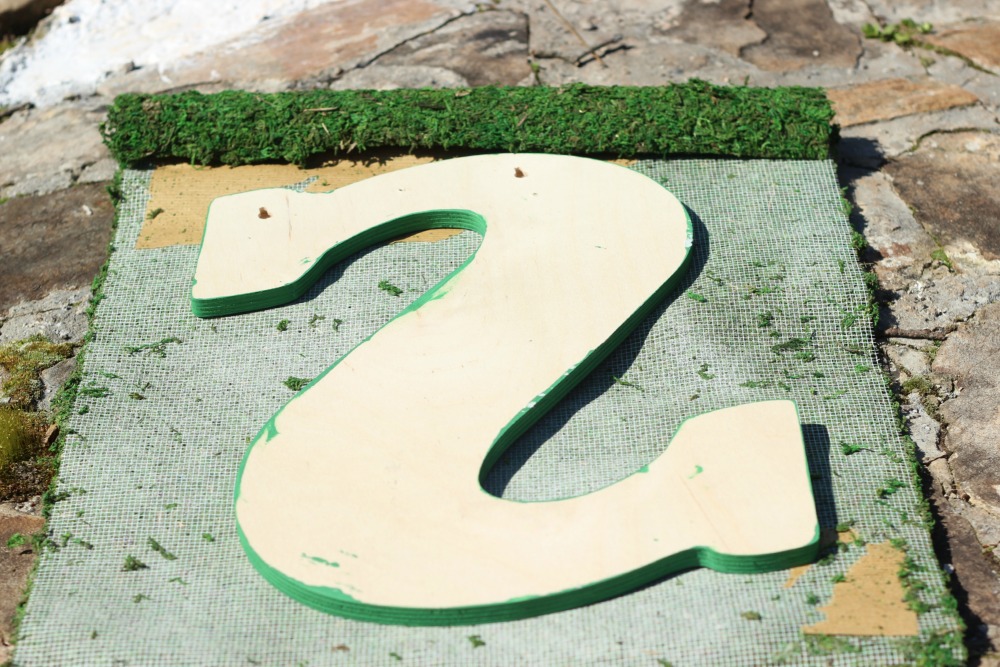
Remove the moss from the packaging, unroll it and place it moss down. Place the letter face down on the back of the moss. The moss that I bought was 48″ long so I cut a straight line to get a smaller square to work with.
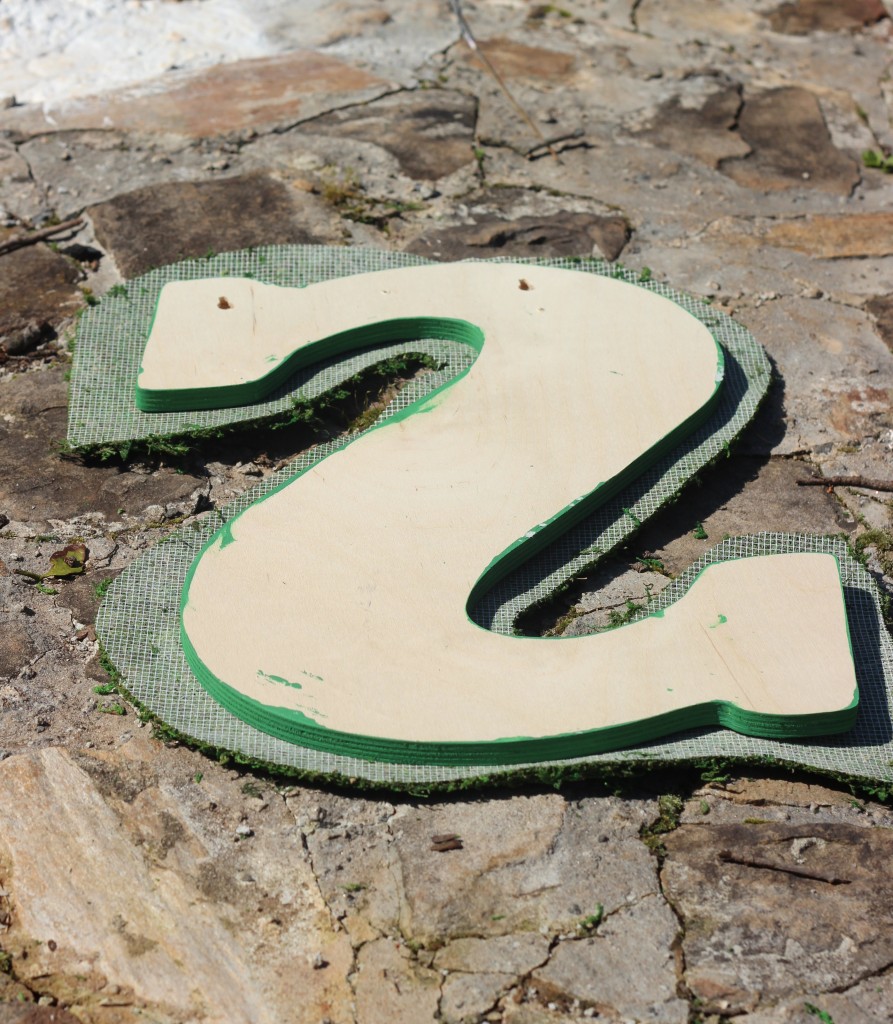
Using your X-acto knife {or scissors}, carefully cut around the wooden letter leaving about 1″ all the way around the letter to cover the sides. Following the instructions of your spray adhesive, spray the front of the letter and place it on the back of your moss. Don’t forget about the extra 1″!
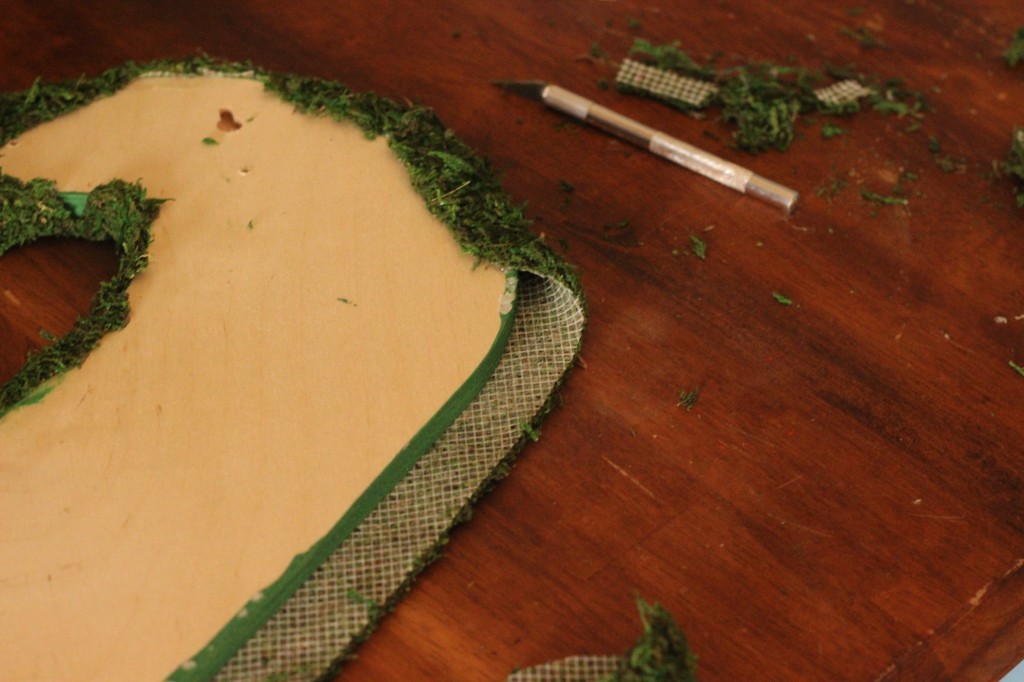 Working in sections, use your hot glue gun to apply glue directly to the letter {it does melt the moss just a bit} and fold the moss up to cover the edge. If you have a curvy letter like “S”, you may have to cut the moss so that it won’t bunch or overlap. Simply make some slits in the moss where ever there is a curve to get it to lay down correctly. If the back of your letter is going to be visible, you can cut away any excess moss but since mine isn’t going to be seen, I didn’t bother with this step.
I already had the spray adhesive and the X-acto knife but my total for this project was less than $25. The wooden letters are almost always on sale at Hobby Lobby and I used my 40% coupon for the moss making it $11.99 plus I’ve got enough to do another letter. Since I’ve got extra moss and it was so easy, I think I will do an ampersand if I can find somewhere to put it {but there’s always room, right?}! I officially feel ready for spring.
Today, I’m sharing this simple, spring ready DIY moss letter by linking up with Jenni, Sam, Khala and Reneé for Tuesday Tea!
This post is also linked with Kayla @ Home Coming and Mandy @ House of Rose.


32 Comments
Katelyn @ Real Housewife of Greenville
Wow! Your “S” turned out great! I’m looking forward to making one for my house. I love the ampersand idea!
Katelyn
Paige Sloan
Thank you! So, so easy!
Renee' @ Sassy Wife, Classy Life
Thanks so much for sharing, I would be an “s” too! I have been thinking of maybe an “s” out of wine corks, but love this idea too!
Paige Sloan
OOOh, wine corks would be awesome! You must share if you do!
Rachel Cox
Love this, We have a large C on our front door covered in moss, someone else made it for me a decor for our wedding, so happy to have a tutorial to make a smaller one for inside! Thanks for sharing! xo
Paige Sloan
I was thinking about making another one for our door but worried about it holding up with the weather. Has yours held up pretty good?
Jessi Otey
I LOVE THESE! I made one for Seth and myself at our wedding and we nailed them to the tree we got married under! my parents actually kept them there! These are so classic and i love green!
Paige Sloan
That sounds gorgeous! I would have loved to have some at my wedding but happy to have one now!
Khala @ The Birdie Bowl
Girl this looks AMAZING! I hear you on not wanting to pay such an outrageous price for a mossy letter. Good for you for making your own, especially since it looks fab! Love it! Thanks for linking up with us! xo
Paige Sloan
Thanks pretty lady! I’m all about saving a few bucks!
Kayla @ Mississippi Mrs.
I love this, it’s so cute! Looks easy enough!
Paige Sloan
So, so easy that I don’t know why I waited so long to try it!
Marlen
whaaat, this is fantastic and oh so easy! i’m never buying expensive decoration again- clearly i can make everything at home, haha!
xo marlen
Messages on a Napkin
Paige Sloan
Right?!?! I’m big on somethings are worth paying for rather than trying to make but I’m so glad I save my money and made this!
meagan
This is so adorable–and you made it look easy! thanks for sharing :)
Paige Sloan
Thank you!
whitney
wow! you seriously have me convinced that this a project i can do! and now, i wanna do it! hahaha. i wondered 2 weeks ago how to do this! yay!!!
Paige Sloan
You can do it! And afterwards you will wonder why you waited because it’s seriously that simple!
Maegen
Holy cow you made that look so easy! I don’t DIY a lot because I am such a perfectionist, I can never git it “right”. But this looks like something I could do!
Paige Sloan
Trust me, I understand 100% and I can’t tell you how many DIY projects I’ve started but never finished because the tutorial said it was “easy” and it turned out to be a flop. For example, a chevron pumpkin. No where near as easy as the tutorial made it out to be but this one. This one was a breeze!
Lisa Loves john
LoveEeee this!!!! This may be my weekend project!! :) :)
Thanks for sharing!!
Paige Sloan
You totally should! And post pictures!
Katie Elizabeth
This is super cute and super easy.. I think even I could handle it and I’m pretty DIY challenged! My last name starts with an O which I think just looks strange on most things.. looks like just a circle to me but maybe I’m overthinking it haha
Paige Sloan
Haha! Never thought about it but now that you mention it…maybe you could find a cuter font but than it would be harder to cover. Or maybe a bow on top? And trust me…I’ve had my fair share of flops in DIY department but this was honestly too easy to mess up!
Jenni
What a fabulous tutorial!!
I have been wanting to make one of these for a while!!
and i am totally jealous about you crafting outside!
it snowed NINE inches here today. uhg!
Thanks so much for sharing & for Linking-up!
Paige Sloan
You totally should! And 9in?!?! Holy cow! Last weekend was so gorgeous here!
Carly
Oh my gosh I love this! I wanted to do something with moss for my wedding but we didn’t end up having time to get to it, so I would love to add some green to my house! I definitely want to add this to my list of DIYs to try!
Paige Sloan
I agree! I wish I could of had them at my wedding. I think they look gorgeous on the front doors churches. But it’s a great way to bring some spring green into the mix plus it’s super easy!
Leah
This is so neat! Right, I’m going to pin this post so I can add it to my craft projects I want to try.
I’m not sure I’ve ever seen anything like that moss mat before (I live in New Zealand). That could be challenging – might have to go on a hunt for some…
Paige Sloan
I found this one at a local hobby store called Hobby Lobby. I know they have a website. Maybe you can order it online?
Lauren
I love this!! My mom actually made a moss letter to hang above our cake display at our wedding- I have it hanging in our house now! I believe she used hot glue and a bag of moss which meant lots of burnt fingers so this is a great idea!!
Paige Sloan
Thank you! It adds so much to my decor and I love it! I burnt my finger once because it does melt the moss a little but just used the end of my X-acto knife.