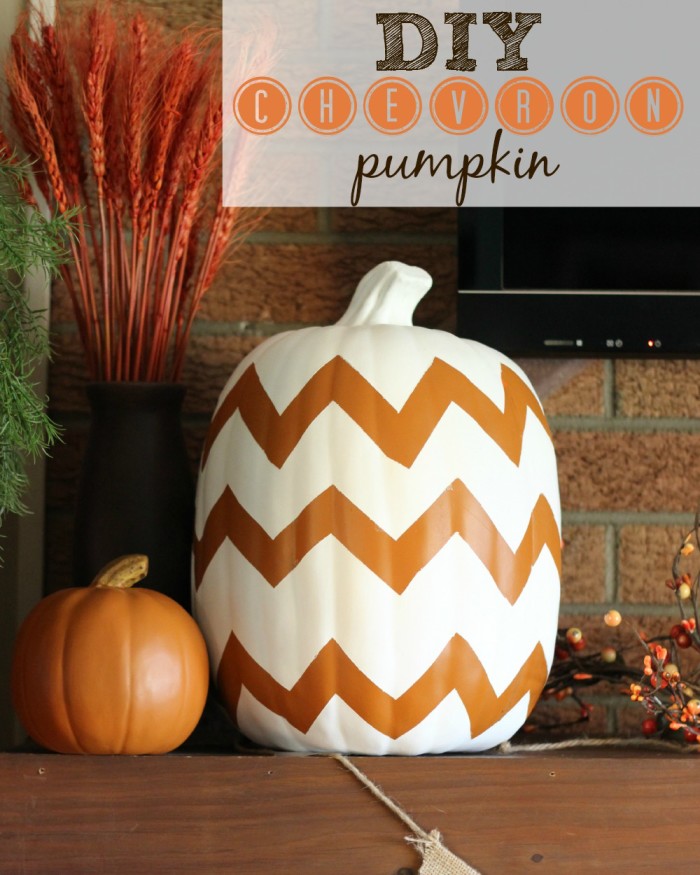
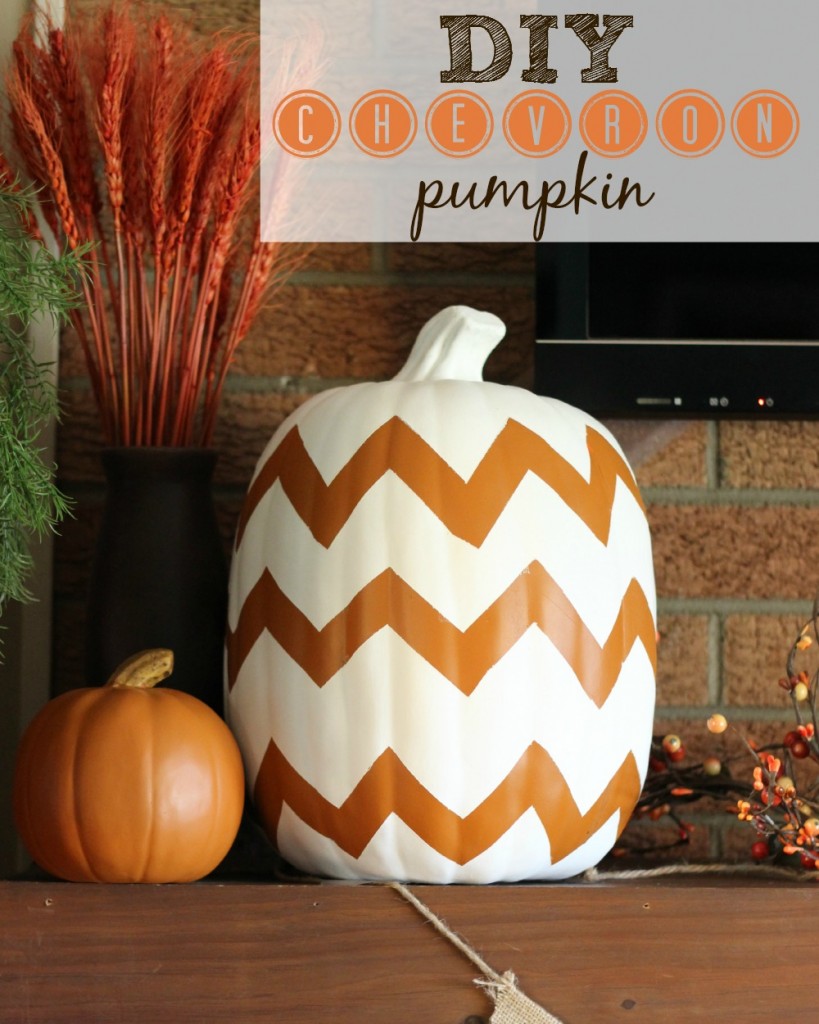
DIY Chevron Pumpkin
After my fall mantel post last week, I had some requests to share my DIY Chevron Pumpkin tutorial. I actually took these pictures last year when I did the pumpkin but never got around to doing the tutorial. The pictures aren’t the greatest but hopefully they’ll do the job!
Supplies you’ll need for your chevron pumpkin:
- A pumpkin {real or artificial-I used an artificial one}
- Frog tape {or any type of painter’s tape}
- Scissors
- Paint {I used regular craft, acrylic paint}
- Foam paint brush
- X-acto knife
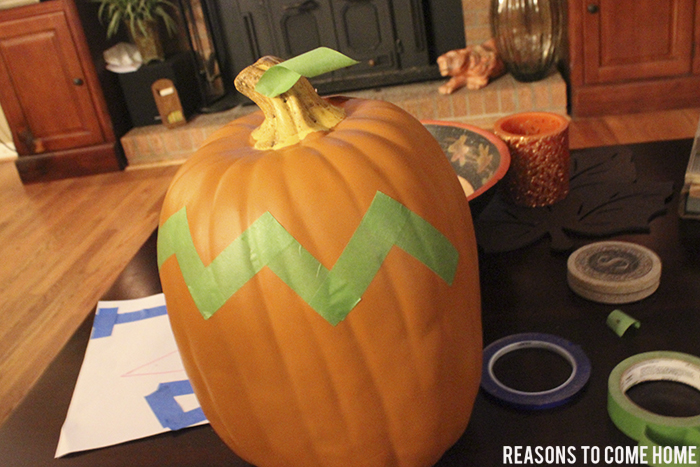
To start, you’ll need to decide how big or small you’d like your chevron pattern and cut your tape accordingly- I cut mine 3 1/2 inches long. Make sure the pieces of tape are the same size so your chevron is the same size.
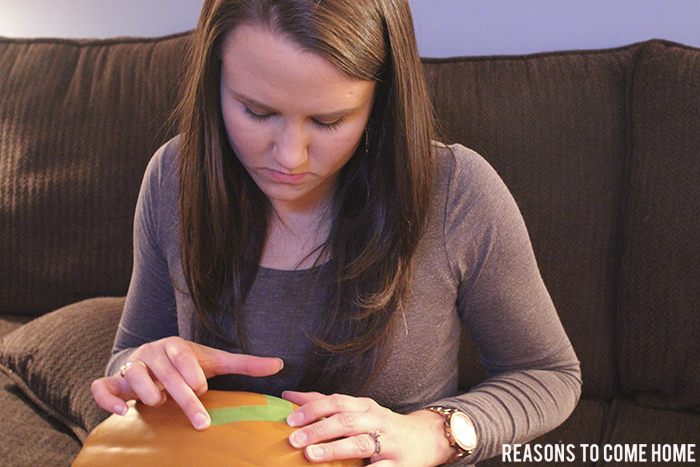
To begin your chevron pattern, line up your first two pieces of tape and create a point {overlapping the tape} by making right angles. I’m sure there is a more precise way to do it, but I just eyeballed mine. In hindsight, I would have started in the center of my pumpkin to help make the spacing more even.
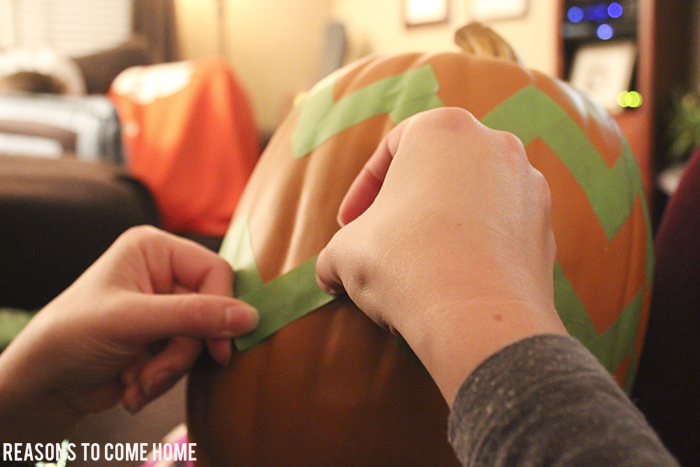
Repeat until you’ve gone all the way around your pumpkin, smoothing as you go to ensure a tight adhesion. Once you have added your desired rows of tape, it should look like this…
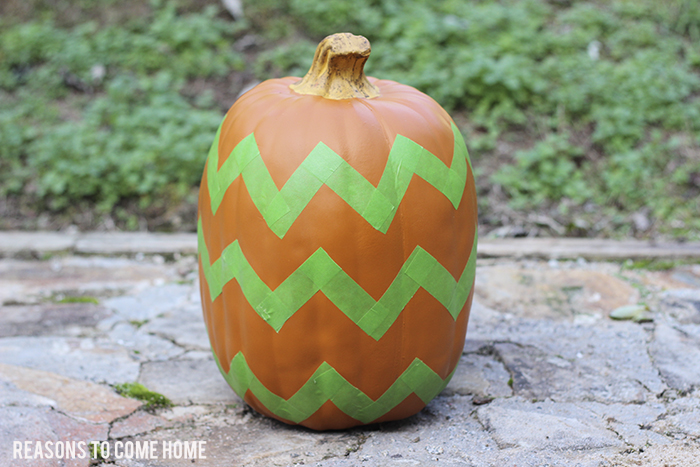
After your entire pumpkin is taped off, you can start painting it. I painted the entire pumpkin, stem and bottom, and tried to dab the paint on with a foam brush to try and minimize brush strokes. It took two or three coats to get it fully covered. Make sure you allow the pumpkin to dry in between coats.
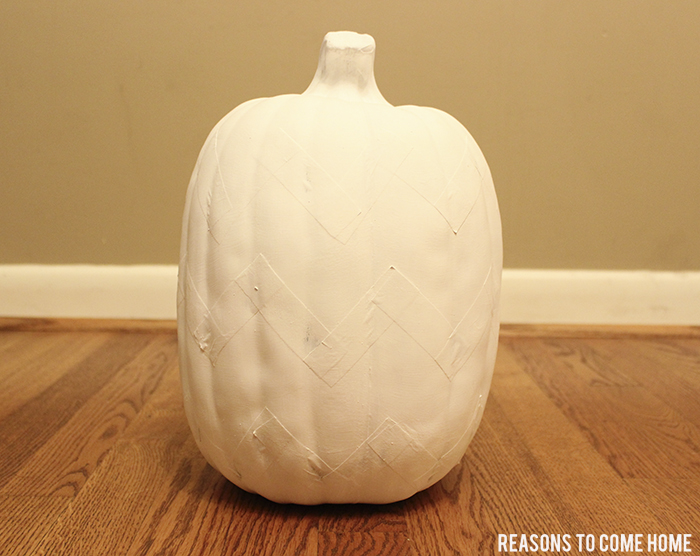
We waited for it to completely dry {like overnight} before we started to peel the tape off.
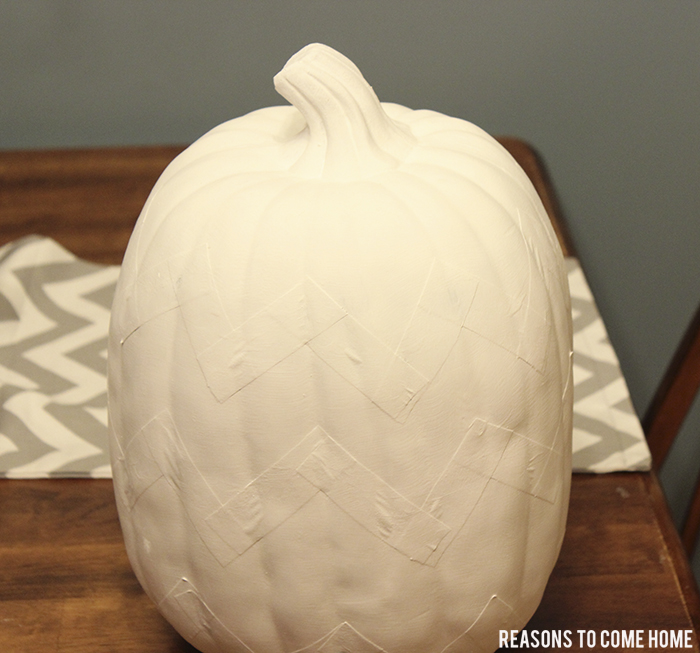
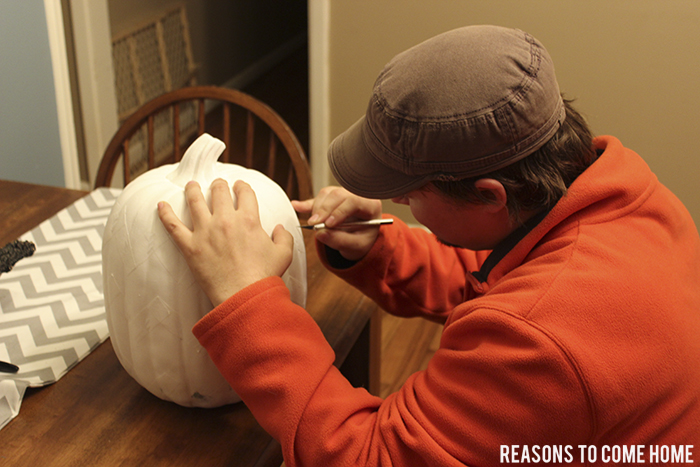
Once the paint was completely dry, Cory used an x-acto knife to help get up under the tape and pull it away without messing up the paint. He did this part because I tend to cut myself whenever I use an x-acto knife.
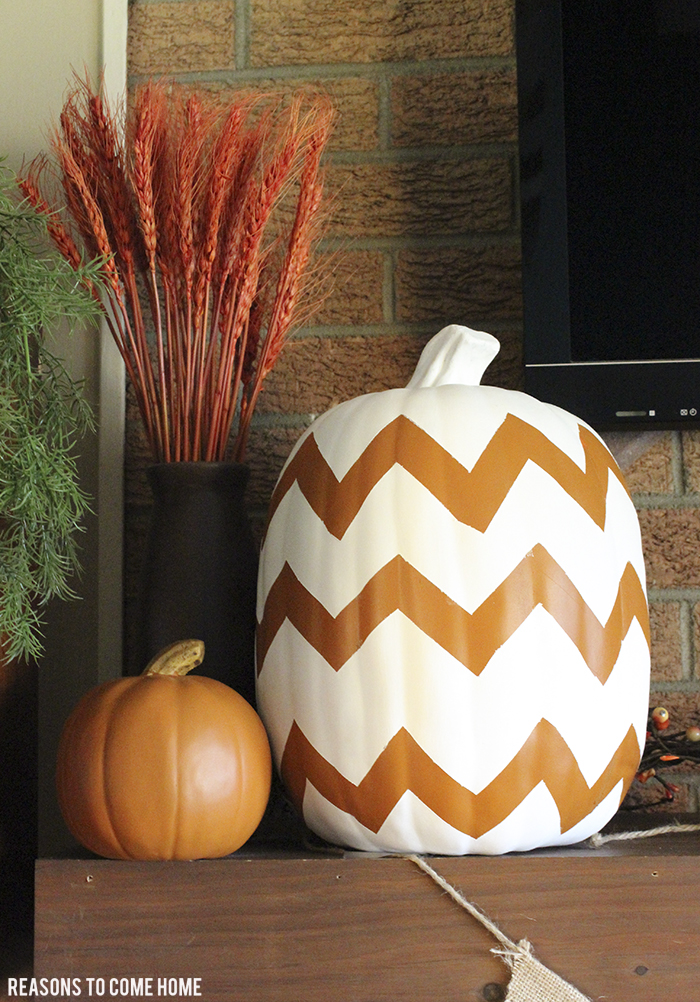
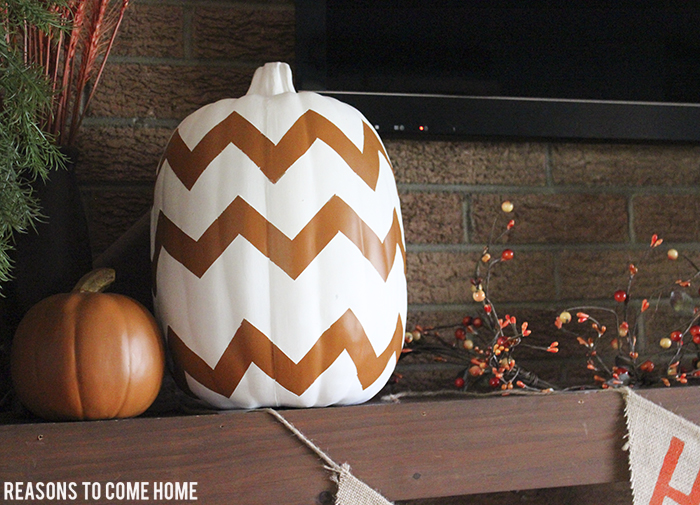
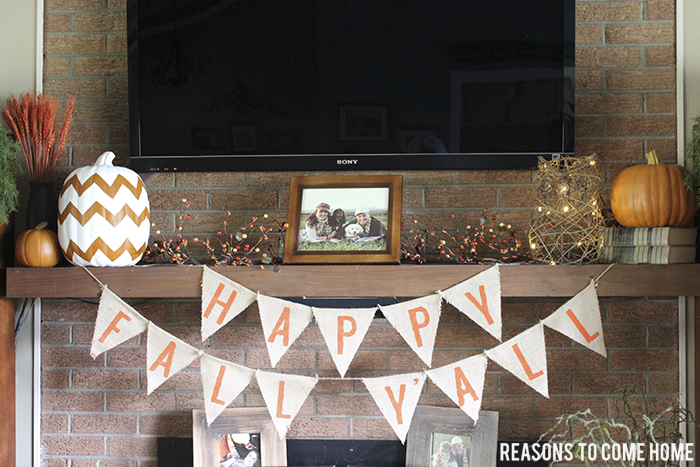
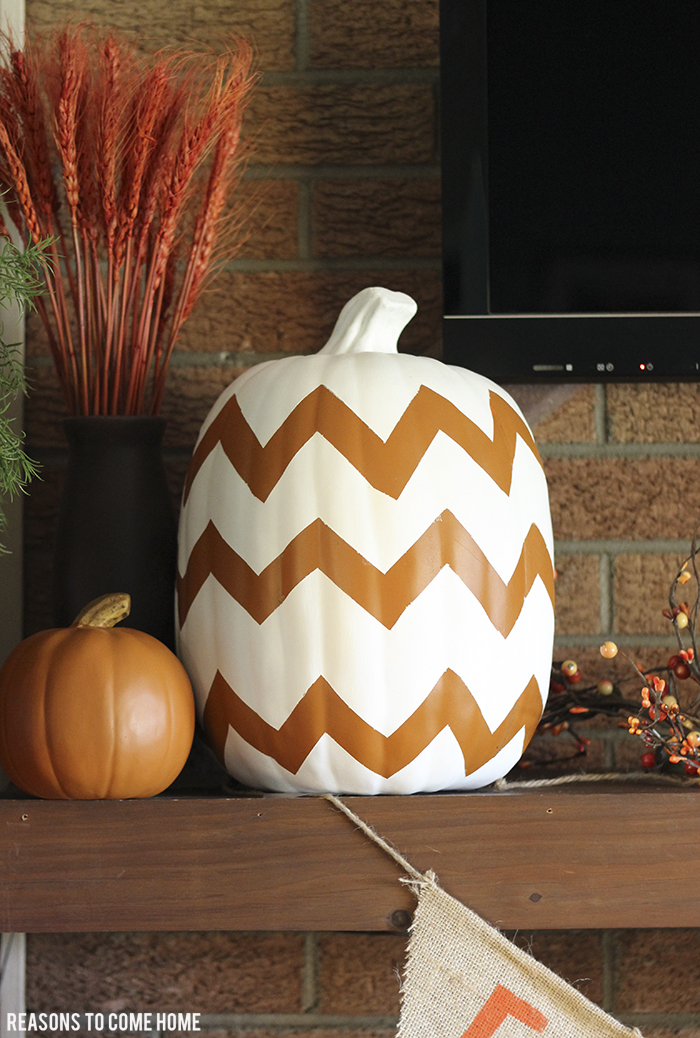
As you can tell, the paint did bleed a little and spacing of the chevron isn’t perfect but I’m okay with it all because I love the way my Chevron Pumpkin turned out!
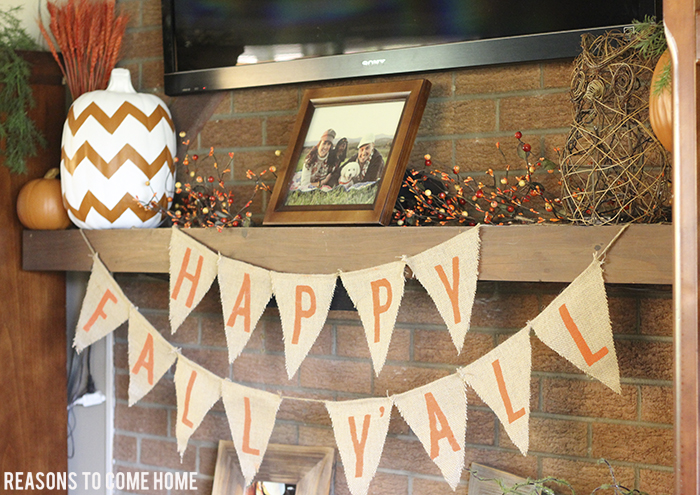
This post is linked with two of my favorite gal pals Katie and Lisa.

14 Comments
B @ The Sequin Notebook
I’m always looking for new ways to jazz up my pumpkins, and this looks adorable – great job!
Paige Sloan
Thank you!
Biana @Blovedboston
I did chevron on my pumpkins last year but they didn’t turn out as perfect as yours – I’m going to have to try it your way this year!!
Paige Sloan
I may be too much of a perfectionist when it comes to stuff like this!
Lauren
Your pumpkins look fantastic!! I love your mantel – so pretty!!
Paige Sloan
thank you!
Rebecca Jo
So dang cute!!!!
PS – not sure if you saw it, but I linked your last blog post in my blog – shout out :) I think you’re awesome :)
Paige Sloan
You are just too sweet! Thanks for the shout out!
Maggie@ Polka Dots in the Country
So, when I saw your mantle last week I loved this pumpkin! I bought one from Target this week and I plan on doing the same thing! Thanks for the inspiration girl!
Paige Sloan
Can’t wait to see it! Target has the best craft pumpkins!
Paige Gunter
What a great idea, Paige! I will definitely have to show this to one of my friends. She is crazy for chevron. This was a very creative idea. It looks great up there with your banner!
Paige Sloan
Thank you! I may be a little obsessed with chevron!
Pinky
You did an amazing job, lady! So talented!
Cait {Home Sweet Ruby}
Oh I love that pumpkin! And your mantel looks adorable, so festive :)