
DIY Chandelier Makeover
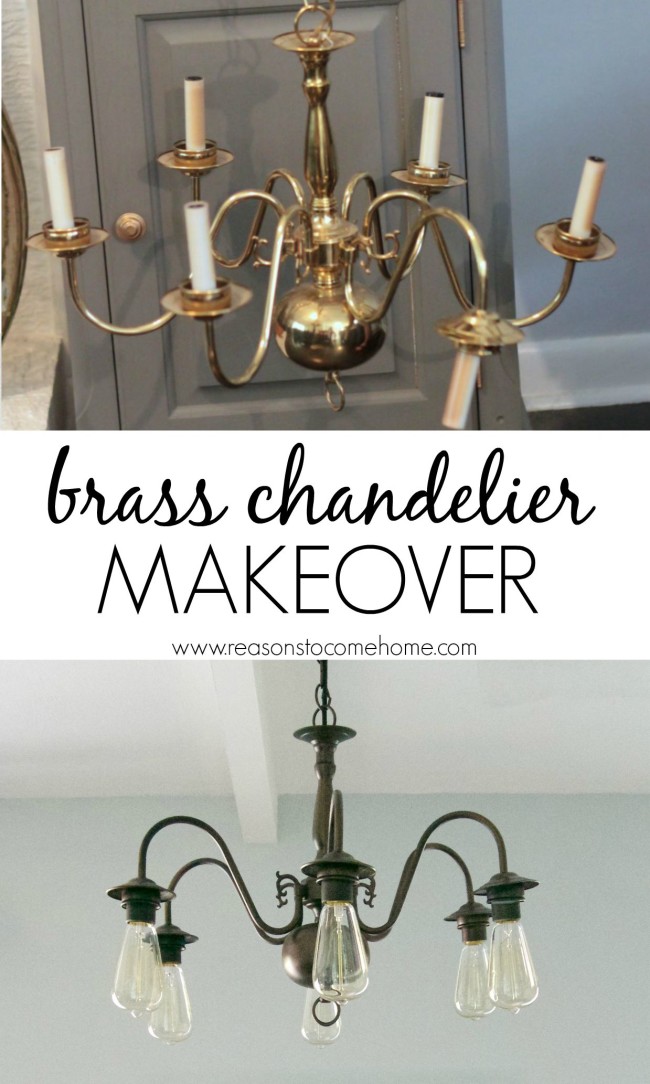
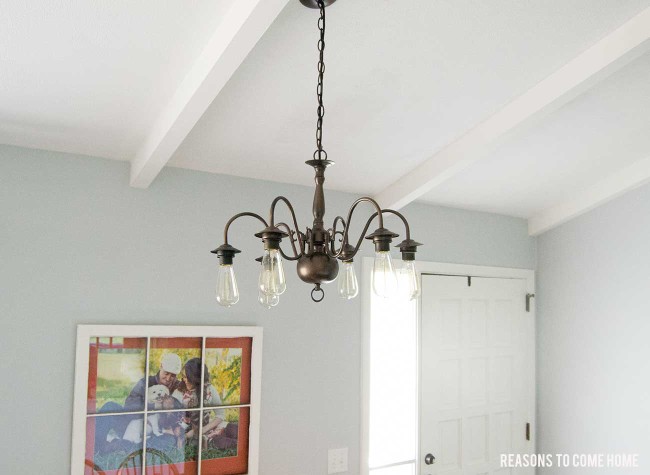
Probably a year or so before we started our kitchen reno, Cory and I had replaced the lighting in the dining room, kitchen and front entry way and a few weeks months ago, I sold my practically brand new chandelier and replaced it with this…
I know, I know. Why would I sell a perfectly good chandelier? Especially for that beauty, right? Well, when I got ready to sell the kitchen light and smaller chandelier, the person was interested in all three. Plus, the chandelier just really didn’t “fit” with our house anymore.
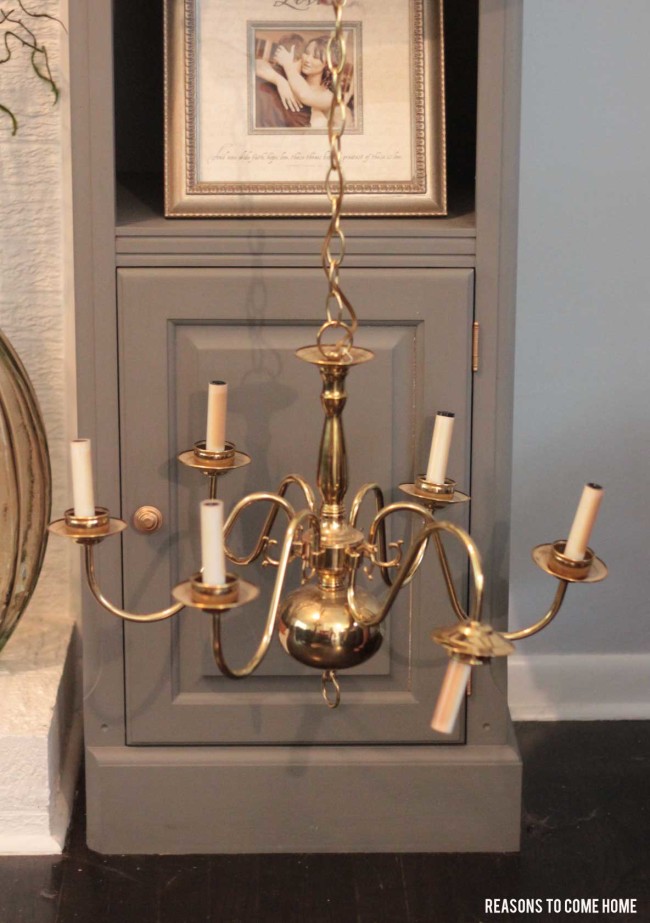
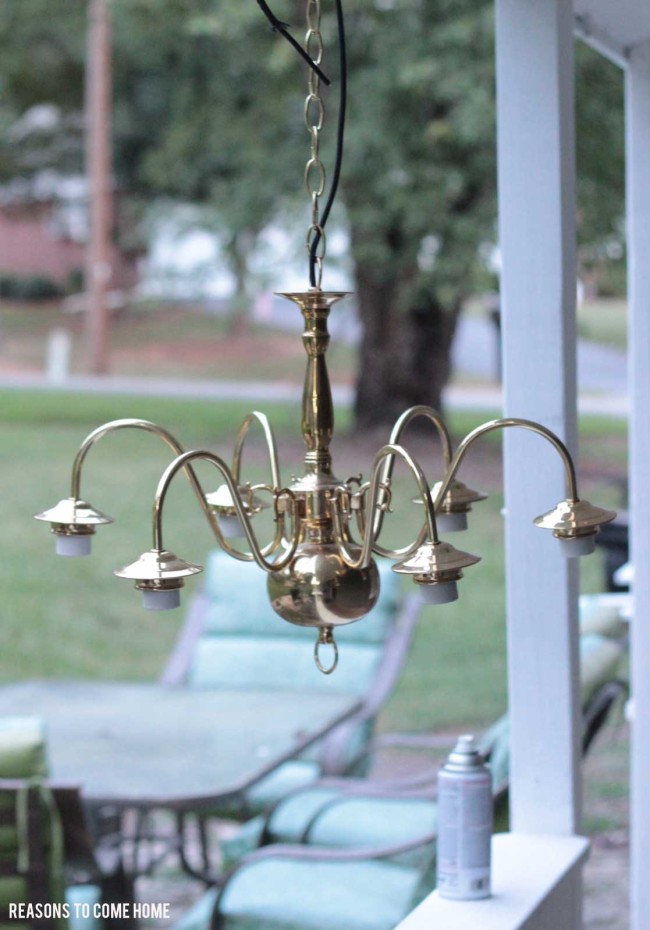
After searching for what seemed like weeks online, trying to find the perfect chandelier, I gave up. Until I saw this chandelier come through our yard sale.
Looking just like it does in that picture.
Immediately, I sat it to the side and told Cory I wanted to try and do a chandelier makeover for our dining room. Y’all, I got the biggest side eye I think he’s given me yet. But I had a vision and just knew he could make it happen.
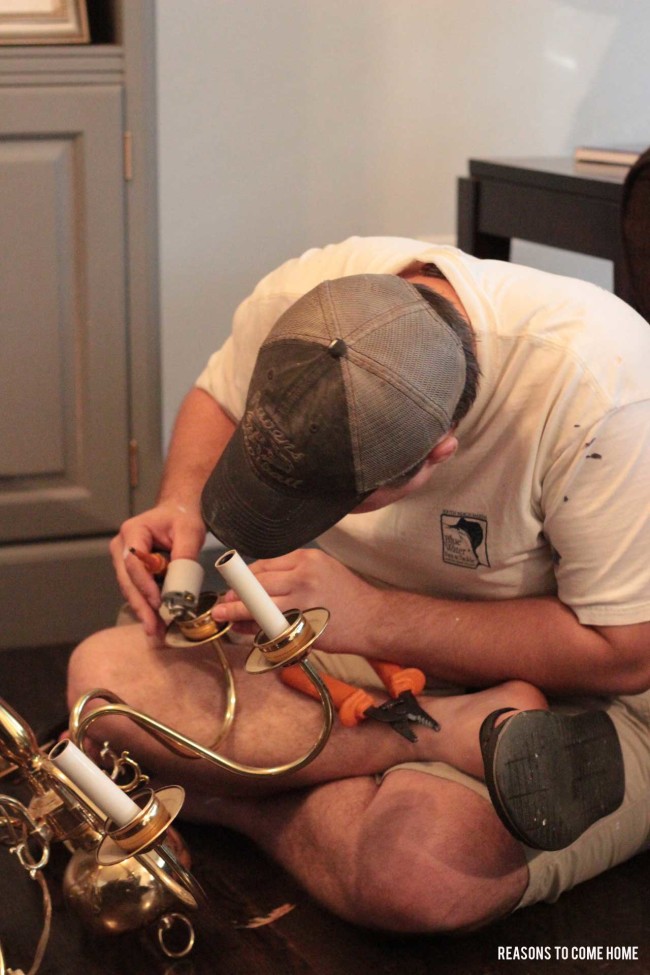
So we he got to work. First, he took out the candle stick socket covers and wired in new, shorter socket covers.
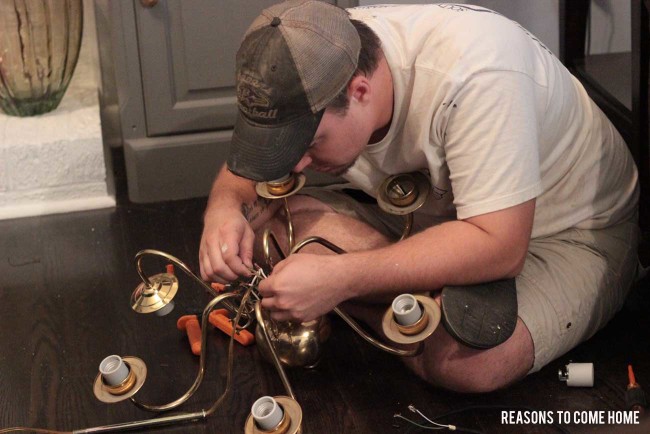
Next, he took out the old wire and replaced it with extra cord we had from our pendants.
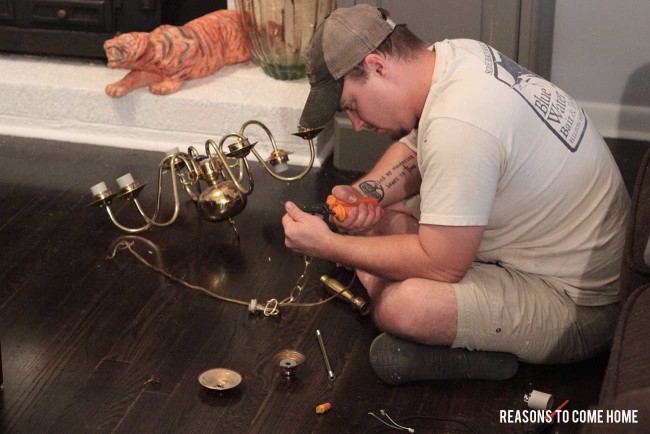
Once all the electrical was done, it was ready to paint. Even though we didn’t, I would suggest covering the electrical sockets before painting. Do as I say, not as I do.
How to achieve the perfect oil-rubbed bronze look
You’ll need one can of flat black paint and one can of Rust-Oleum metallic brown paint. These are the two cans we used.
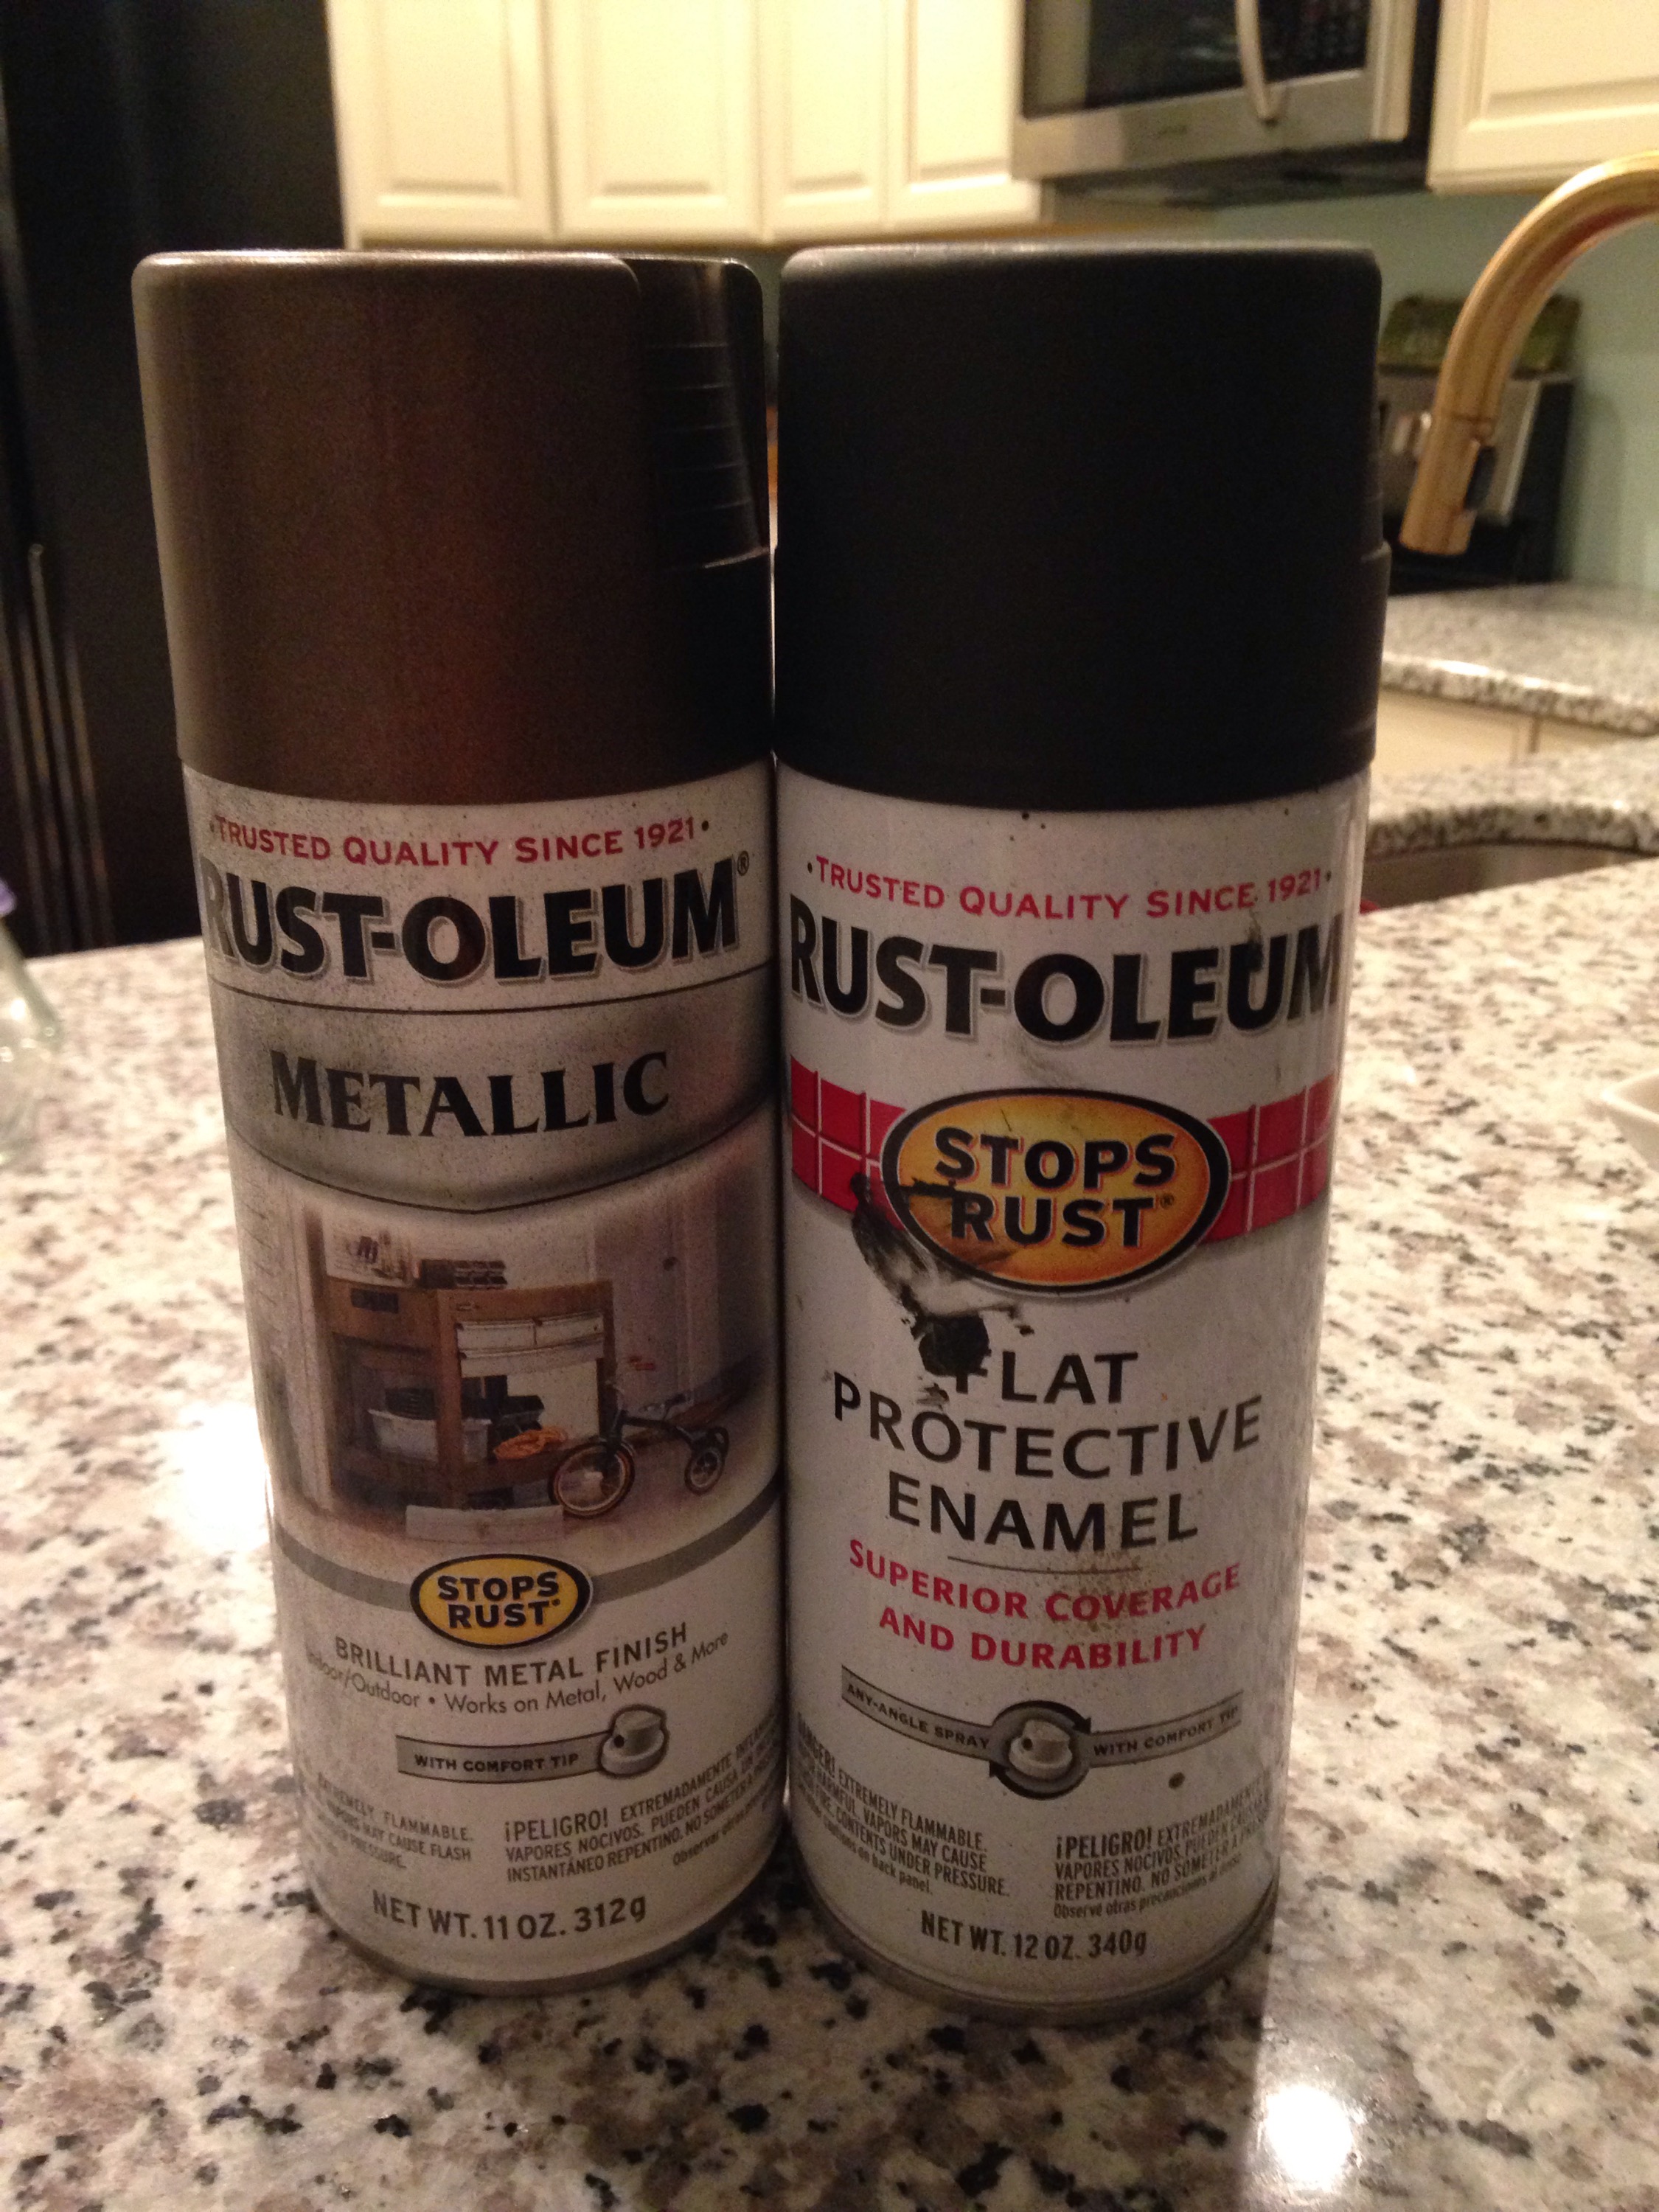
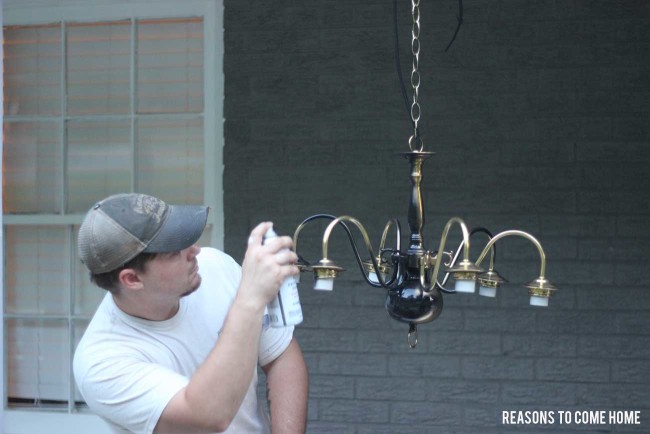
First, spray with a flat black paint.
Second, lightly dust the bronze metallic over the highlights and edges, holding the can approximately 10″ away, taking care not to spray too heavy in any one spot.
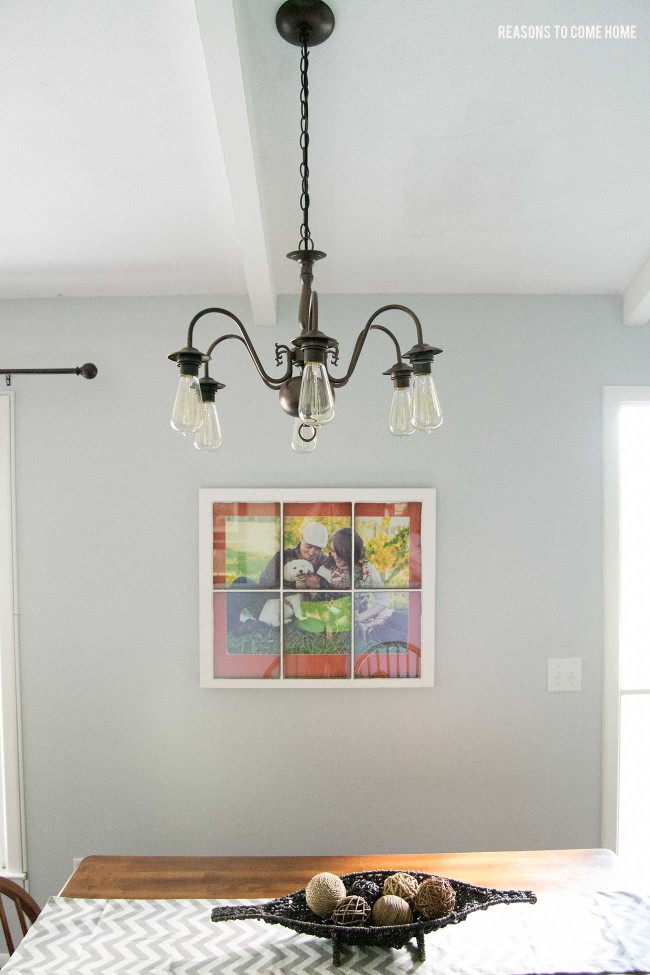
As soon as Cory got the first coat of paint on, I knew this was exactly what I was looking for. By the time he was done, I was amazed at the perfect oil rubbed bronze look he achieved. That hubs is a genius, I tell ya!
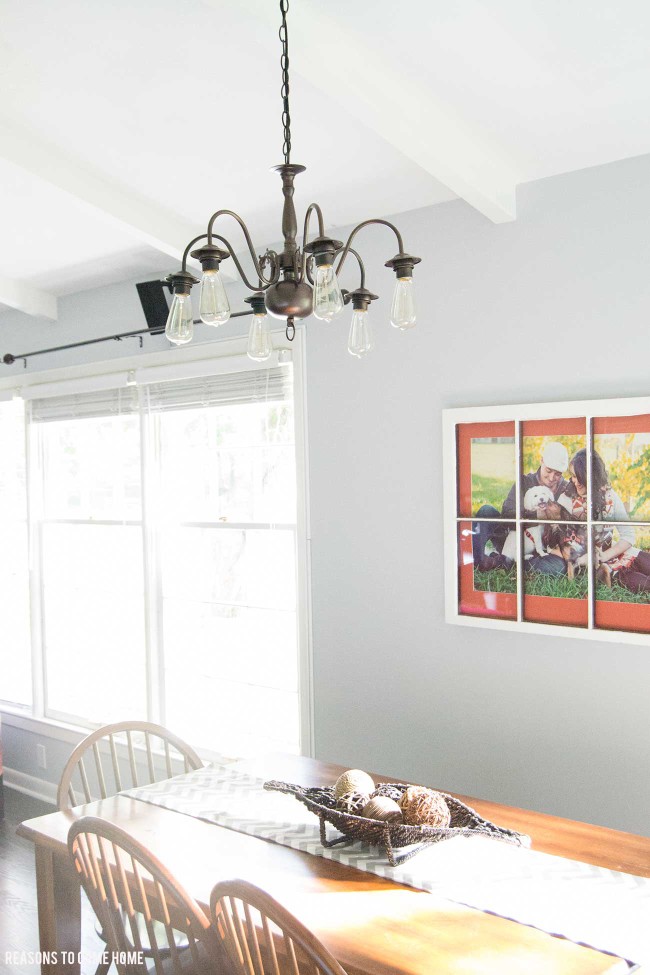
Obviously, I’ve yet to make curtains or even find the rest of my curtain rod. We’ve been a little busy but after we get back from Rwanda, I will be marking things like that off my list!
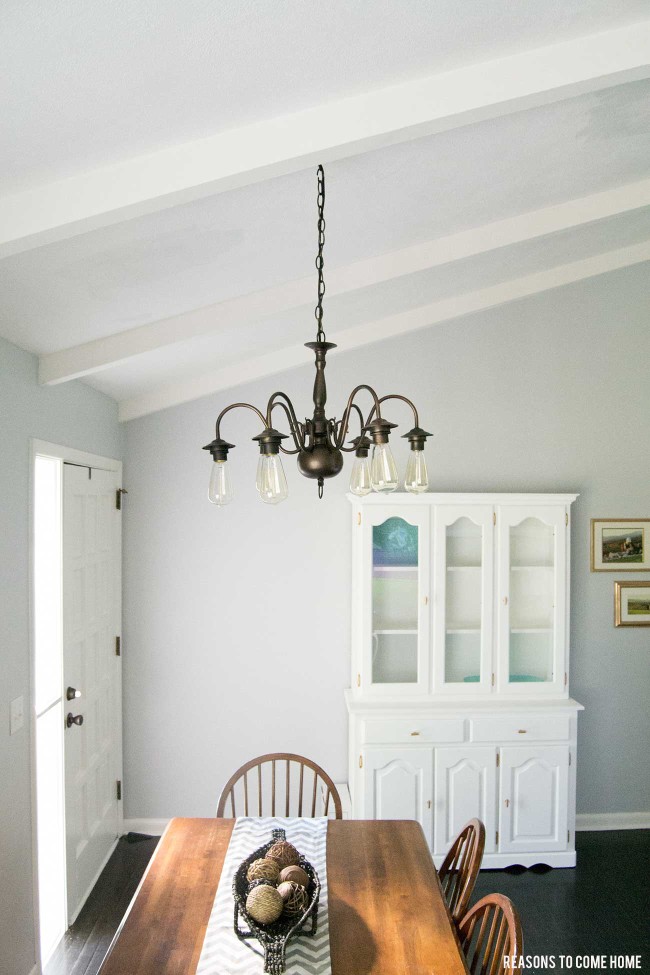
I ordered my Edison bulbs off eBay because they are about half the price of what you will pay in a big box store. Hello, savings!
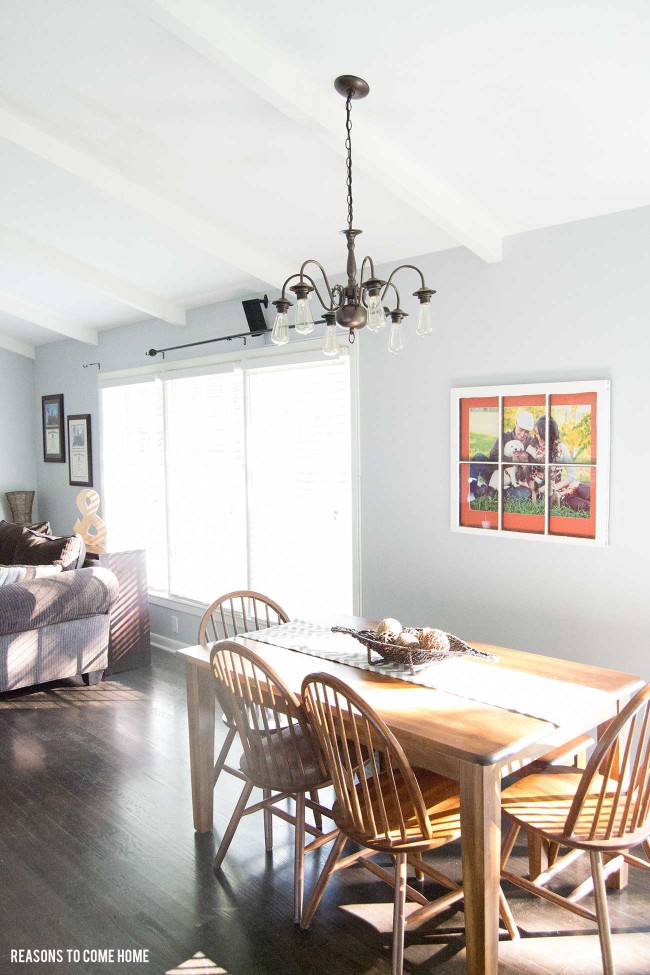
Is this really my house??? #someonepinchme
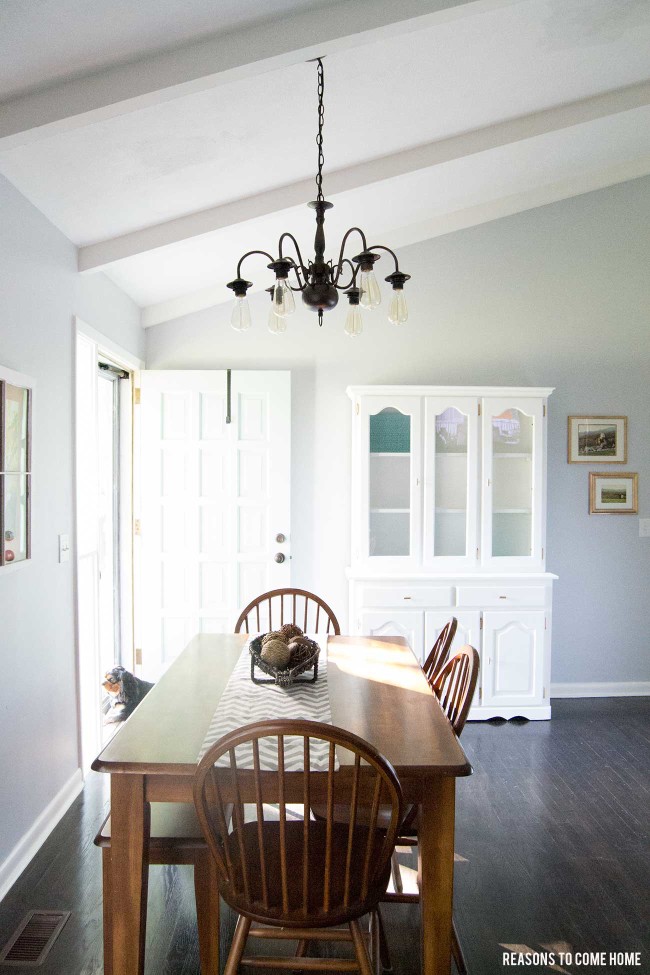
I spy a puppybomber but he’s cute so I don’t mind.
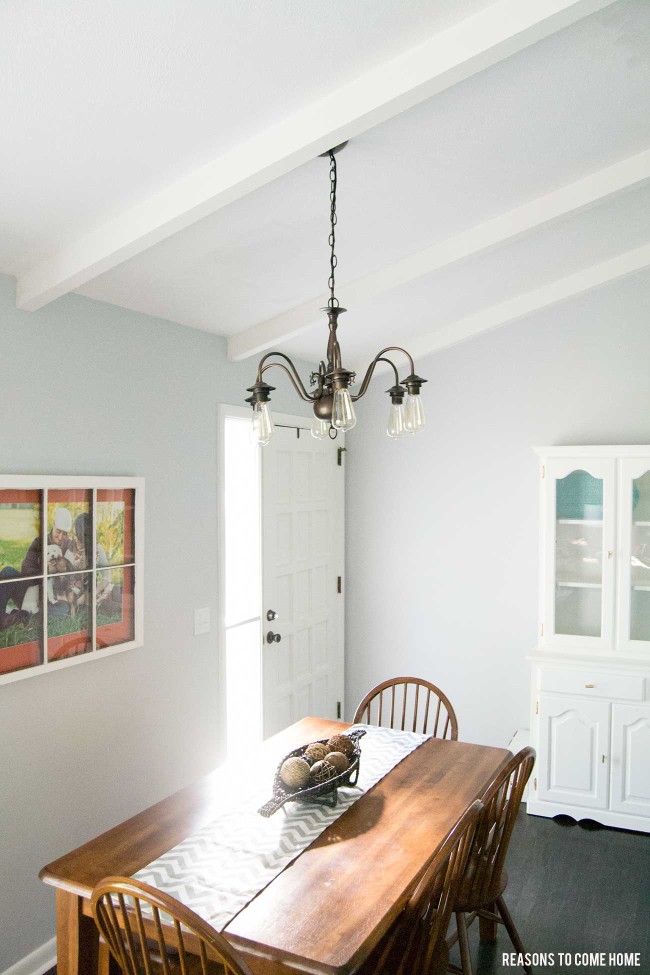
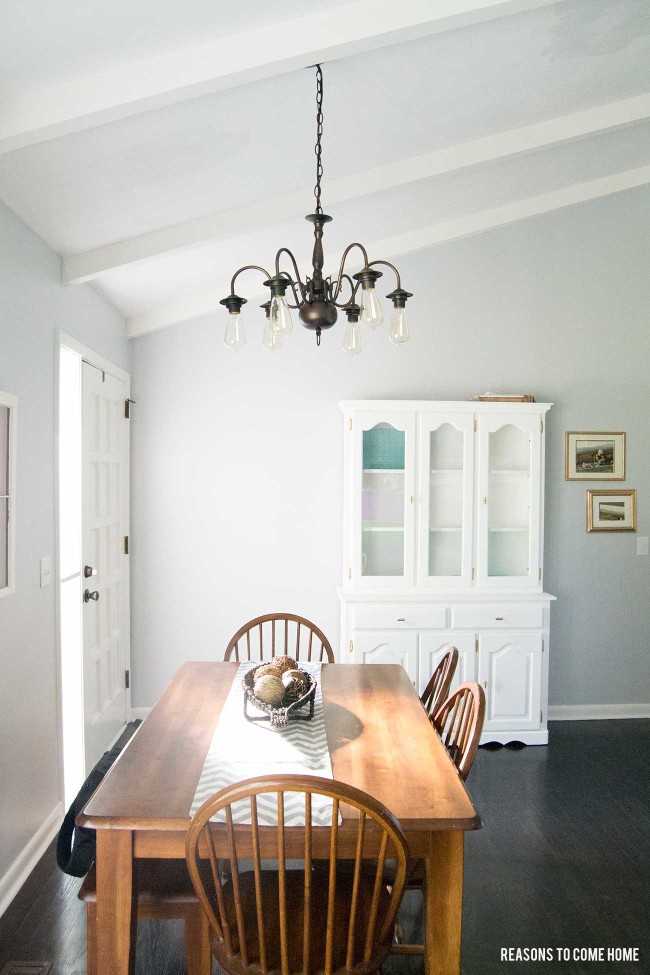
Y’all, I’m in love with this chandelier makeover. Dare I say, this is my most favorite DIY yet? Not only was it so easy but it gave us a chandelier that fits our house and matches the industrial look of our pendants. But the best part? This project cost me next to nothing! We already had the spray paint on hand and I paid less than $40 for the Edison bulbs.
By the way, the oil-rubbed bronze technique also works on ceiling fans. We’ve already been asked about 15 times if we got a new fan for our living room. Nope, just painted that ugly sucker!
Do you ever use spray paint around your house?
This post is linked with The Creative Corner, Get Your DIY On, Work It Wednesday, Hit Me with Your Best Shot.
33 Comments
Rebecca Jo
So smart!! & I LOVE those bulbs! Didn’t even know something like that existed!
Amanda Elizabeth
So impressed girl! I am obsessed with those edison bulbs! They are my absolute fav!
chelsea jacobs
I love it! It turned out so great!
Julie Joy
Girl, you two seriously KILL the DIY projects! Simply perfect! I love it!
Katie @ Little House of Four
This is incredible! I never would have thought to turn the lights upsdie down. Great upcycle and it looks fantastic in your dining room!
Amanda @ Dwelling in Happiness
i absolutely love this chandelier! What a fun transformation, and the edison bulbs are my new favorite! Featuring it at The Creative Corner tomorrow night! :)
Kati | Houseful of handmade
This is brilliant! I never would have thought to turn the light sockets upside down. But it looks amazing with those edison bulbs!
Jordan tickle
love The transformation! Where did your husband get the shorter light sOckets? I need to swap those on our old chAndelier too!
Kristen
I NOTICED MY MIL HAD SOmE beautiful BRASS CHANDALIERS IN HER BASEMENT, SO SHE GAVE THEM TO ME AND I AM underlying impressed WITH THE WARM FEEL THE EDISON BULBS GIVE ALONG WITH THEGOTHIC-Y FEEL FROM THE OIL RUBBED BRONZE!!! I’m IN LOVE! THANK YOU!!!
Karen
This is the perfect transformation for my chandelier, and I already have one just like this. I was just looking for a makeover idea and found this. Awesome, thanks for sharing!
SEWNYA
I have used a lot of the Rust-oleum rubber bronze color, but it is much darker than your result. Thanks for sharing. I think I will try that on some things that I don’t want quite so dar.
SEWNYA
tHAT
SEWNYA
That should be rubbed bronze, not rubber. LOL
Karin
Where did your husband get the shorter light sockets? I am having trouble finding them
Paige @ Reasons to Come Home
He found them at either Home Depot or Lowe’s. I can’t remember which one but they were with the lamp parts in the lighting section.
Jamie 'Phillips' Durant
How do you flip the arms of the chandelier
Carol J Brown Fagan
I wondered that too she doesnt say anyone know the answer?
Paige @ Reasons to Come Home
If I remember correctly, the arms had a threaded bolt sticking out of them that went into the main body and there was just a nut on the inside. We just loosened the nut, turned the arms upside down and tightened them back up.
TLC
If you turn the ring at the top, it will start to unscrew the rod that goes straight to the base of where the arms are attatched. The round cap will open up to expose the nuts that are on the inside of each arm.
The Ray Family
We are closing on a home next week that literally has this exact same chandelier. I’m so excited that you made and shared this because I was just going to throw it away, until I started searching on Pinterest.. this is easily $250 saved :) THANK YOU!
Paige @ Reasons to Come Home
Yes! Lighting is SO expensive. Especially if you have more than one to replace. We also used this painting technique on a ceiling fan in our living room!
Cait
This looks amazing! I’m not well versed in electrical fixings… so just wanted to ask a quick question before I give this a go! In the part where you guys took out the old wire, was that because it was old and needed replacing? Or because of some electrical safety reason? Is that part of the process easy or does it require more experienced eyes?
Mary Lou A
We just picked up one along the side of the road, will do this to hang over my Gammill quilt machine which sits on a Black industrial frame. SWEET 💖
Libby Stewart
Love this! I️ have the same chandelier and we were getting ready to toss it. So glad we can use it now. Do you have a pic of your ceiling fan? That may be the next tossed item, unless you convince me to salvage it!
Libby Stewart
Love this! I️ have the same chandelier and we were getting ready to toss it. So glad we can use it now. Do you have a pic of your ceiling fan? That may be the next tossed item, unless you convince me to salvage it!
Debbi
I love this. Trying to figure out a way to change my 2 chandeliers to use Edison bukbs. I love the look of them and the rustic industrial look. How hard was it to replace the candle stick inserts?
Donna
I just found your do-over on Pinterest and I love what you have done. This would be a great project for my old brass chandelier. Thanks for sharing!
Donna Hudgins
How did turn the arms upside down? Are the screws on the inside? I have one like this but it has,an upper tier of lights. I have been wanting to do something like this..
Evelyn
I know this is an old post but I’m doing one exactly like that with 2 tiers. When you open the cap where the wiring is going to the arms there’s a nut that comes off that holds the arm on just loosen it rotate arm & tighten back up. I removed the 2nd tier so mine was a complete removal. Wished I’d took pictures. Now I’m trying to figure how to replace the long sockets to shorter ones so I can use Edison light bulbs.
Paige Sloan
I wish I could help. I would suggest letting someone with electrical experience help with that part. Hope they turn out great!
Caitlin Ritchie
Looks great! My chandelier is similar, but already has short sockets. How do you remove the arms? Thanks!
Caitlin Ritchie
Never mind – I just kept taking our chandelier apart until I saw where each arm connected on the interior, then I was able to loosen the bolts on each arm and flip them! Also, not sure if you mentioned this in your post because I have read a few, but I found that taking pictures along the way was SUPER helpful. Seems like reassembling the chandelier would be intuitive until you try to do it!
EVELYN TIDWELL
That’s the truth. Wish I’d took pictures along the way…lol. but I got mine done. Good luck with yours.