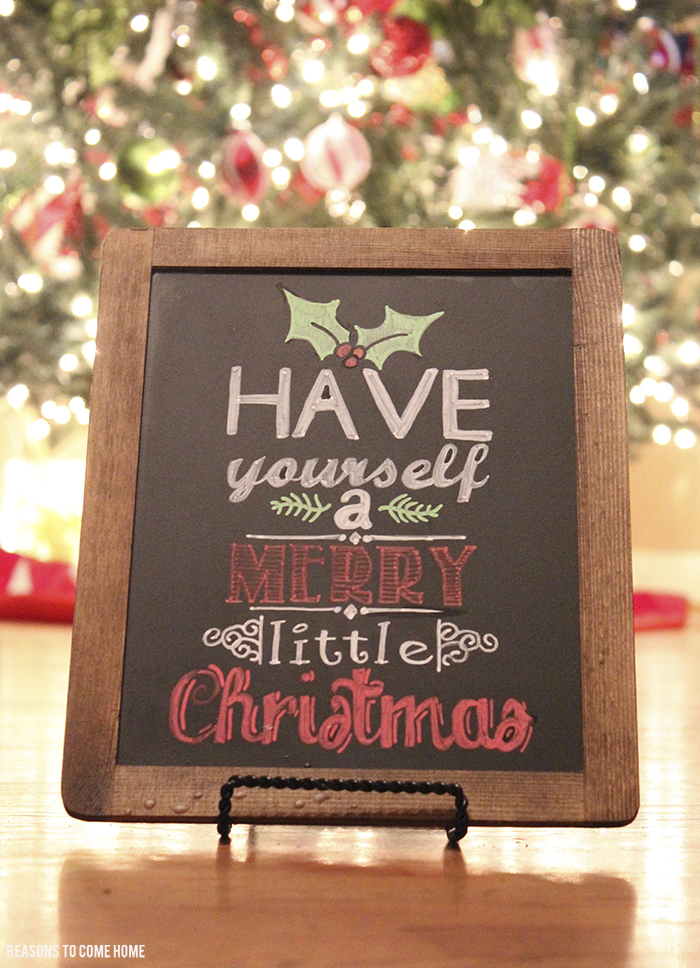
DIY Chalkboard Art
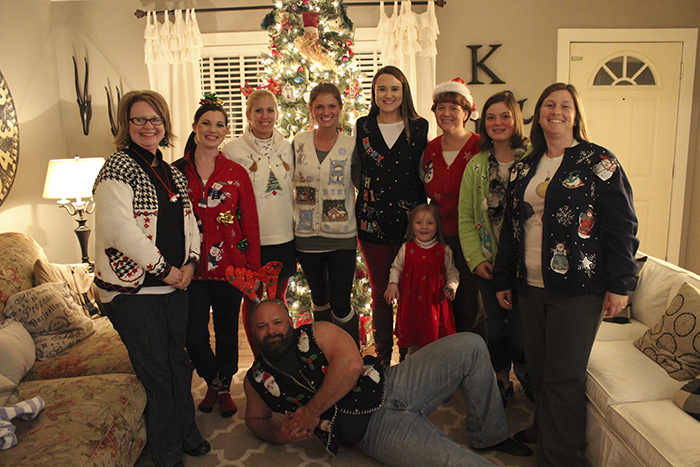
Happy Monday y’all! We had a busy weekend full of Christmas goodness! We hosted our first family Christmas for the season with Cory’s moms side of the family, had Christmas lunch with my Moms side of the family on Sunday and finished the weekend with an ugly Christmas sweater party with our community group {I’ll share all the pictures later this week!}.
I can’t tell you how excited I am to have the next couple of days to finish up some Christmas stockings, grocery shopping and maybe even get a manicure.
Before I get to all that, I wanted to share a quick and easy DIY if you are looking for any last minute Christmas decoration ideas. Today, I’m sharing a simple way to make your own DIY Chalkboard Art.

Now, I know you may be thinking one would just grab some chalk pens and free hand a design but when you’ve got the handwriting of a 12 year old, free handing anything is out of the question. So Cory is normally the one who makes our chalkboards because he is more artistic than I am and can get them done much quicker than I would ever be able to.
Supplies:
Chalkboard
Chalk
Chalk pens
Printed Design
Matte Spray Sealer {optional}
I get my chalkboards from Walmart because they’re cheap and the perfect size {about 8.5 x 10.5} but any chalkboard will do. The frames come unfinished so Cory stains the frame before he starts and allows a few minutes for it to dry.
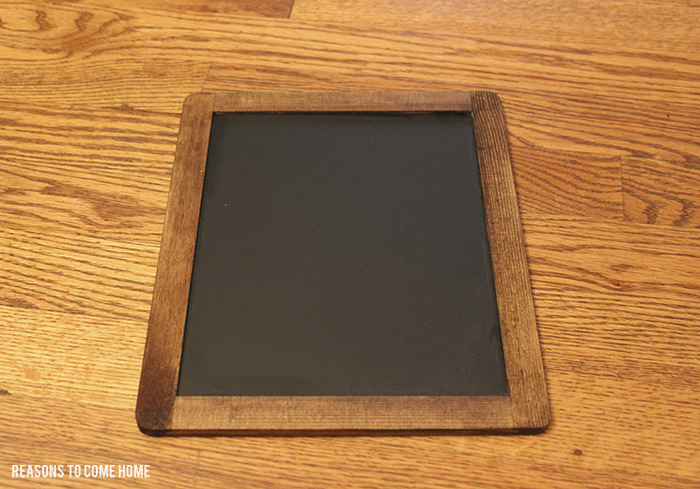
Next, you’ll need to find a design you like. There are tons of free printables on Pinterest but I purchased this Christmas design from JustAPeekAHoo on Etsy. Make sure the design is sized to fit on your chalkboard and print. You may have to trim the edges of your paper just a bit to make sure the design is centered on your chalkboard.
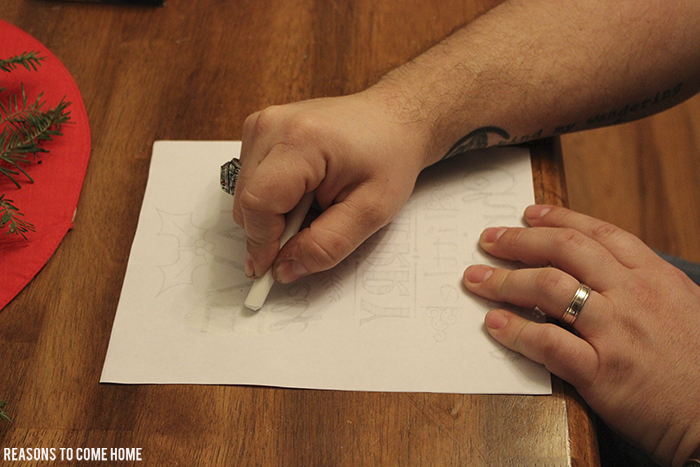
Once fitted to your chalkboard, flip the design over and using a regular piece of chalk, cover the whole back of the design.
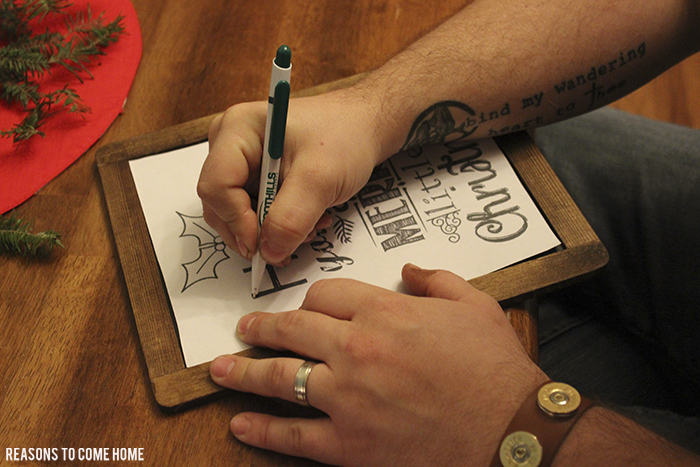
Next, place the design on your chalkboard and trace it with a ballpoint pin, checking periodically that the design is transferring.
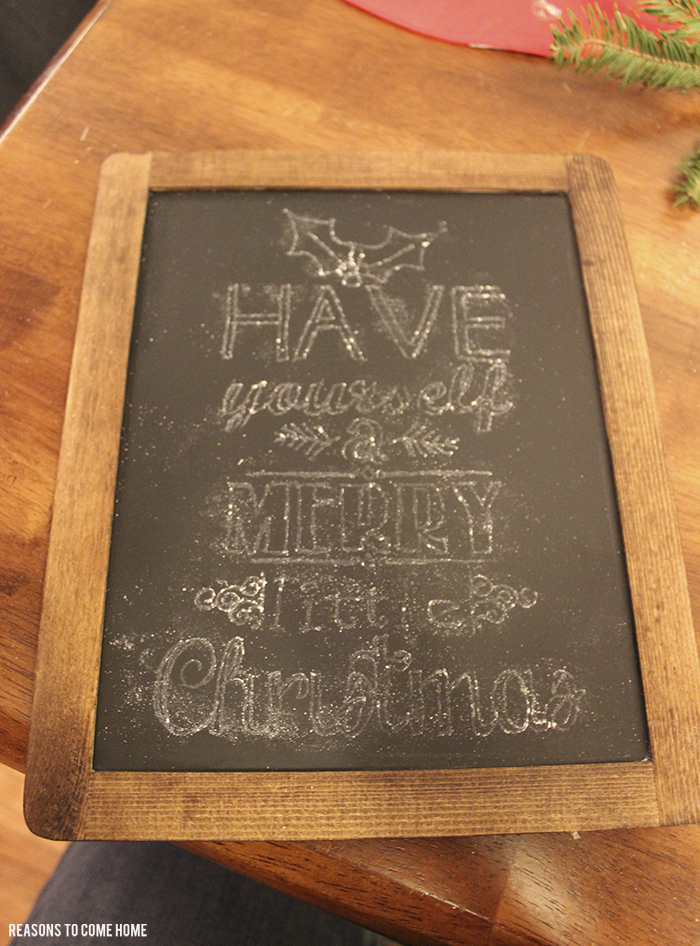
After you’ve traced the whole design, you should have an outline to follow and it should look something like this.
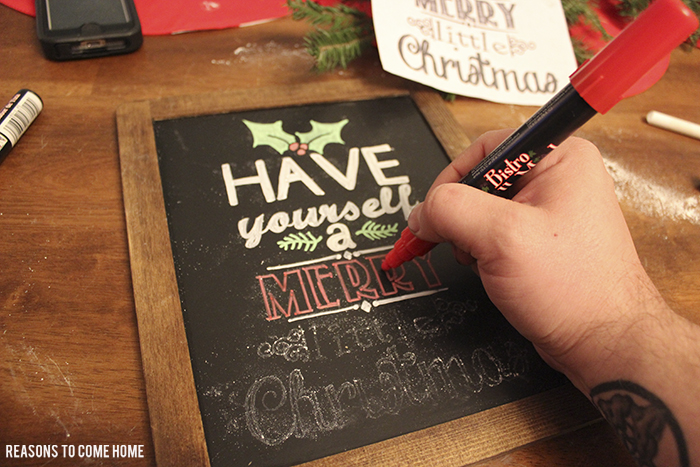
Using your outline as a guide, you will finish your design by filling it in with a chalk marker {which is the part I can’t do even with the outline because I’ve got 12 year old hands, remember?}
The final step is optional but if you’d like to seal your DIY Chalkboard Art, spray it with a matte sealer. If you’d like to be able to reuse your chalkboard for a different design, skip this step.
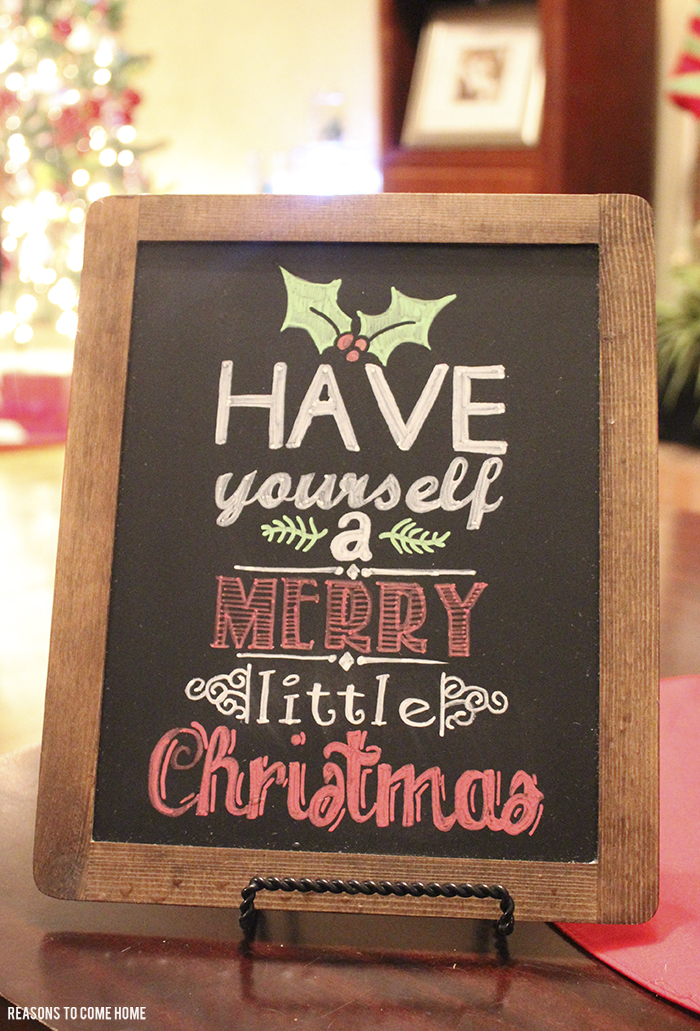
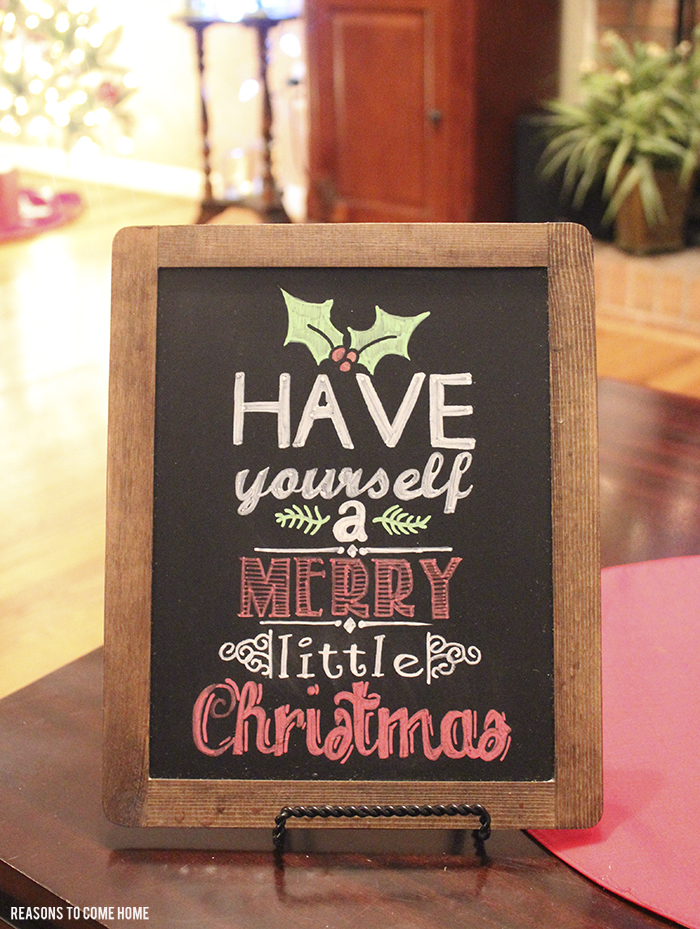
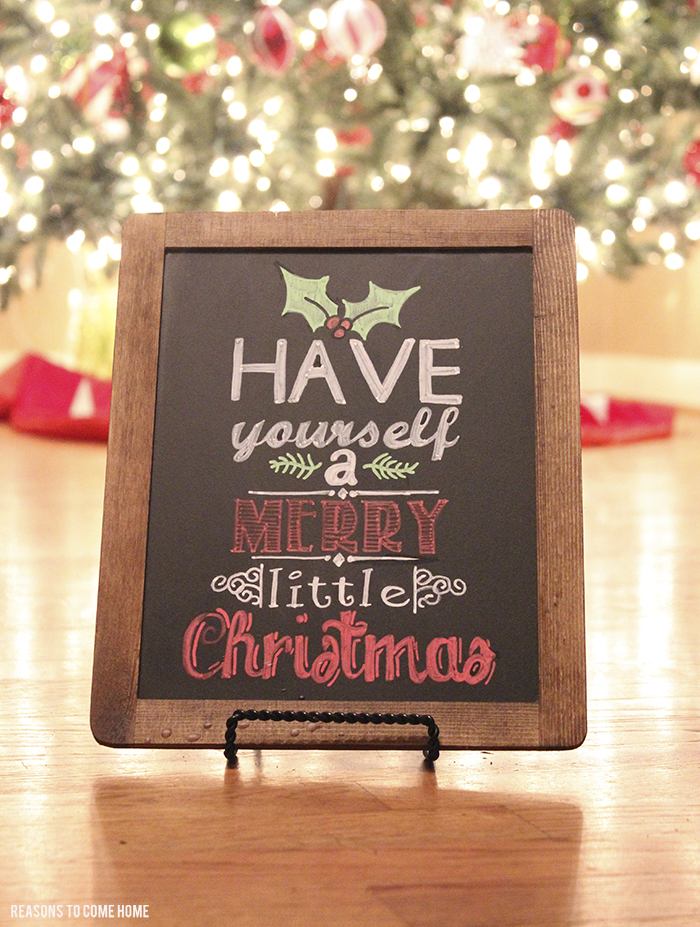
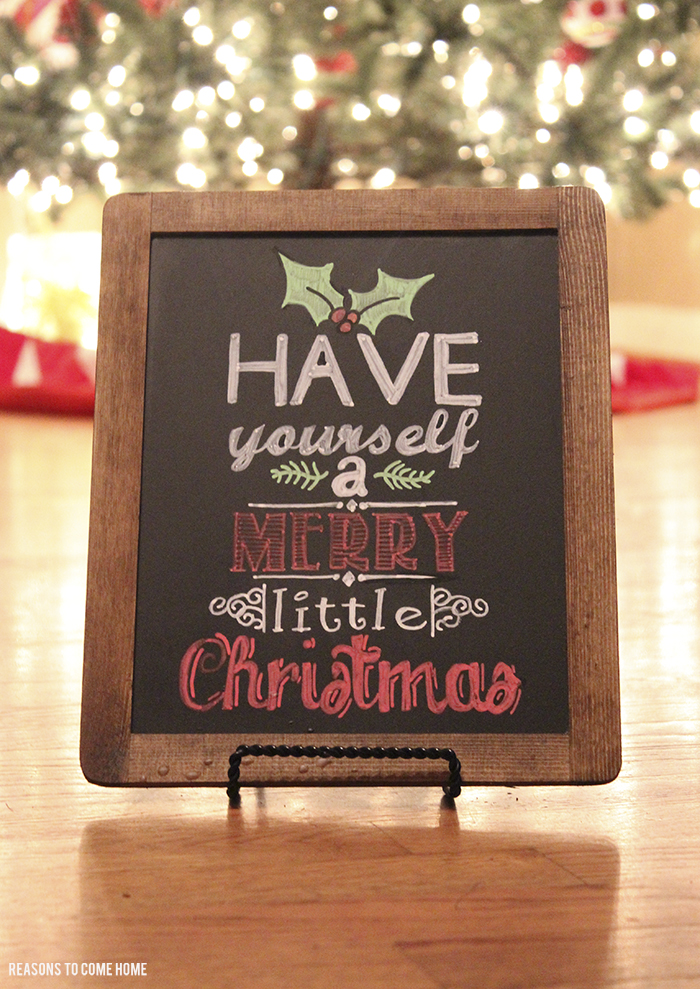
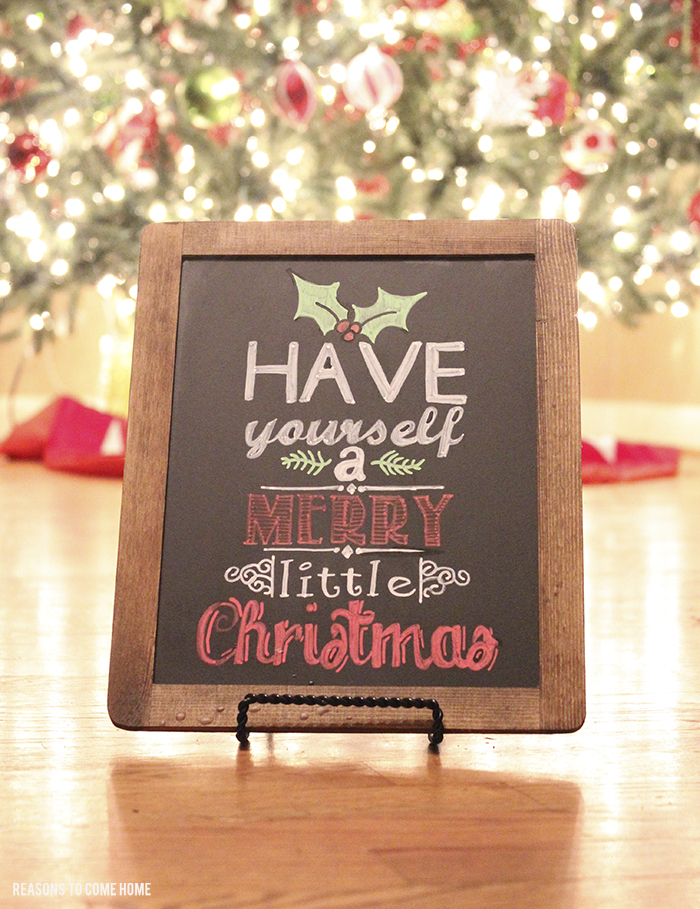
And there you have the perfect DIY Chalkboard Art. Hopefully, this will help all you other DIYers with 12 year old handwriting!
this post is linked with my girl biana.
10 Comments
B @ The Sequin Notebook
That sign came out great – you’re lucky to have such a crafty hubby! :)
Rebecca JO
OK – you make me think I can actually do this!!!
Mia @ MakeMeUpMia
How cool is this, LOVE it!!
Biana @Blovedboston
Thanks so much for the step by step guide – I have to be honest – I had no idea that’s how they were actually done!! Cory does a really great job!! xo, Biana – BlovedBoston
Olya
This is so clever-such a good idea to trace it with a pen! Hope you have a wonderful Christmas. :)
ElleSees
it turned out so well! love diy crafts :)
Brittany @ PerpetuallyDaydreaming
I knew you must have used a printable somehow, but had no clue how you made it work. This is a great idea! Thanks so much for sharing the tutorial. This would make a great little gift too.
Katie Elizabeth
Yes! I think I could actually handle this! I have a chalkboard hanging in my house that is blank 95% of the time because I do not have cute, nice handwriting, ha. This would solve all of those problems!
Lara
What a great idea! I even think I could do it!
Maggie@ Polka Dots in the Counry
I love how it turned out! I’ll definitely be pinning! Can’t wait to see more pictures of your weekend!