
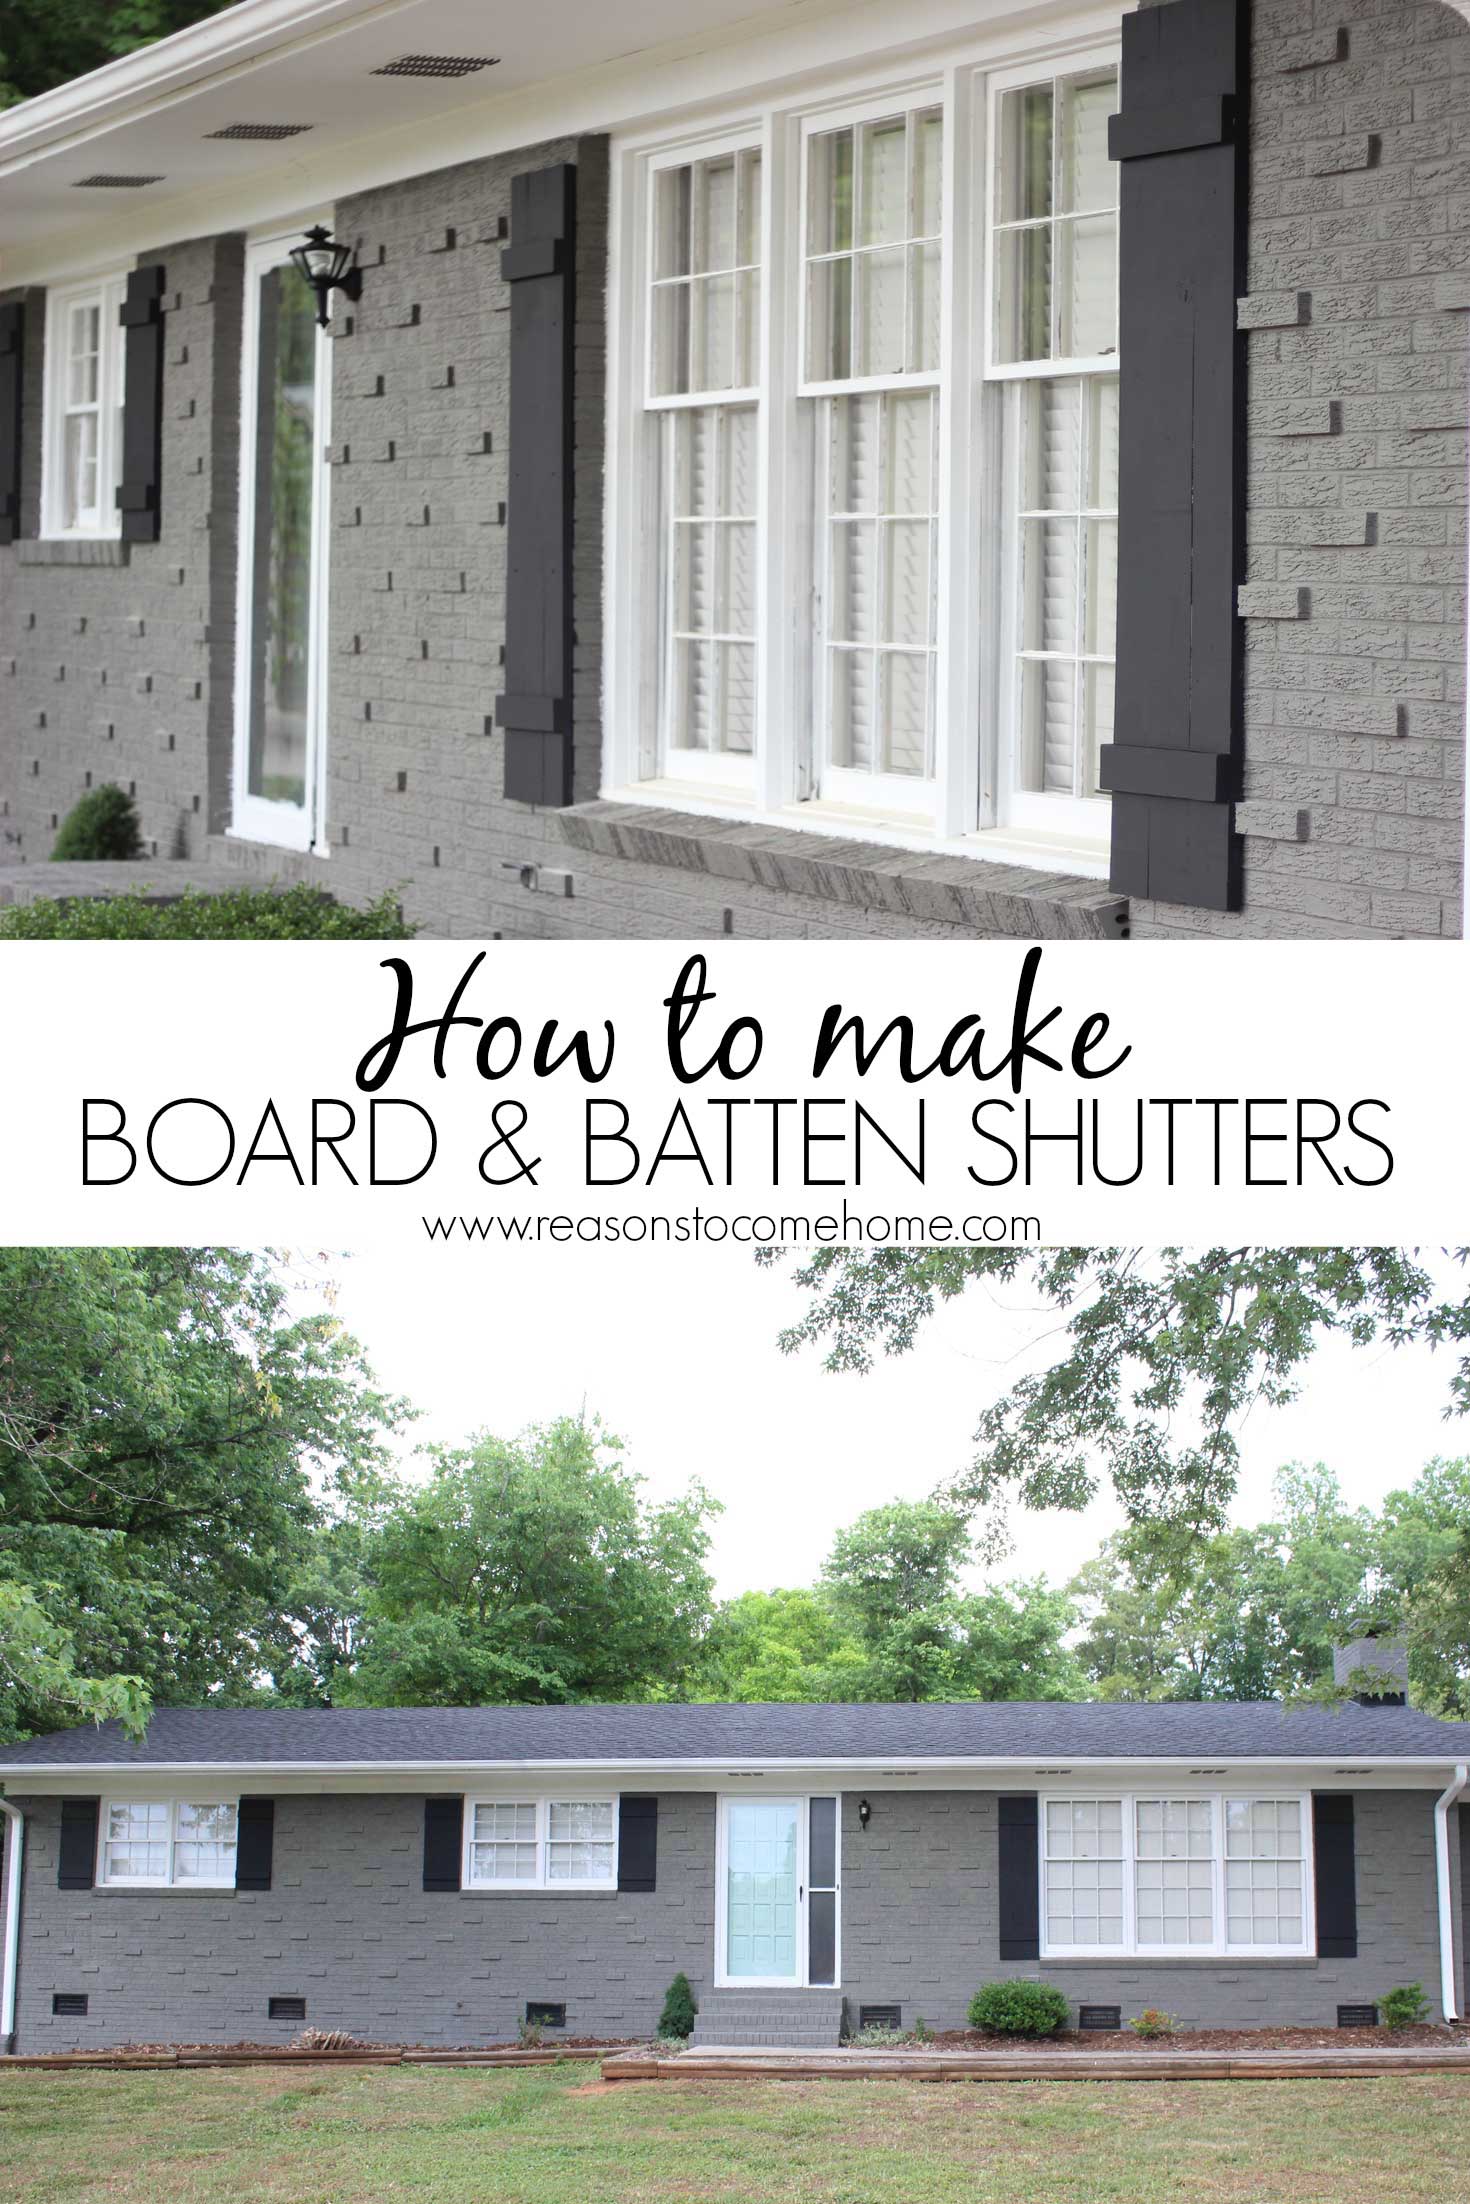
DIY Board and Batten Shutters
Happy Tuesday, my friends! I hope y’all had a great weekend. We got a lot done and we’re so close to finishing this kitchen reno. So, so close! It’s a good thing, too because we are running on fumes. As promised {shocking, I know} I’m sharing all the details on how we made our own board and batten shutters.

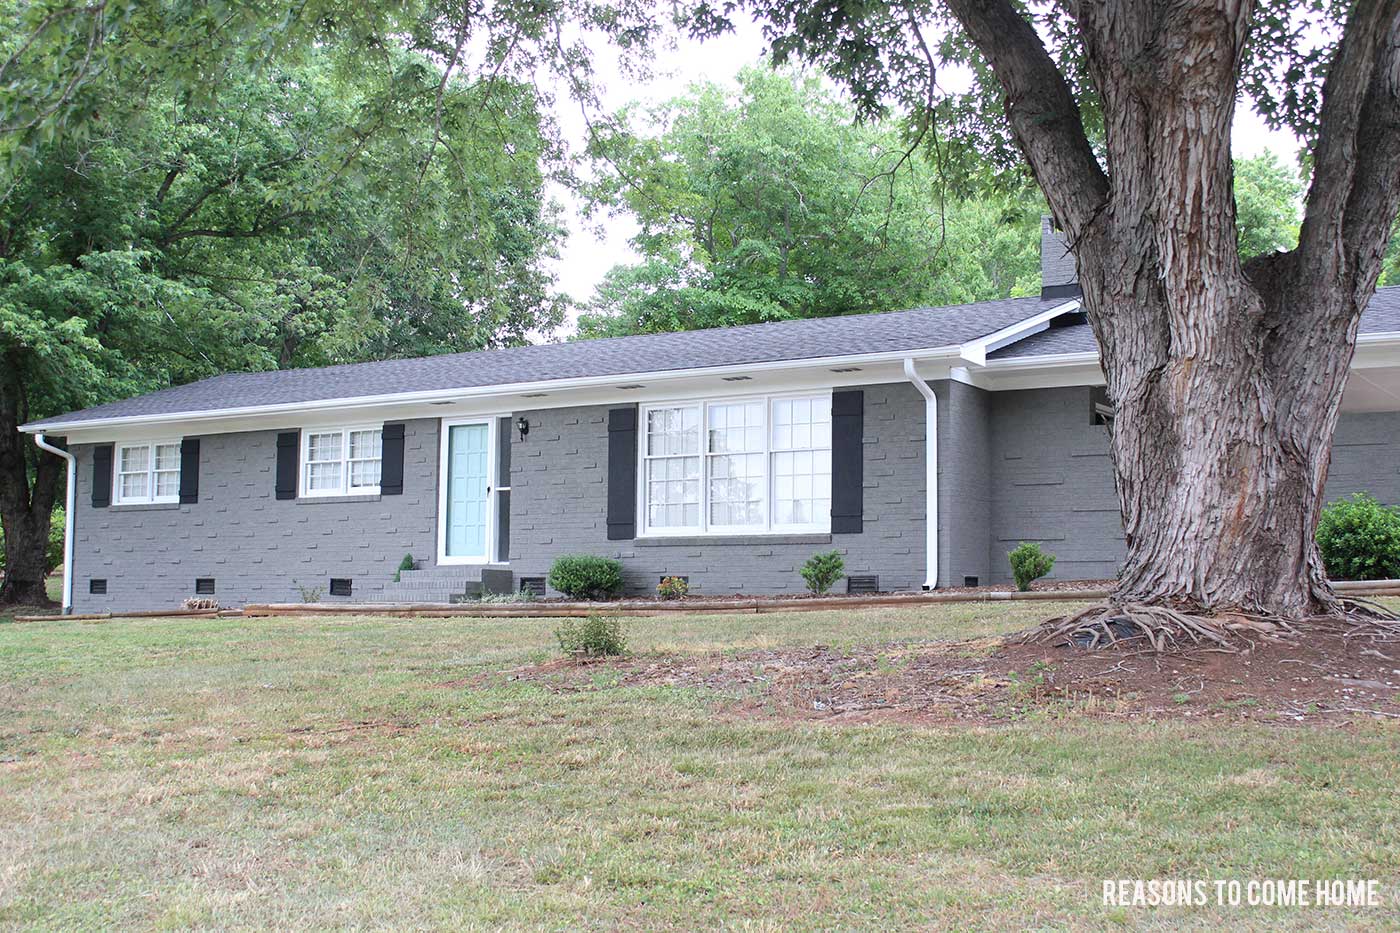
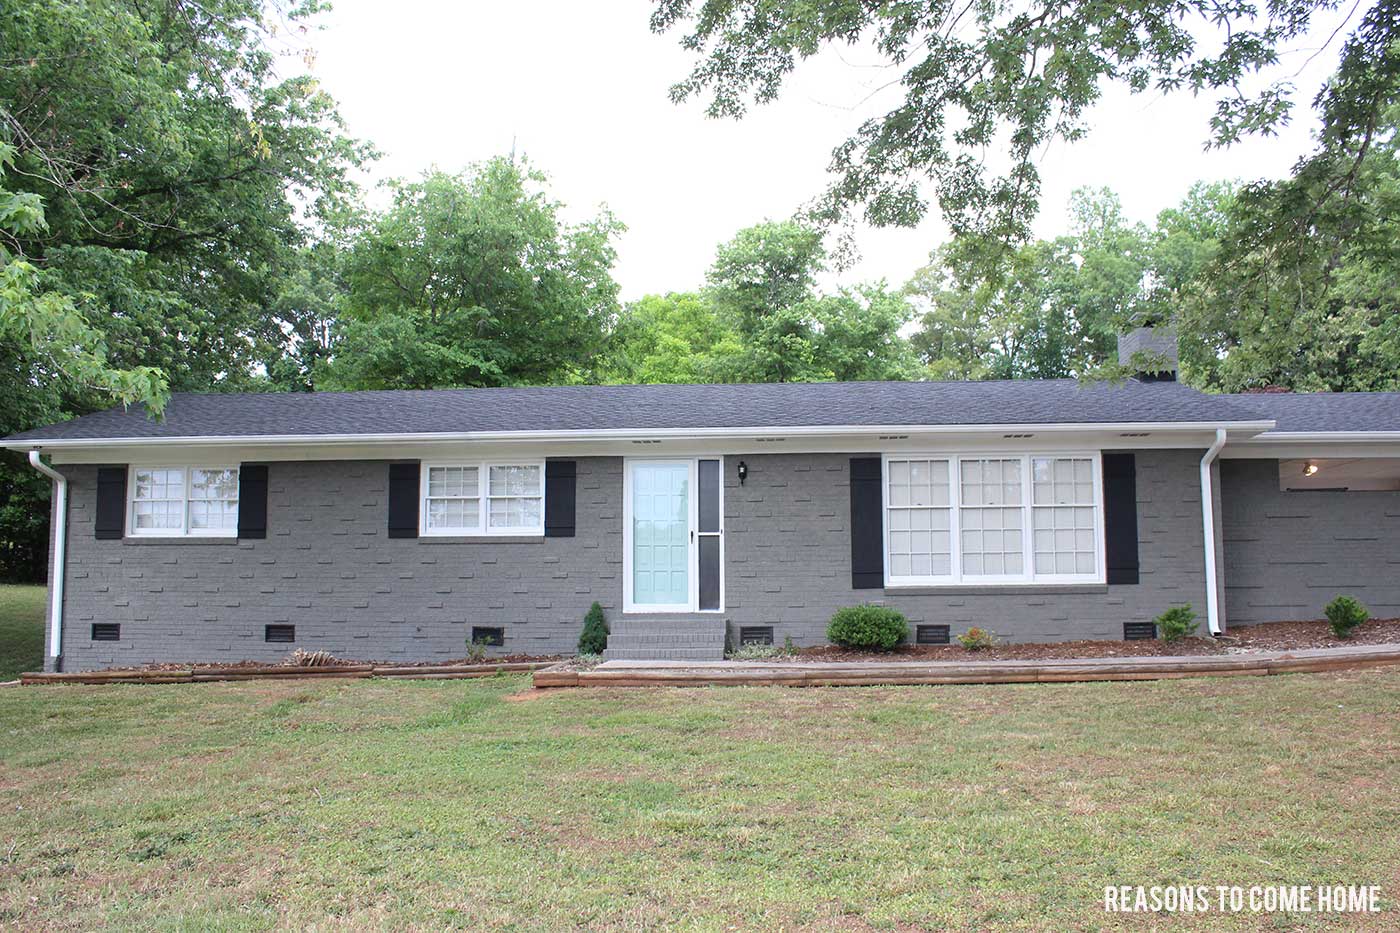
Once we decided to paint our house, we knew that our old shutters weren’t going to make the cut. So I headed to Lowe’s one afternoon to get a price on new ones and was shocked to see that it’d be almost $300 to get the board and batten shutters that I liked. Disgusted, I left and immediately {like as soon I got in my car} turned to Pinterest to see how easy it was to make my own.
Turns out, building the shutters is the easy part, as long as you have some basic carpentry skills. If you’re like me, you have a handy husband who builds you a new kitchen so throwing together a few shutters was no big deal. The best part? The shutters could be made for much cheaper!
Supplies you’ll need:
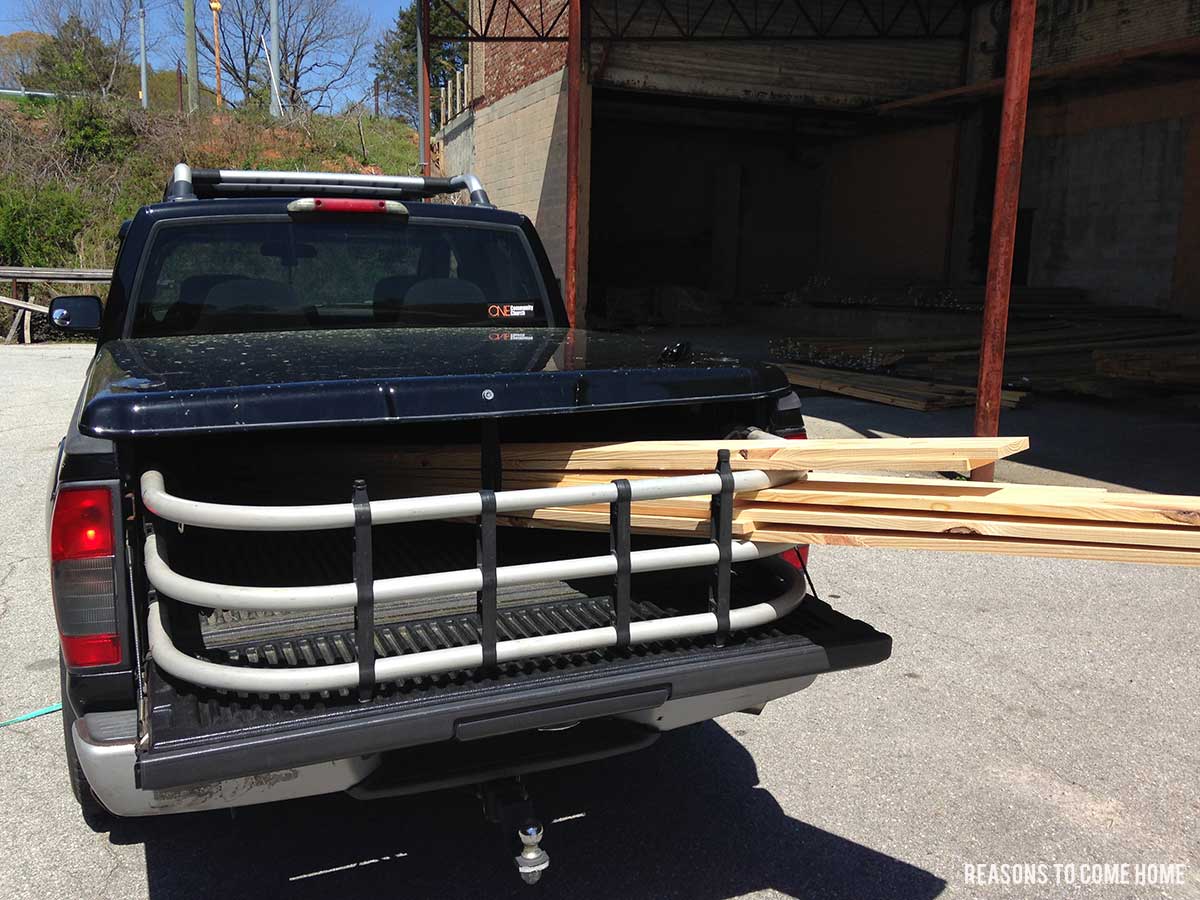
- 1 x 6 Pine boards (we purchased 6 16ft boards and had our hardware store cut them so we cut transport them) = $40.80
- 1 x 4 Pine boards ( 1 12 ft board)= $6.80
- 1in construction screws
- Circular saw
- Drill
- Sander (or sandpaper depending on how industrious you’re feeling)
- 3/16 x 1 3/4 Tapcon concrete screws = $13.44
- 1/4 nut driver
- 5/32 masonry drill bit = $3.78
- Speed square
- Tape measure
- Pencil
- Several large bar clamps
- Primer (we used Kilz 2 because it’s what we had)
- Exterior Paint + painting supplies (brushes, etc.)
Everything that doesn’t have a price beside it was stuff we already owned or had in Cory’s shop, bring the total to right under $65 for six shutters! #yesplease
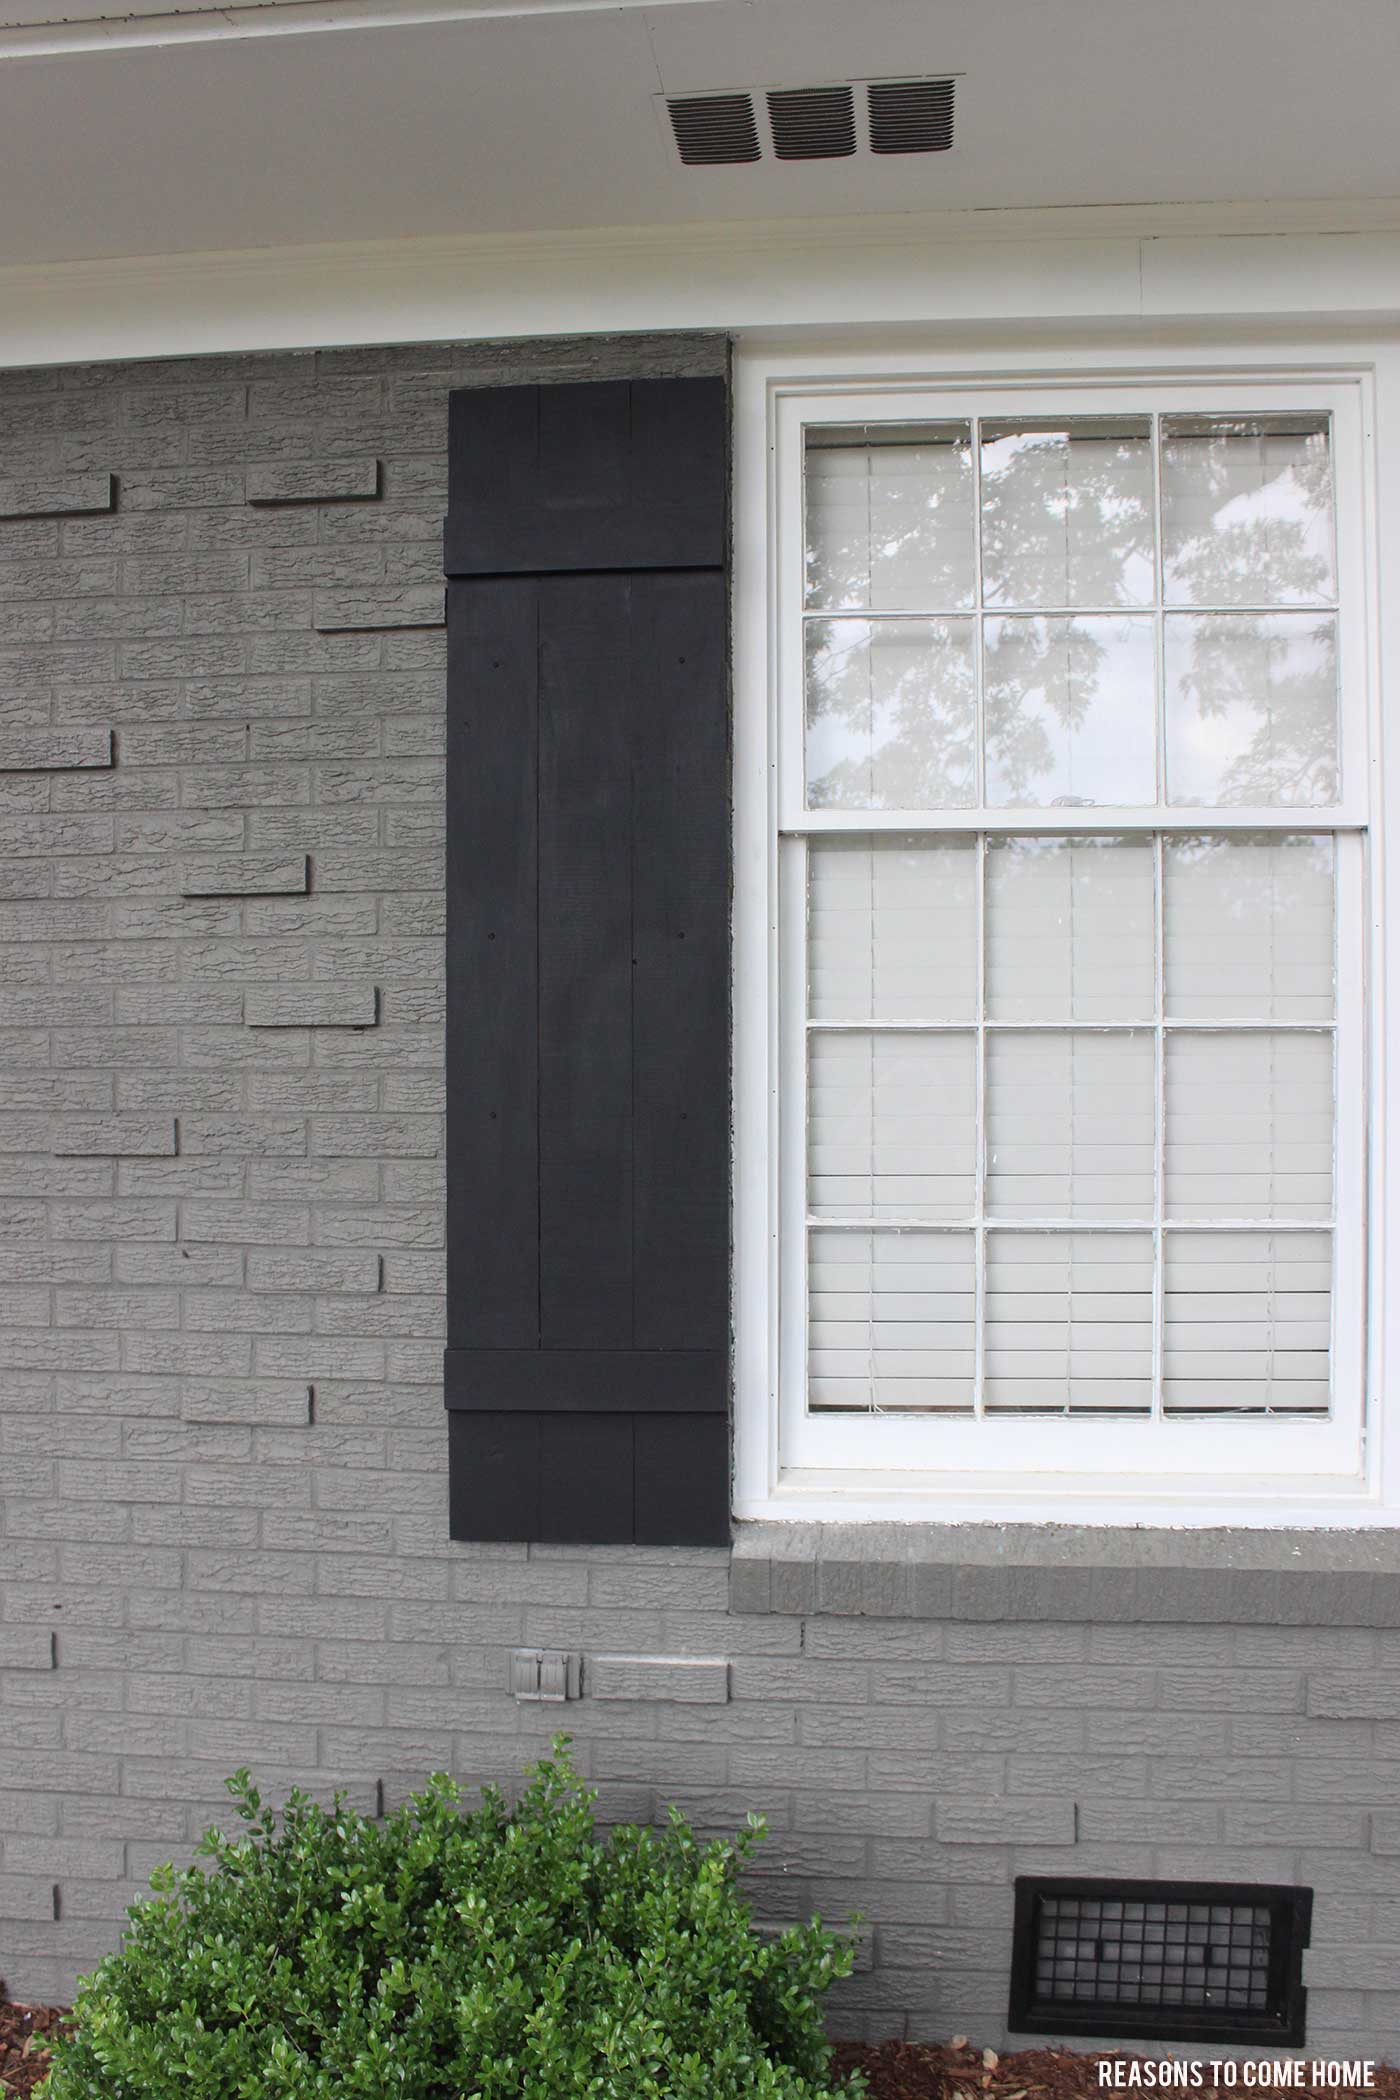
The first thing you’ll need to do is decide on a design and how tall and how wide your shutters need to be. I like the look of three wide boards and just a simple board across the top and bottom. If you search Google or Pinterest for “board and batten shutters” you’ll see that there’s a wide range of designs to choose from, but we felt it would suit the style of our house {and our budget} better to stay simple.
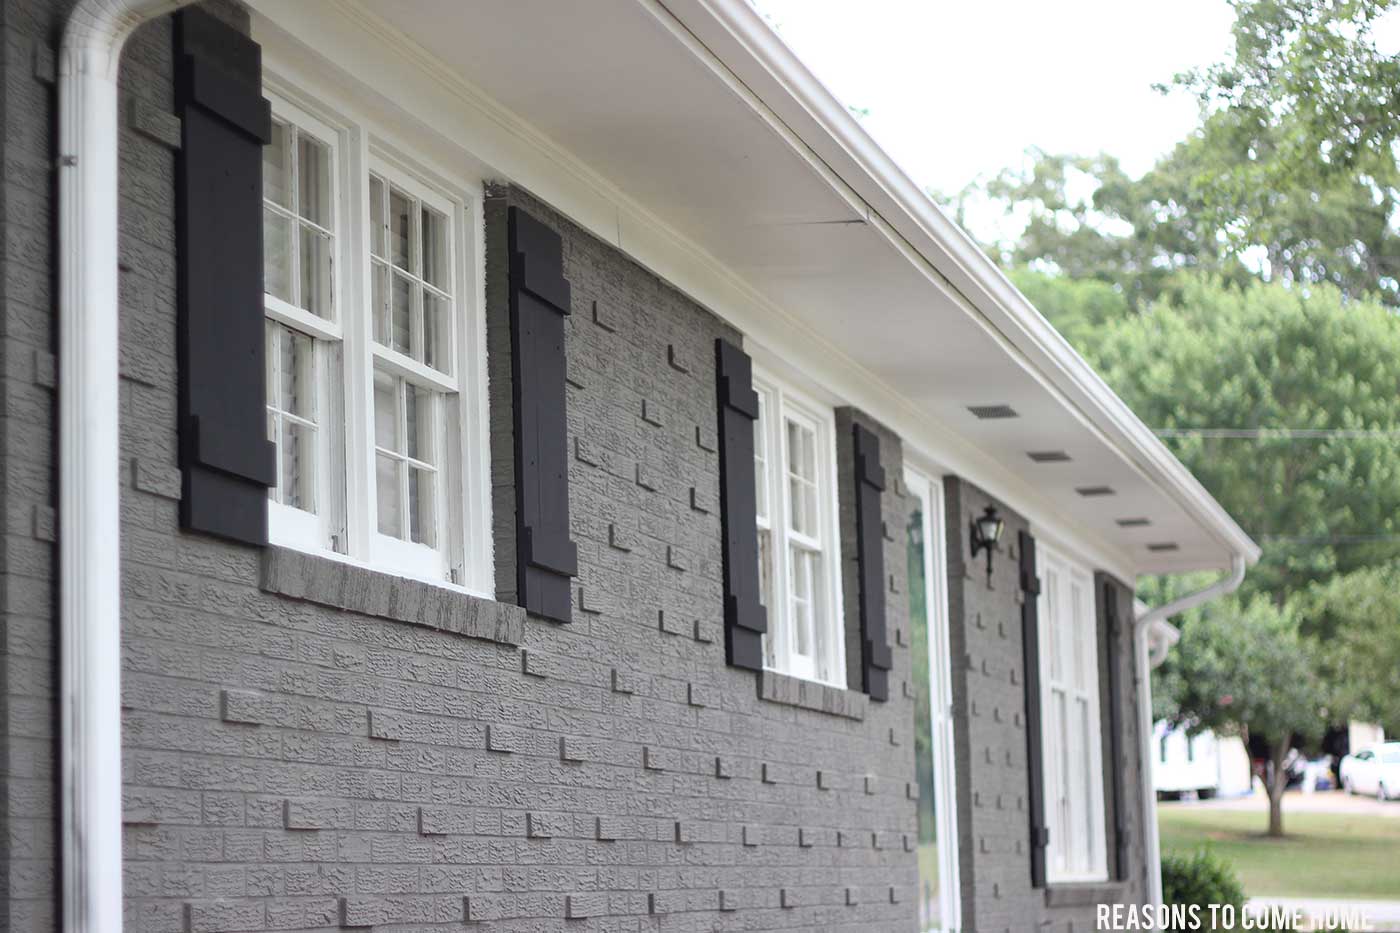
To decide on measurements, Cory just kind of eyeballed all of our neighbor’s shutters to see where they fell out on the top and bottom of the windows and measured accordingly. If you’re replacing old shutters, they can also be used as a measurement guide but ours had already been hauled off to the dump. You can choose any width you want–some people go for the thinner decorative-only look while others want the shutters to be half the width of the window so that they appear functional. In our case, our hands were tied because we have bricks that stick out from the face of the wall that made each shutter a maximum of 16″ wide.
Cory couldn’t find any good lumber at the local big box stores, so we ended up going to the local lumber yard to get some better quality lumber. You’re going to want to make sure you use good straight, smooth boards for this.
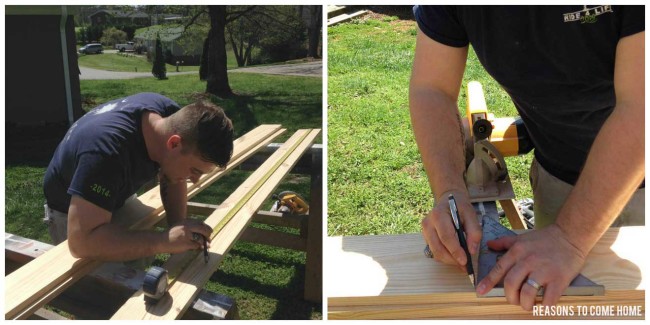
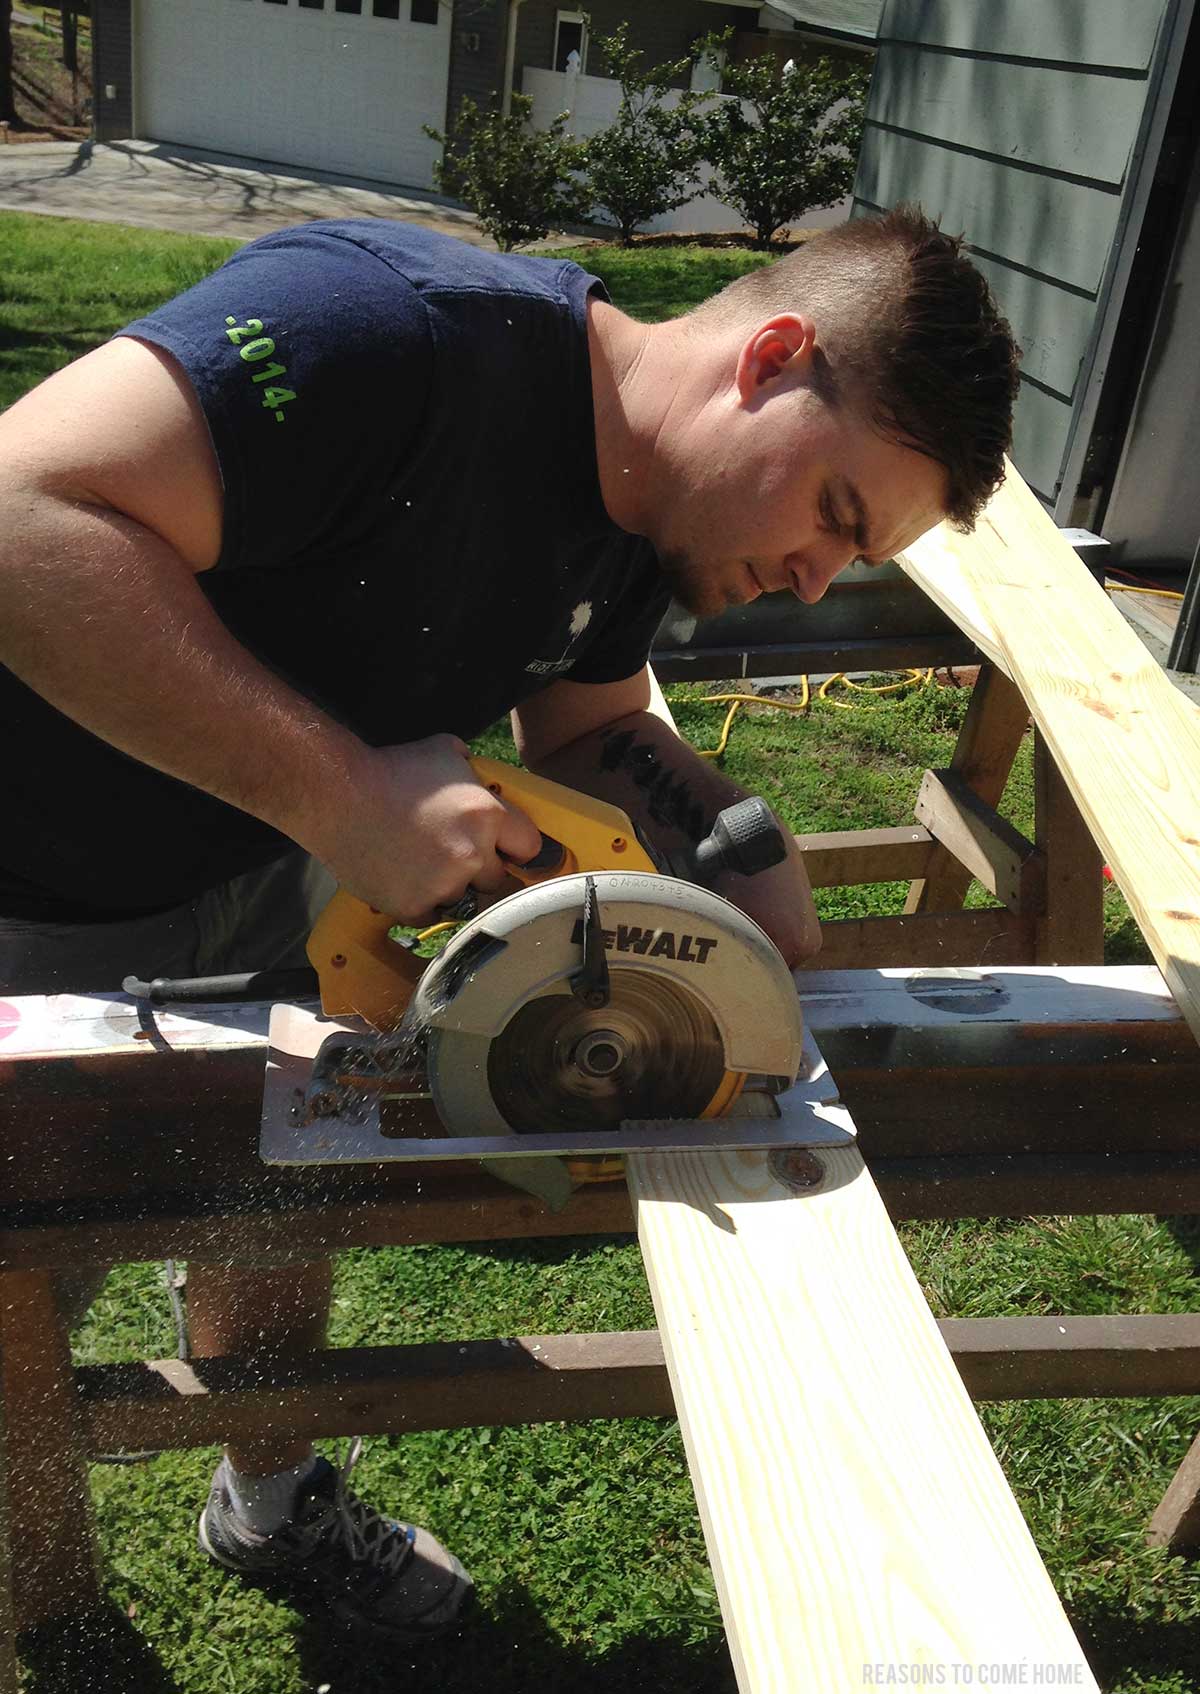
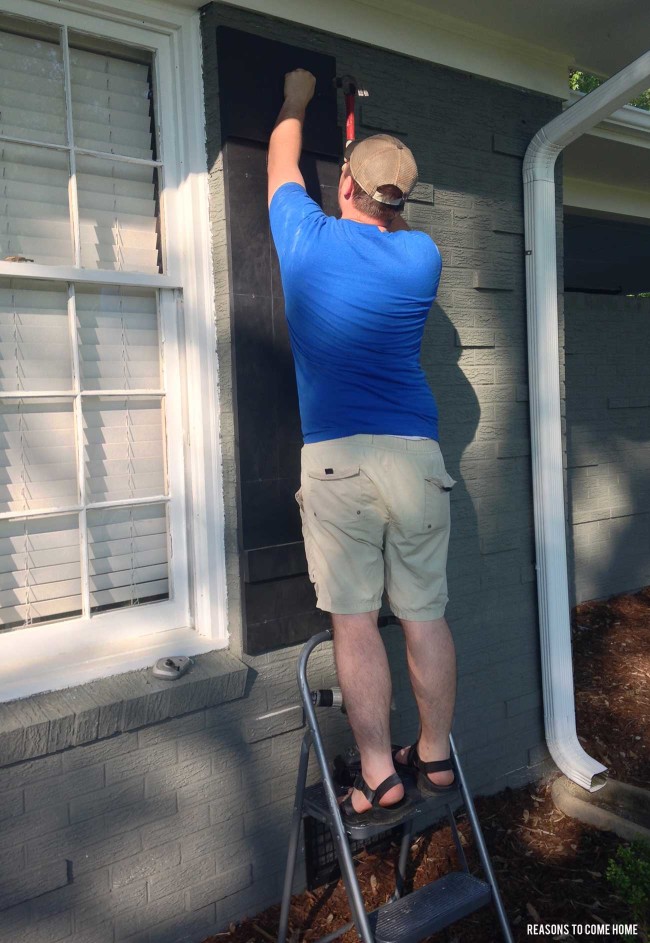
Once you are home and ready to work, the next step {as you can see my hottie assistant here doing} is to measure, mark, and cut each piece using a speed square, a pencil, and a circular saw. It makes the assembly process much faster if you go ahead and have everything cut all at once, and even faster if your shutters are mainly uniform in size so you’re cutting a lot of the same measurements.
*If you don’t have a circular saw, most places will cut the boards for you if you provide all the measurements.
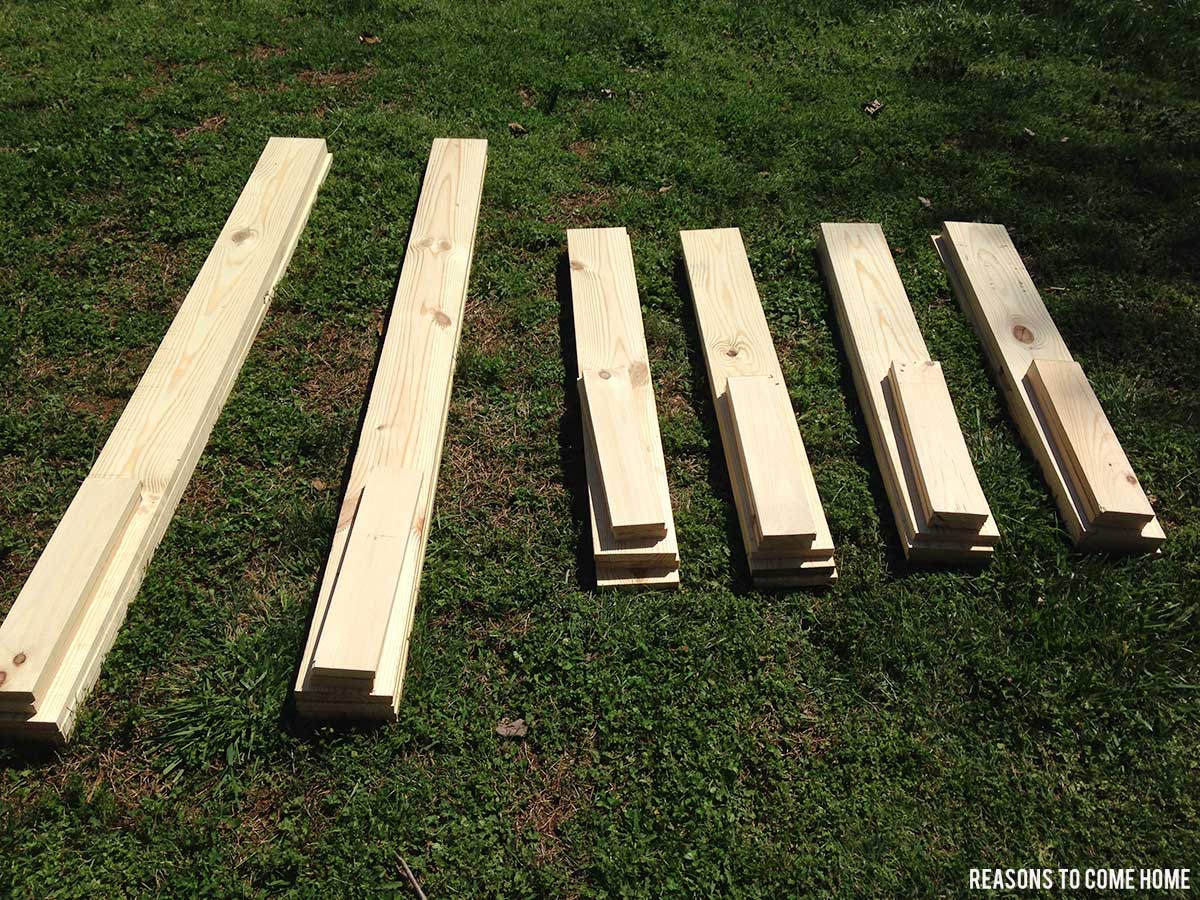
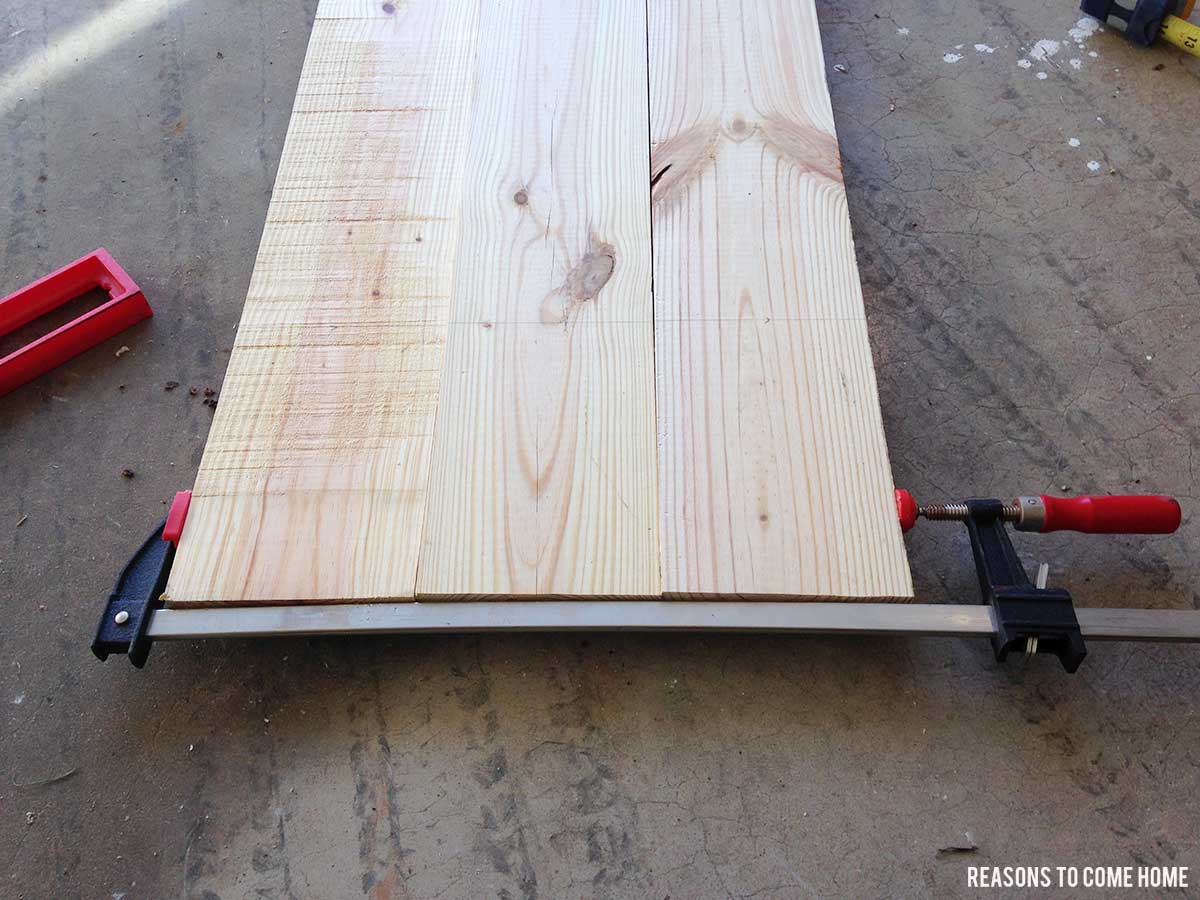
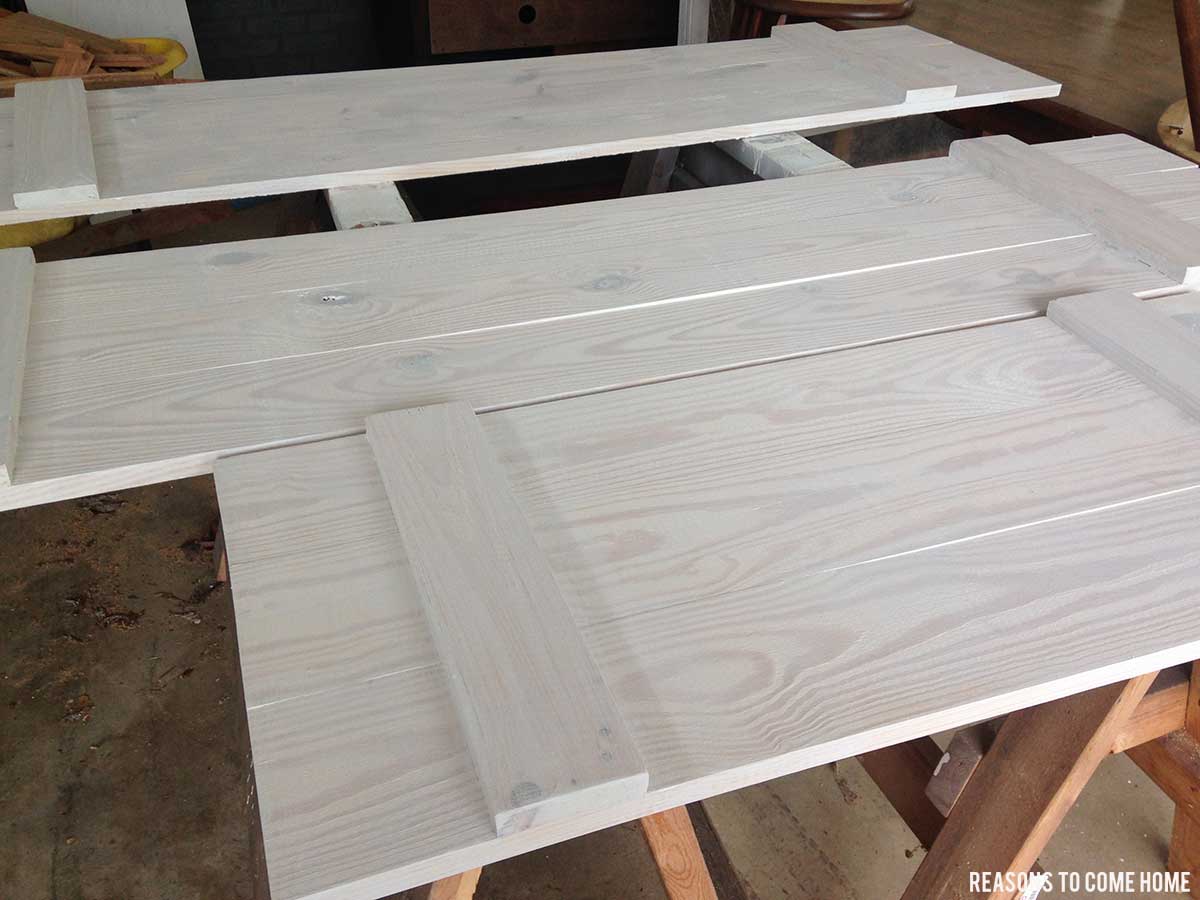
Once all the pieces were cut, we laid them out to make sure we had everything we needed to move on with assembly.
This next part is a little tricky until you get the hang of it. Hopefully during the design stage you decided how far from the top and bottom you want the horizontal pieces to be. If not, decide it quick! Using the large bar clamps, clamp the vertical boards together at the top and bottom, making sure the edges are perfectly flush and even. Mark the measurements for the horizontal pieces on the back of your shutter and place the horizontal pieces underneath the vertical boards (the front of the shutter) along the line you marked. This may make more sense if you look at the photo below:
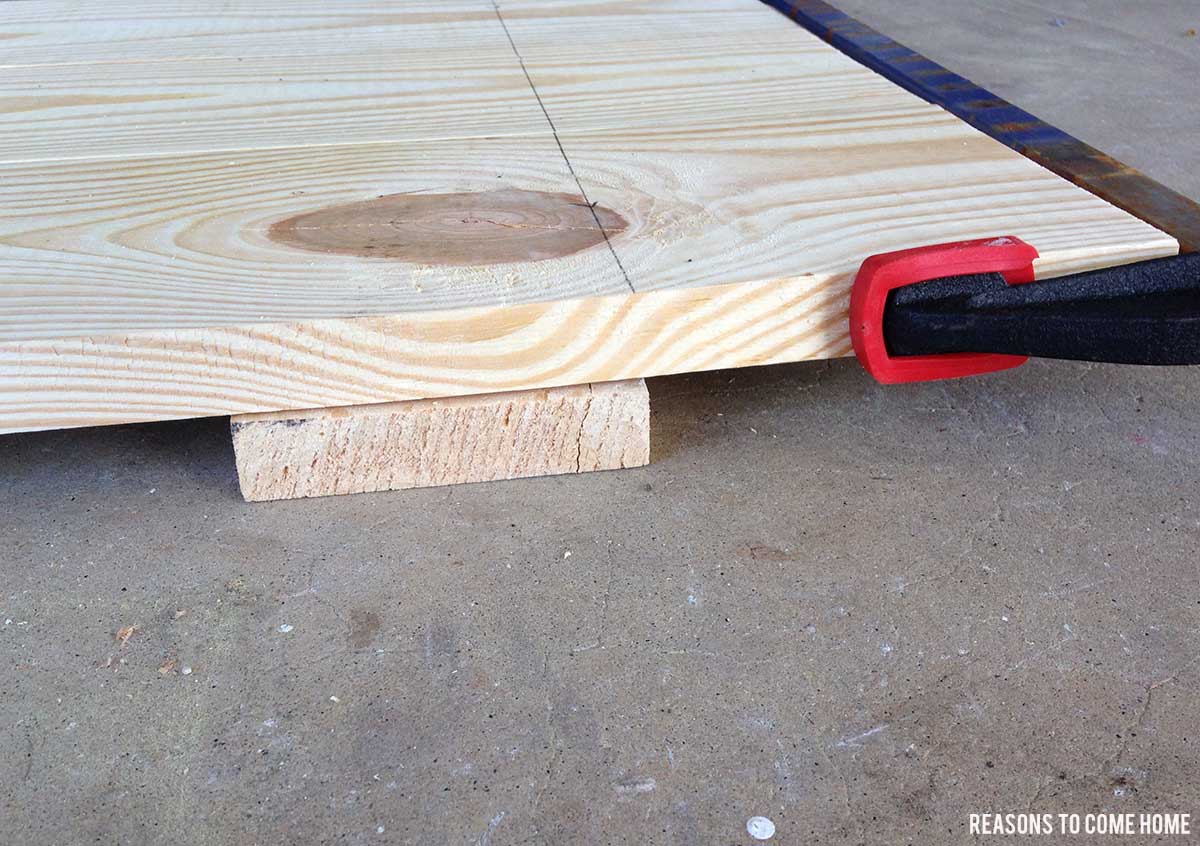
Make sure the worst side of your boards are facing towards the back (facing up). Some of ours were pretty rough, as you can see, and we had to make sure those rough parts weren’t facing out. This is also where it matters if your boards were perfectly straight and not warped. Some of ours were a little warped, despite our best efforts to choose good boards, and you can see in the bottom of the photo how hard it was to keep them even while we were putting themtogether.
I’ve seen other tutorials that used wood glue to adhere the boards to each other, as well as to the horizontal piece across the front. It may have made this step easier but Cory was insistent we didn’t need it.
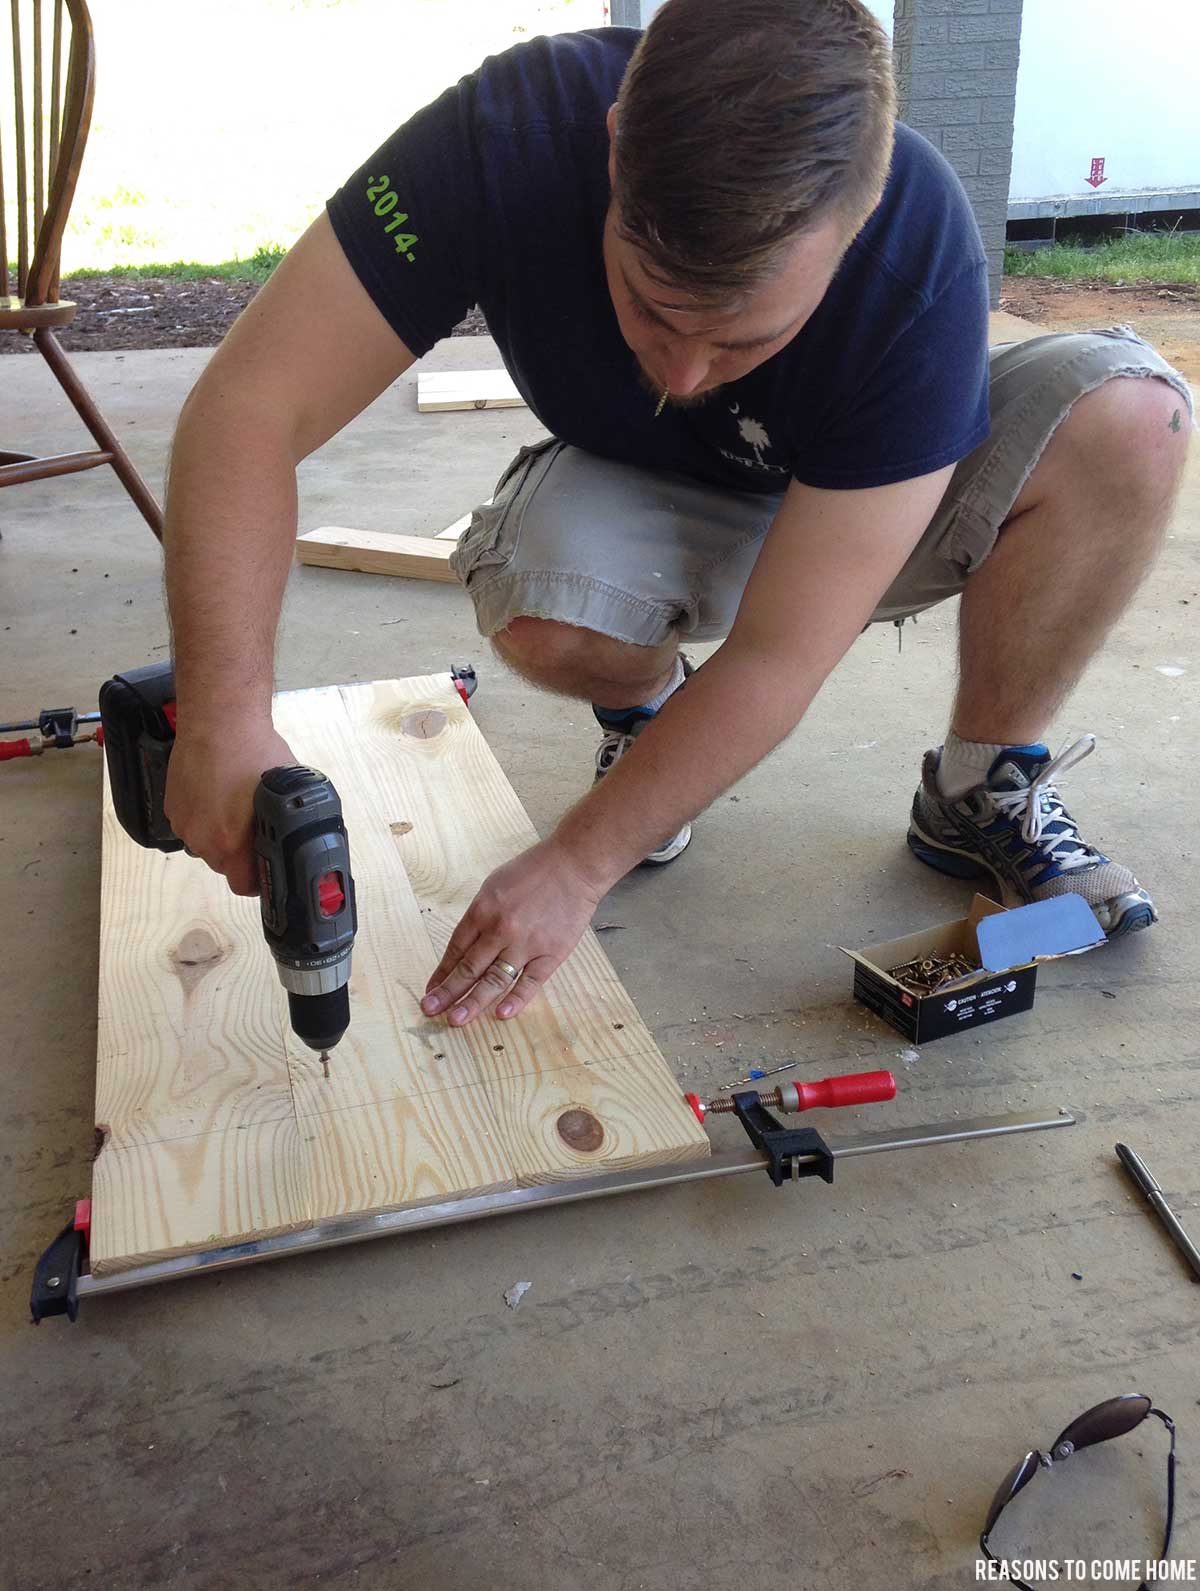
Once you have everything laid out and stable, drill a pilot hole through the vertical boards and into the horizontal boards, being extra careful not to drill all the way through the horizontals. We drilled two holes in each vertical board, top and bottom, for a total of twelve screws in each shutter. This may vary depending on your design. The pilot holes are important because they keep the boards from splitting when you drive the screws in. Drilling and screwing them together from the back means no holes to fill later!
TIP: Wrap a piece of masking tape around your drill bit at the depth you want your pilot hole to be. When drilling, stop when you reach the tape and you never have to worry about drilling too deep!
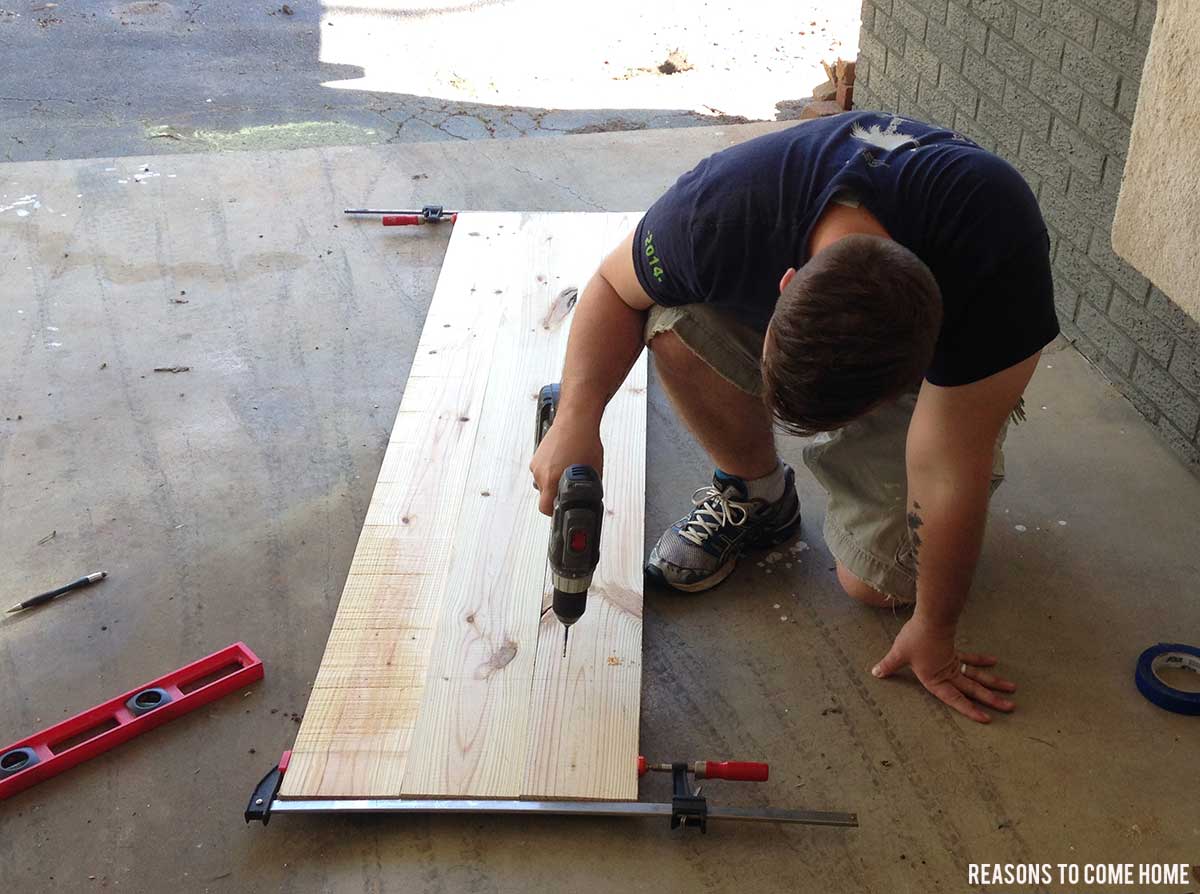
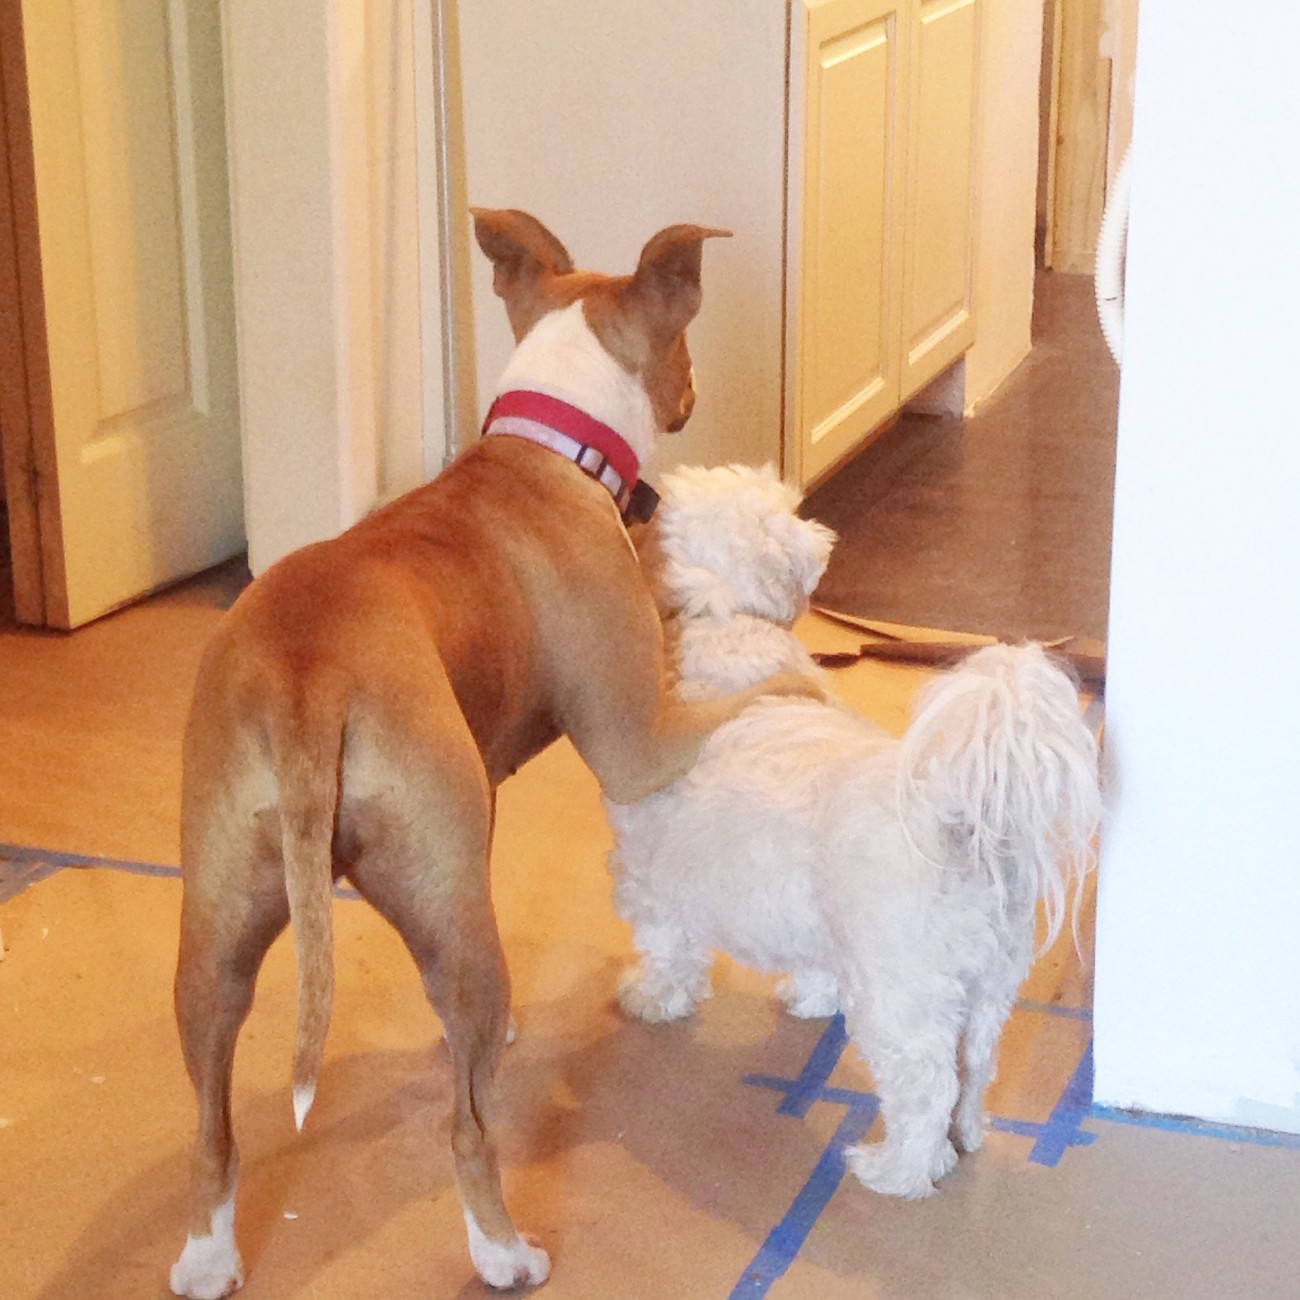
After drilling your pilot holes, screw the boards together using the construction screws. The screws, however, should not be in your assistances mouth!
Ahem.
When all of your shutters have been assembled, use your sandpaper or electric sander to smooth down any rough spots and all edges. Next, give them all a nice, even coat of primer. Make sure you take your time on this step and get good coverage, or the wood will absorb the paint unevenly and leave spots. The primer also helps the wood last longer out in the elements.
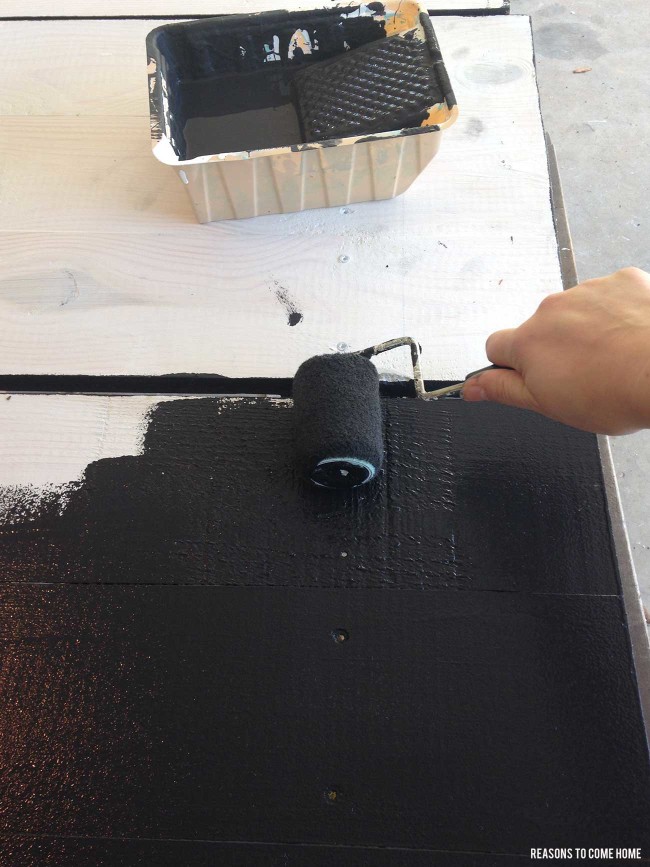
After giving the primer sufficient time to cure (instructions should be on the can), paint the shutters in the color of your choice. Make sure you coat them evenly and be sure to paint the backs: it may seem like a waste of paint, but water can get in behind the shutters after they’re hung and sit there, causing the backs to rot. Like the primer, the paint will protect them and make them last much longer. Give them at least two good coats.
So far, the DIY board and batten shutters had been a piece of cake. They were built in one afternoon and we had high hopes that hanging them would be just as easy.
We should’ve known better.
We found stories on Pinterest of people who had nailed their shutters up, and our old shutters were nailed to the house, so we thought we were just going to nail them up and be done with it. Wrong! On the first shutter, the nails caused the wood to split, which left us having to pull it back out and fix the splits with wood putty and paint it again.
If your home exterior is made of something other than brick, you should be fine to just nail them up, but we brick-homeowners should probably turn to the concrete screws.
I wasn’t able to get any photos of us drilling and hanging the shutters because there’s only two of us! This process would have been much easier with a third person but it goes like this:
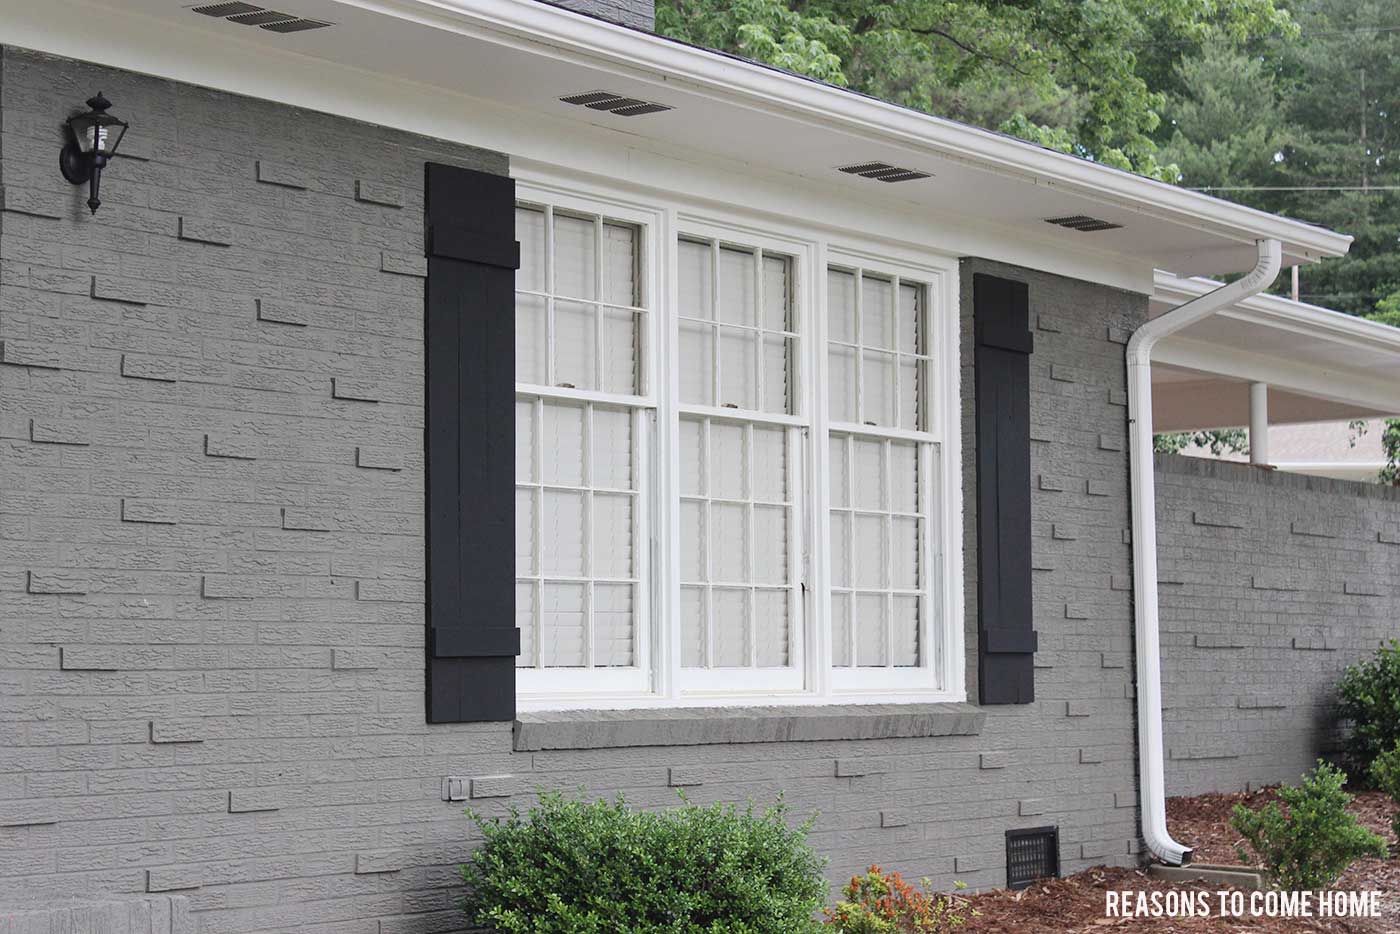
One person {two, if possible} hold the shutter up in the appropriate location. The other person, using the 5/32″ masonry bit, should drill all the way through the shutter, leaving a mark on the mortar behind. Line these up on the mortar lines because it’s much easier to drill and screw into than the hard bricks.
Move the shutter out of the way and drill the holes on the marks at least as deep as the length of the screw. If you don’t drill them deep enough, best case scenario is that the screw won’t drive all the way in, worst case scenario is that the screw will break off in the hole and you’ll have to move the hole and have a useless hole in your shutter.
We may have had a few of these useless holes. Or seventeen but who’s really counting.
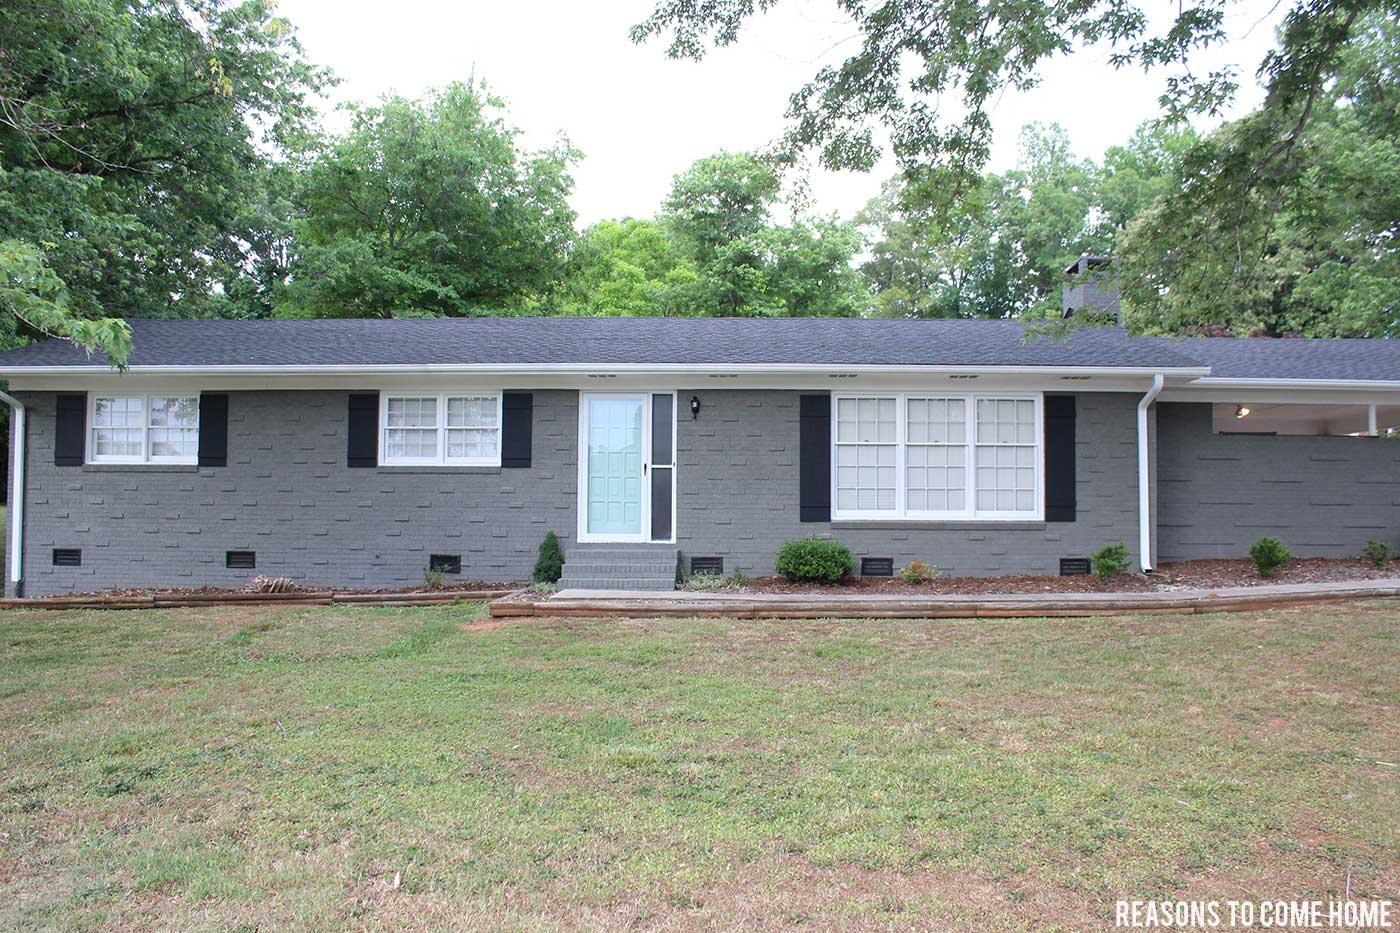
Replace the shutter and use the 1/4″ nut driver to drive the concrete screws through the shutters, securing them to the wall. Repeat this process for each shutter, and then touch up the paint to cover up the screws and any blemishes on the shutters.
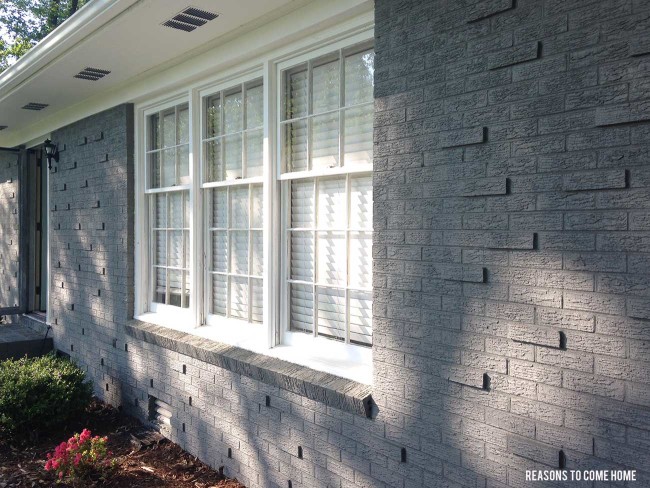
And viola! Board and batten shutters at a fraction of the price!

this post is linked up with Motivational Monday, Hit Me with Your Best Shot, Moonlight & Mason Jars, The Makers, DIY Inspired, Work It Wednesday, Pretty Preppy Party, Get Your DIY On
13 Comments
Katie Elizabeth
They look soooo good and I’m loving the mint door, too! It practically looks like a different house!
Rachael
So cute! Love it! you should put some window boxes under the 2 windows to the left (left side when looking at the door)
the cape on the corner
oh man, i’ve got major painted brick envy over here. the hubs will not let me go that route on our home, but i love the modern look of it. your color combo is so good!
enjoy!
b
Kristen
we were going to paint our shutters.. i really like the look of these though! although, we have brick as well lol
Suzan
We bought them for our last home – a fortune !
So we’ve decided, like you, we’ll be making them this time around.
Yours turned out gorgeous !!!
Kim Adams Morgan
This looks FANTASTIC. wHAT A GREAT diy FOR EVERYONE. i JUST PUT THIS LINK INTO MY fACEBOOK FEED. sTOPPING BY FROM cURLY cRAFTY mOM LINKUP WHERE YOU ARE MY NEIGHBOR.
Biana @Blovedboston
Corey did such a wonderful job!! It did wonders for the outside of your house! xo, Biana –BlovedBoston
Julie Joy
Girl, you guys are so crafty! I love it! Amazing the cost difference and the only difference is a little love you had to put into them! ;)
Laura Scurto
Looks beautiful! Can you tell me the color of paint you used on the brick?
Laura Swenson
What color is the grey on the brick? This color combo looks amazing!
Paige Sloan
Thank you! It’s Gauntlet Gray by Sherwin Williams.
Jamie sheerin
Beautiful! What color is the door ?
Kris Baker
How wide are they did a great job and what kind of wood did yall use. White pine. Or pressure treated wood. Or just regular white pine. Im getting ready to do this on our new home. Doing all the research i can haha. Great job looks good